
")
Table of Contents
In our previous post, we shared an easy method to How To Create macOS Catalina Bootable USB on Windows: 4 Easy Steps (+Video Tutorial). We also shared a method on How to Create a Bootable Disk of MacOS X: 2 Easy Steps using a MAC system. Today, we will dive into a much deeper method on How To Create macOS Big Sur Bootable USB on Windows!

macOS 11 Big Sur has just been released. The update brings several important improvements to the operating system relative to the best Macs while offering additional stability.
You can also read: How to Speed Up macOS Big Sur? 7 Easy Methods
We also noted a change in the appearance of native macOS applications. Apple introduced the changes with Messages, Mail, Photos, Calendar, and even Finder, all in a new, much more compact, optimized design. We’ll also finally get improvements that are more in line with iOS updates with macOS Big Sur, including the widget feature that came with iOS 14 and iPad 14, which makes the entire Apple product experience more harmonious and solid.
macOS 11 Big Sur: System Requirements
If you want to download and install macOS 11, you’ll have to make sure your Mac can run it. And unfortunately, the system requirements of macOS have grown with the update. We went ahead and listed the Big Sur-compatible Macs below.
- Apple MacBook 12 (2015 and newer);
- Apple MacBook Air (2013 and newer);
- Apple MacBook Pro (2013 and newer);
- Apple Mac Mini (2014 and newer);
- Apple iMac (2014 and newer);
- Apple iMac Pro (all models);
- Apple Mac Pro (2013 and newer);
macOS 11 Big Sur: Features
Safari
Safari is an underrated macOS hero. The improvements that come with the new update make the browser faster – now, according to Apple, it’s 50% faster than Chrome – along with simultaneously improved privacy and optimized energy consumption. But that’s not all. Presumably, this is the most significant update Apple has received since its first release.
The new version of Safari promises a host of new features, including intelligent tracking that provides you with a privacy report for every site you visit, saves passwords from tracking them for hacking attempts, supports extensions for WebExtensions API, and gets a selection of new extensions in the App Store, along with a built-in translation feature.
There’s one interesting feature here: the browser homepage has become highly customizable, so you’ll be able to change the background image and add/edit sections.
Messages
This service’s capabilities have been inferior to their iOS analog for some time, but now you’ll be able to use Pinned Messages, Notes, and Updated Groups that will come with iOS 14, which is nice. Basically, all updates share the iOS 14 features, which is nice to see. The update will also offer a better search, a redesigned sample of photos, and new effects in messages.
AirPods Update
Besides the exciting support for Spatial Audio for AirPods Pro, we expect significant improvements in AirPods support in macOS. Instead of messing with Bluetooth settings, whenever you want to use headphones with your Mac, they automatically switch to a Mac when you start using your computer. AirPods will now easily and intuitively switch between devices without any additional action.
Sidebar in Mail and Photos
Apple Mail and Photos apps are long out of date, so Apple has introduced a new design for most of its apps, among which the new sidebars in Mail and Photos are the most visible. The Photos app will look the same as the iOS 14 version.
MAC Control Center
One of the best things about iOS is the very convenient Control Center, which allows you to change many settings on the go. macOS Big Sur will transfer this functionality to Macs, providing easy access to them from the menu, so you can easily change the most popular settings without going to a separate Settings app.
Widgets in Notification
As with iOS 14, macOS 10.16 Big Sur has widgets for the notification menu, making it easier to access important information with a user-friendly interface. These widgets can be customized to suit your needs and preferences.
MAC Catalyst
An essential addition to macOS Mojave has been integrating some popular iOS apps. But with Mac Catalyst, new APIs and tools for app developers promise to move even more iOS apps into the Mac operating system. With these tools, you get features such as changing window size, and keyboard tools that allow you to transform your app into a Mac environment, breaking away from the problems of ported apps with the iPhone.
Create macOS Big Sur Bootable USB on Windows: Required Files
- macOS Big Sur DMG file for a clean installation. (Download links have been provided below)
- The DMG file is around 12 GB, so you need a good internet connection to download the macOS Big Sur DMG file. So, here is a tool that you can use to speed up the download process. Internet Download Manager tool that will help you enhance your downloading speed. You can download the full version below.
- A USB Drive (Pen-Drive or External Disk). Your USB device must be of sufficient memory for the installation.
- TransMac tool from Acute Systems. This Windows application tool may replicate and manage folders and files around Apple drives and apparatus, such as Mac-formatted hard drives, flash drives, and other memory devices, to open and burn disk imaged .dmg along with .sparseimage documents.
How To Create macOS Big Sur Bootable USB on Windows: Step by Step
This is a 4 step simple process. I have also shared a complete video tutorial on How To Create macOS Big Sur Bootable USB on Windows, you can find the video at the end of this post.
NOTE: Kindly do not skip any step; the process will fail, and you might corrupt your USB device. I crashed mine once!
Step 1: Downloading necessary files to Create macOS Big Sur Bootable USB on Windows
- macOS Big Sur DMG by techrechard (Google Drive + MediaFire)
- TransMac tool from Acute Systems- This file is password-protected, and the password is www.techrechard.com. You can extract this file using WinRAR download free and support: WinRAR (win-rar.com).
- IDM 6.27 Build 2 Registered (32bit + 64bit Patch) [Techrechard.com] – This file is password-protected, and the password is www.techrechard.com. You can extract this file using WinRAR download free and support: WinRAR (win-rar.com).
Step 2: Install TransMac Tool on your Windows
After downloading the TransMac tool from the above links, proceed with the installation. The process is very similar to installing any other tool on your Windows. Once you have downloaded and extracted the contents from the RAR file, you will see the following contents:

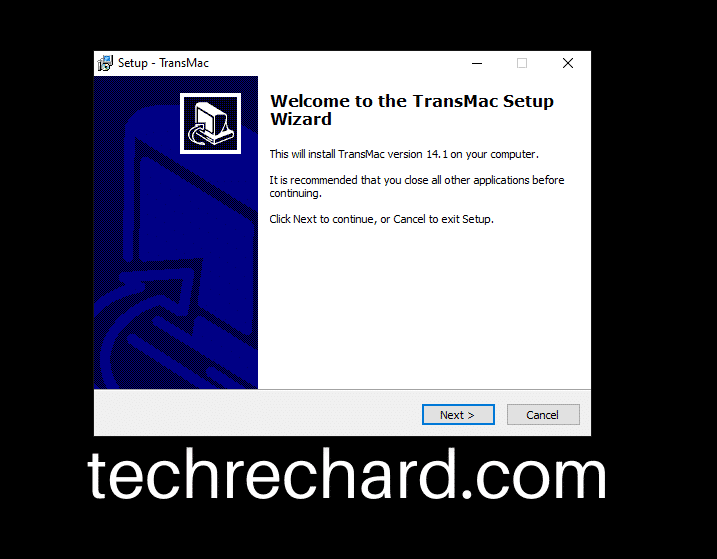
Open the TransMac Techrechard.com folder, and click SETUP.
And click, Next.
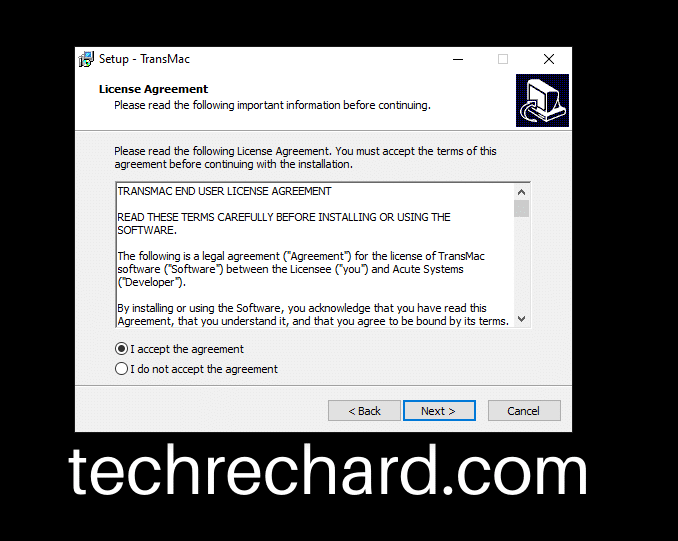
Accept the terms and conditions.
Choose the directory for installation. You can keep it default.

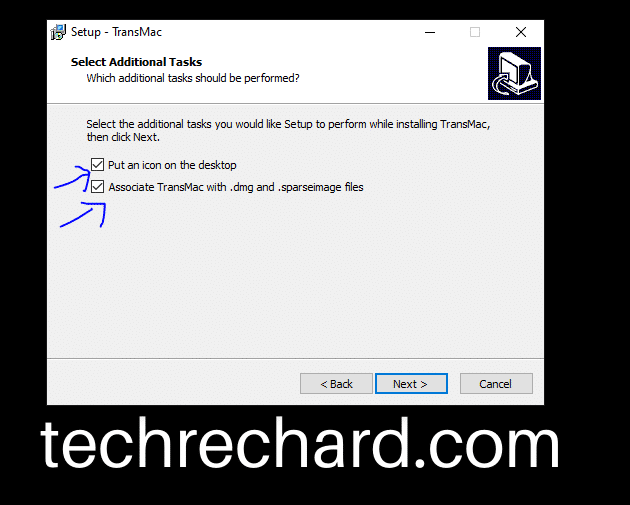
Leave the default ticks and click Next.
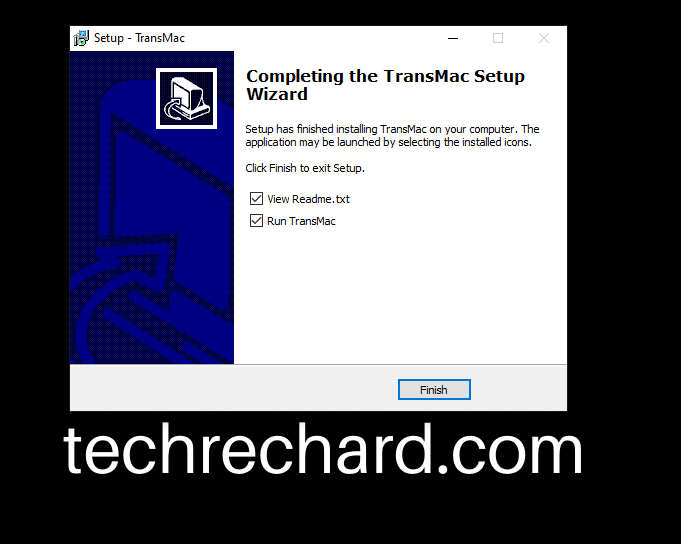
And you see that within no time the setup is complete.
Step 3: Open TransMac Tool
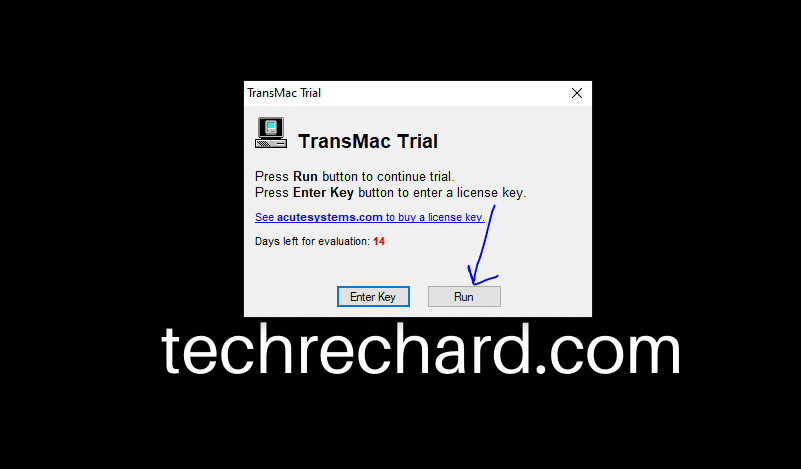
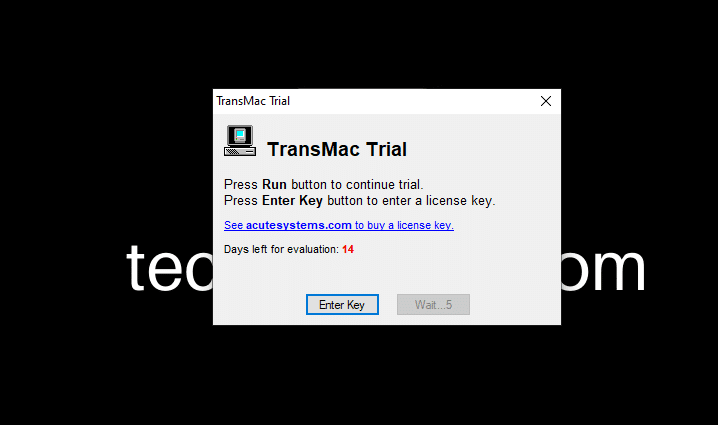
Once the installation is over, the transmac tool will open itself. And you will see the following message.
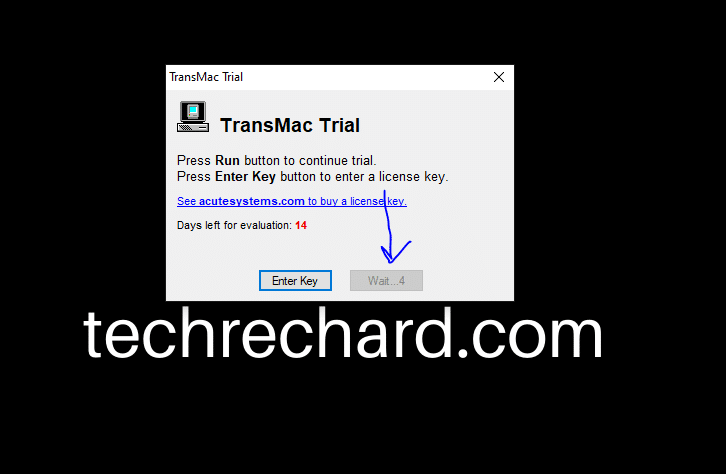
Since we are running the trial version of TransMac, you need to wait for 10 seconds, and it will open up automatically. After 10 seconds, you can click, Run.
Now insert your pendrive, usb drive or any external disk.
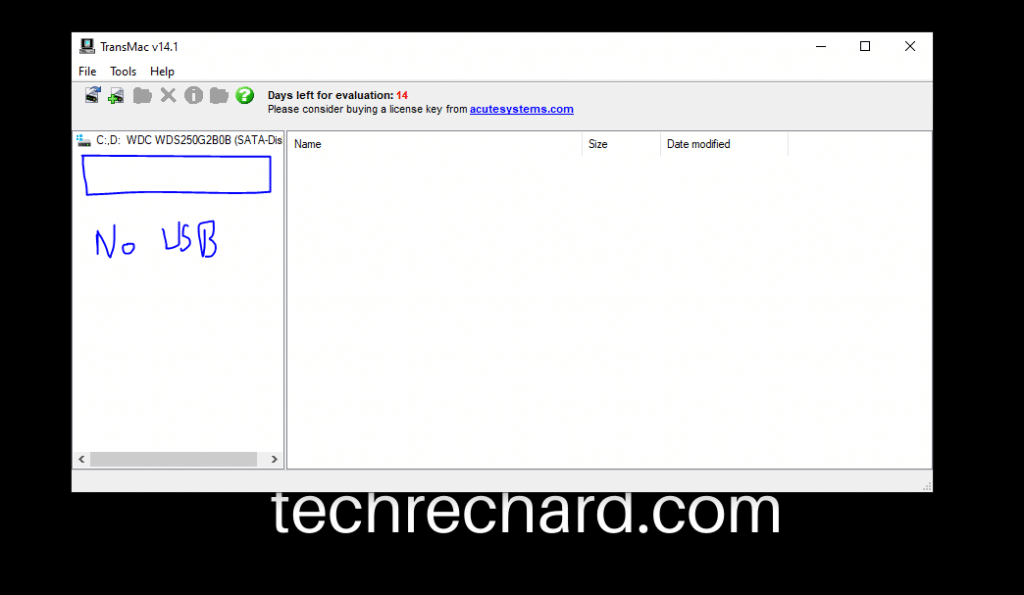
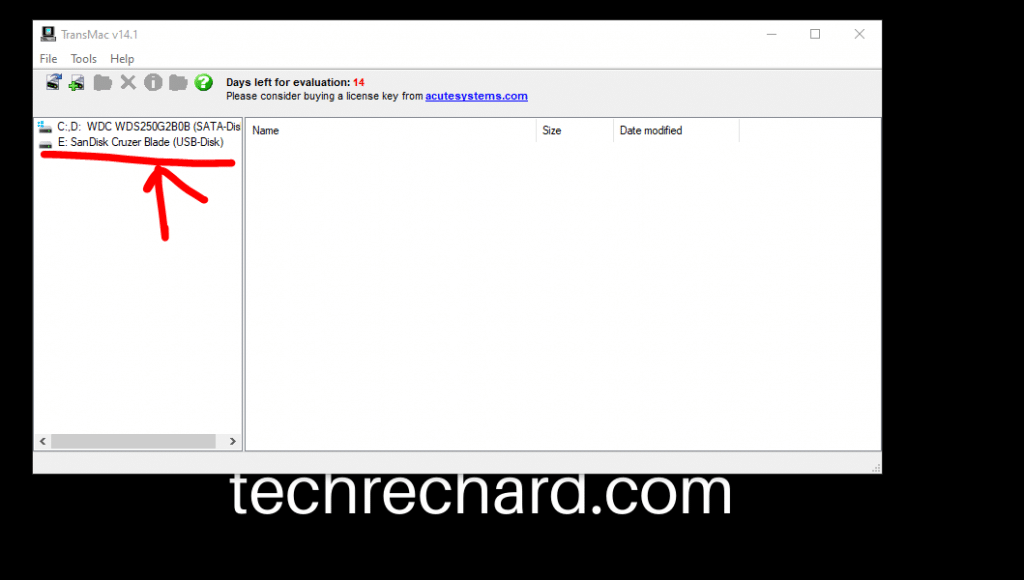
And click Tools, followed by Refresh drive list.

Once you click refresh drive list, you will see your USD device attached.
Step 4: Complete the installation
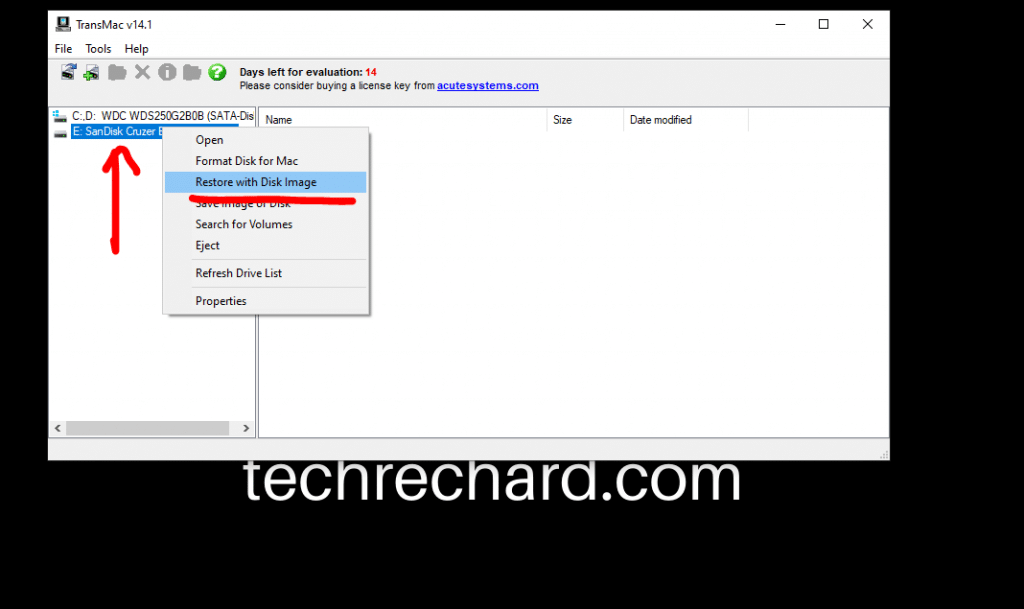
Now, right click your USB and click Restore with Disk Image.
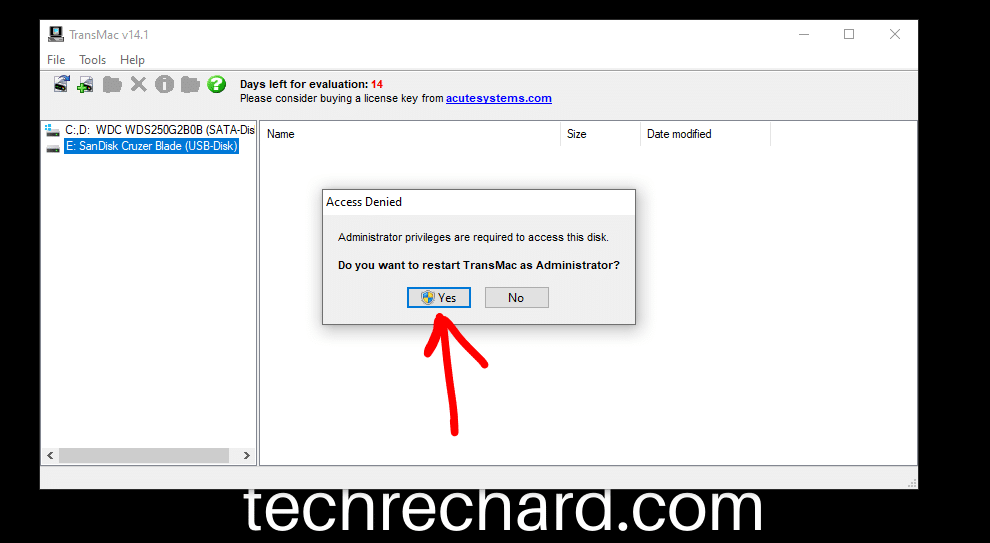
Now, you will be prompted an error that you need to run TransMac using administrator access. So you simply click YES.
Now, wait again for 10 seconds.
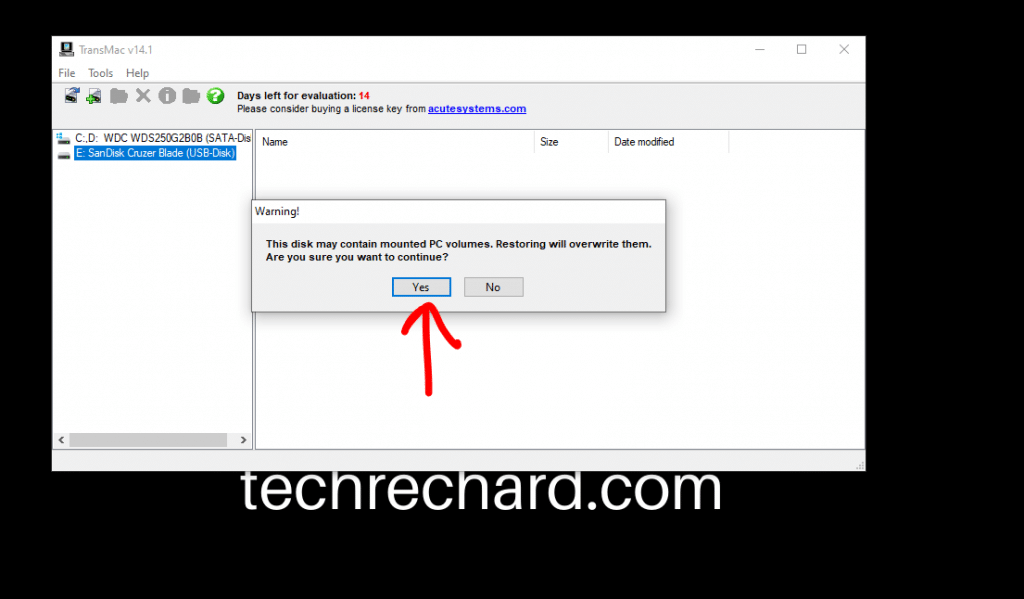
Now, right-click on your USB device and click Restore from Disk Image again. You will be prompted with a warning, and you can click Yes.
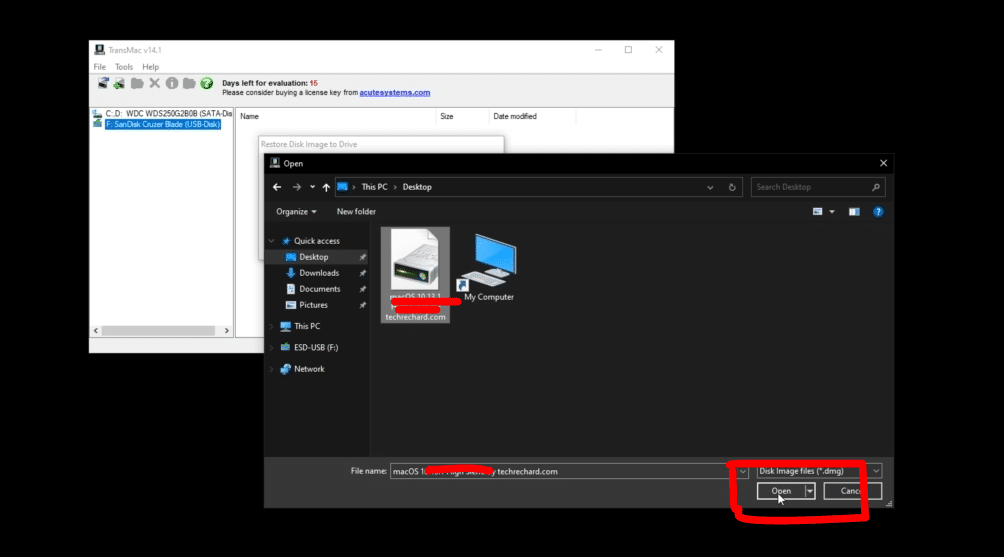
Now you select the Big Sur DMG file that you have downloaded and upload it.
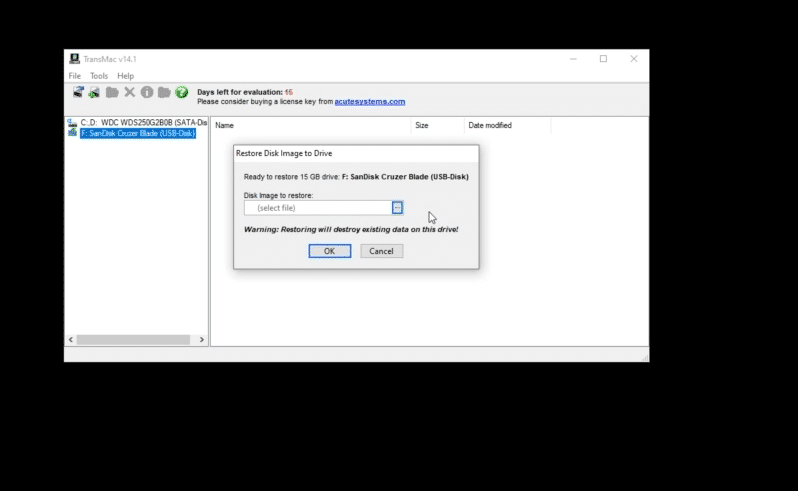
Now click OK,
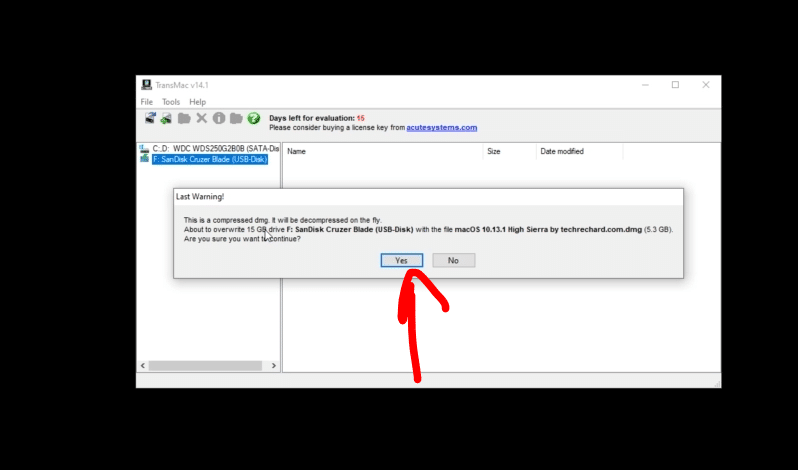
Now you will get your last warning that the USD device will be formatted. You can click YES.
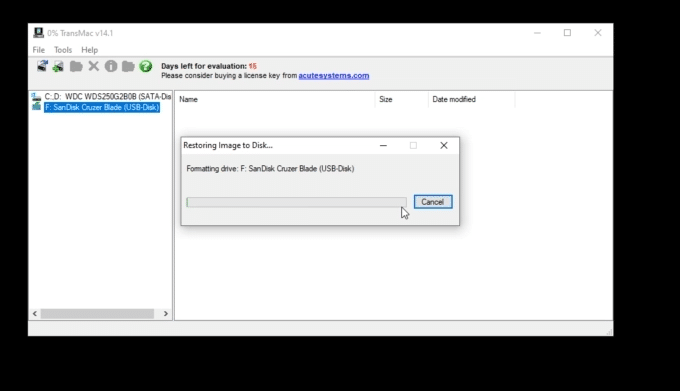
The restoration process will begin, and it will take around 20-30 minutes, depending upon your USB device’s speed. For me, it took around 17 minutes.
Once complete, you will see the following snapshot.
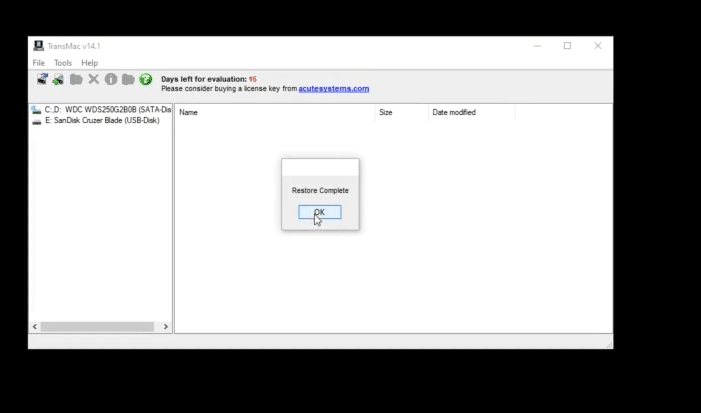
Now the Restore process is complete, and you can use this USB as macOS Big Sur Bootable USB. To check the contents of this USB, you will need a MAC system. If you do not have a spare MAC, no need to worry. I will show you the contents of this USB created.
NOTE: This USB will not work on Windows anymore. If you plug it again on your desktop, it will ask you to format the drive. So do not worry. The contents of this USB will be visible only on a MAC system.
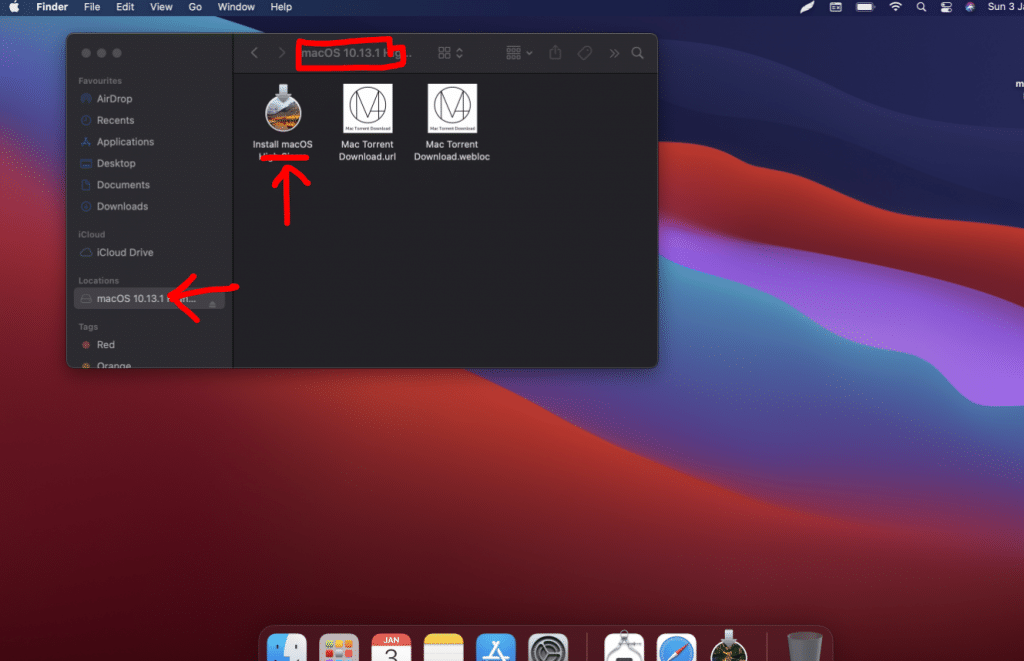
As you can see the contents of the USB device. Now, you can use this as a macOS Big Sur Bootable USB.
After this process is complete, you can use this USB to install macOS Big Sur on your MAC system using the BIOS mode. You simply need to boot your MAC using this USB device at startup.
Here are some other posts that you might be interested in-
How to Fix macOS Big Sur Screen Resolution on VirtualBox: 5 Step Guide
How to Install macOS Big Sur on VMware on Windows? 8 Step Guide
How to Install macOS Big Sur on VirtualBox on Windows? 8 Step Guide
How to Create macOS Big Sur Bootable Installer for Clean Installation: 2 Easy Steps
Download macOS Big Sur DMG File 11.1 {Updated 4 Jan 2020}
Download macOS Big Sur VMDK (Virtual Machine Disk) File
Download macOS Big Sur VMware & VirtualBox Image – Latest Version
How To Create macOS Big Sur Bootable USB on Windows: Final Words
I hope you have enjoyed this article and have successfully created macOS Big Sur Bootable USB on Windows. If you find any issues, you can leave your comments below. I have also created a complete video tutorial that you use and learn How To Create macOS Big Sur Bootable USB on Windows below.


