

Table of Contents
Minecraft, a globally-renowned game developed by Swedish studio Mojang Studios, provides players with an immersive experience of crafting, building, and survival in an open world. This article offers a comprehensive guide to installing Minecraft on your Mac computer.
System Requirements for Minecraft on a Mac
Before proceeding with the installation, ensure your Mac meets the following recommended system requirements:
- Intel Core i5 or equivalent processor
- 2 GB RAM
- Approximately 2 GB of storage space for installing Minecraft
In addition to these requirements, you will need a stable internet connection to download the game files, an activated Microsoft account, and a licensed version of Minecraft Java edition.

Minecraft Compatibility with MacBook M1
You’re in luck as an M1 or M2 MacBook owner, as Minecraft is fully compatible with Apple’s ARM64 architecture. The compatibility update called “The Wild,” released in July 2022, includes support for M1 and M2 processors, enhancing the Minecraft gaming experience for Mac users with these processors.
Downloading and Installing Minecraft on a Mac
There are two versions of Minecraft: Java Edition and Bedrock Edition. The Java Edition is the most suitable for Mac computers as it supports cross-platform multiplayer and offers additional features, including using GLSL fonts and shaders for improved visual experience.
Before starting the installation process, ensure you have a Microsoft account and a purchased license for the game. If you already have a Mojang account, you’ll need to transfer it to Microsoft.
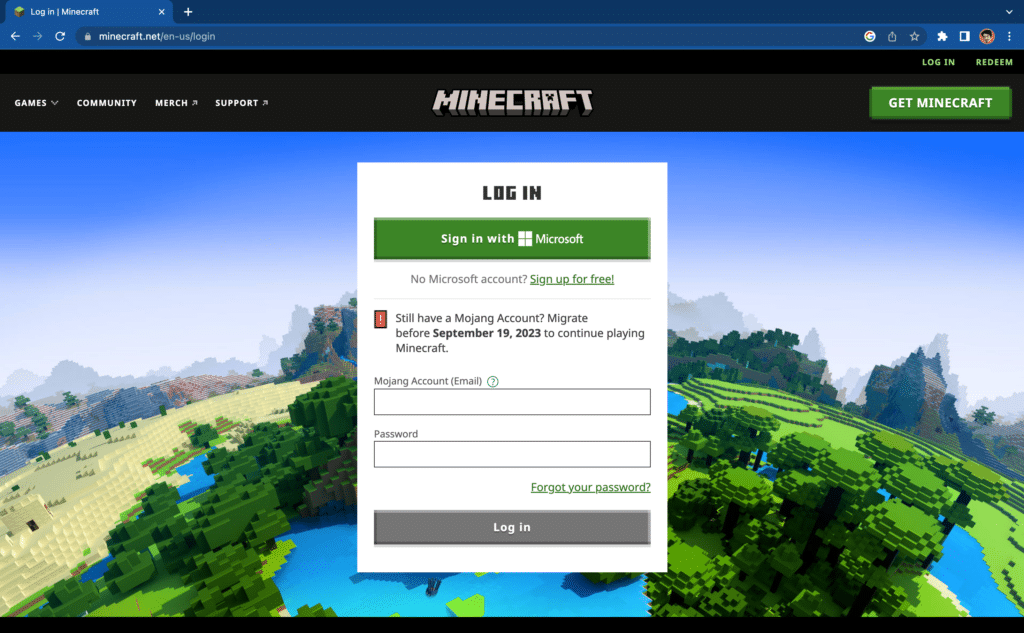
Step 1: Create a Microsoft Account for Minecraft
- Visit the official Minecraft website.
- Click the LOG IN button.
- Select Sign up for free.
- Use your email or phone number to register, then click Next.
- Choose your country and date of birth, then click Next.
- Enter the verification code received in your email.
- Now you have successfully created a new Microsoft account.
If you already have a Microsoft account, sign in.
Please note that the Gamertag you select will be your public name in the Xbox community.
Step 2: Download Minecraft on Mac
Before starting the download, ensure you have a licensed version of Minecraft. This will give you full access to all the game’s features and capabilities.
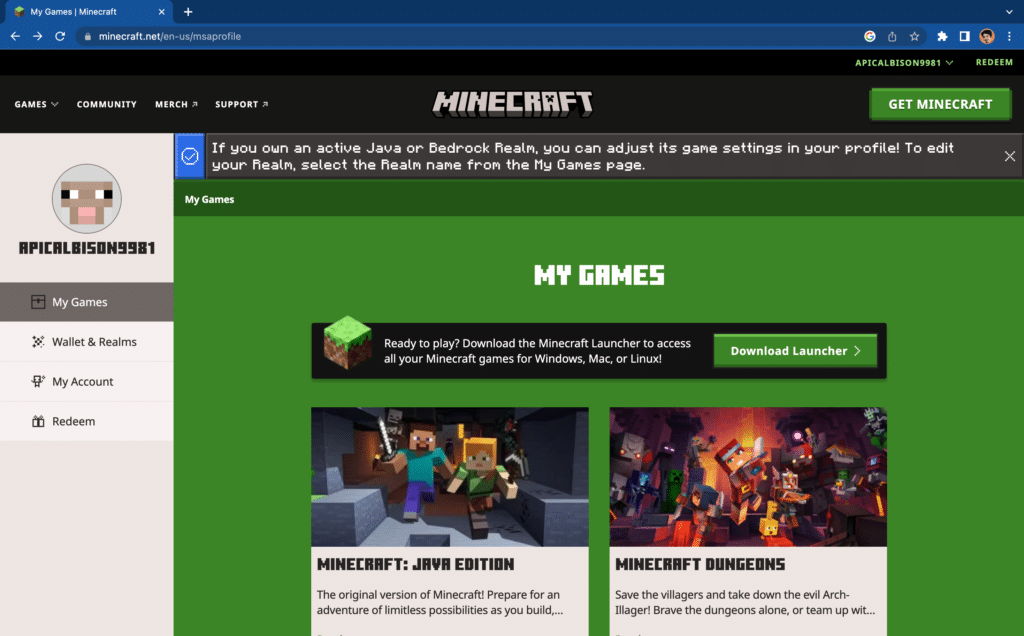
- Visit the official Minecraft website.
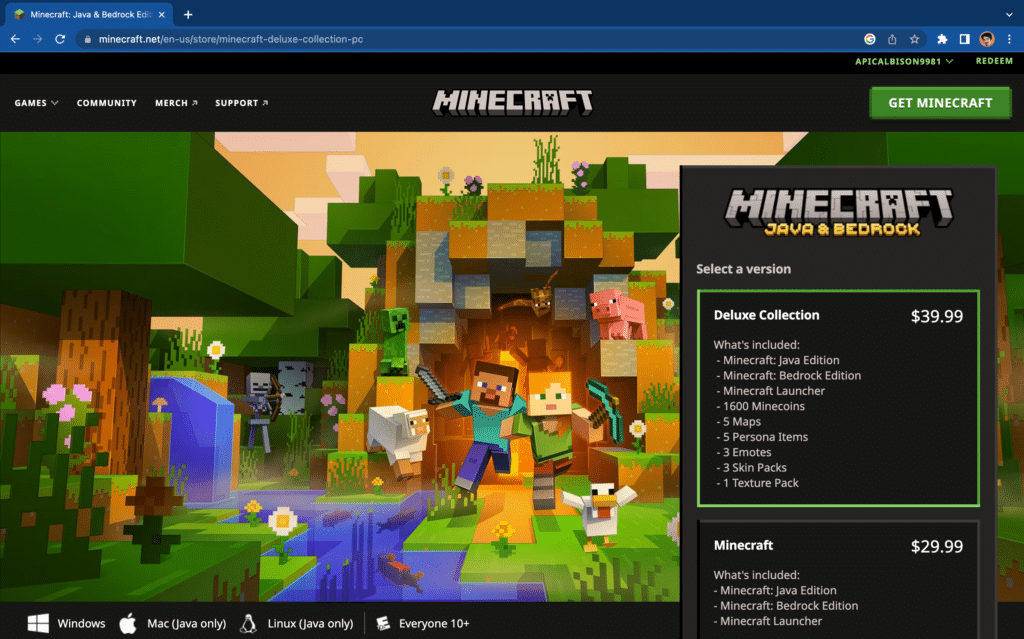
- Click on GET MINECRAFT.
- Select COMPUTER.
- Select Deluxe Collection, then click BUY.
- Sign in to Microsoft, which will bring you to the payment page.
- Click Get Started! Add a payment method and choose from the suggested options.
- Review the package details and confirm the payment.
- After the payment is processed, click the Download button.
How to Install Minecraft on a Mac if You Bought It on Another Device
You can download and install the game on your Mac if you have purchased a Minecraft license.
- Visit the official Minecraft website and click LOG IN.
- Enter the email address associated with your Minecraft purchase.
- Select GET MINECRAFT.
- Scroll down to Download Minecraft again.
- Click the Download launcher for MacOS button and select Allow to start the download.
Step 3: Install Minecraft on Mac after Purchase
After purchasing the game or confirming your existing license, follow these steps to install Minecraft on your Mac:
- Open Finder and double-click the file Minecraft.dmg.
- Drag the Minecraft icon to the Applications section.
- Open Launchpad and click on Minecraft in the Games folder.
- Select Open (the game will take a few minutes to load).
- Click on MICROSOFT LOGIN.
- Enter the email you used to purchase the license.
- Select LET’S GO.
- Press the PLAY button to download all the necessary files for the first time.
Congratulations! You have now successfully installed Minecraft Java Edition on your Mac. Get ready to dive into the fascinating world of Minecraft and bring your creative ideas to life. Enjoy exploring the limitless opportunities that this influential game provides!


