

Table of Contents
Installing macOS Sequoia on VMware on a Windows PC offers a gateway into the world of Apple’s latest operating system without the need for dedicated Apple hardware. By leveraging virtualization technology, users can explore the features and functionalities of macOS Sequoia within a controlled environment, facilitating development, testing, and familiarization with the OS.
This guide will walk you through the step-by-step process of setting up macOS Sequoia on VMware on your Windows PC, ensuring a smooth installation and optimal performance of the operating system. Whether you’re a developer, enthusiast, or simply curious about the latest macOS release, this tutorial aims to equip you with the knowledge to run macOS Sequoia on your VMware virtual machine successfully.

Things Required to Install macOS Sequoia on VMWare on a Windows PC
- Enable virtualization of your Windows 11 PC
- Download and Install VMWare on your Windows PC
- Download Python from the Microsoft Store
- macOS Unlocker For Vmware Workstation
- Download macOS Sequoia ISO File
Step-by-Step Guide:
1. First, go to the official website of VMWare Workstation Pro and download it. Once you have downloaded it, install it on your Windows PC.
2. Download and install Python from Microsoft Store
3. Now, download VMWare Unlocker and install it.
Here is a complete video tutorial for step 1 and step 2:
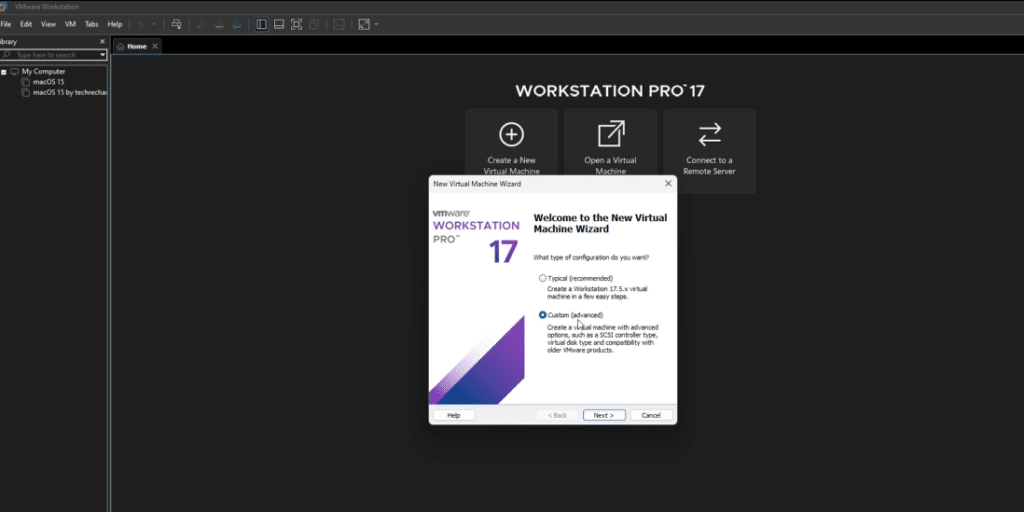
4. Open VMWare and click Create a new virtual machine.

5. Select Custom (Advanced) and click Next.
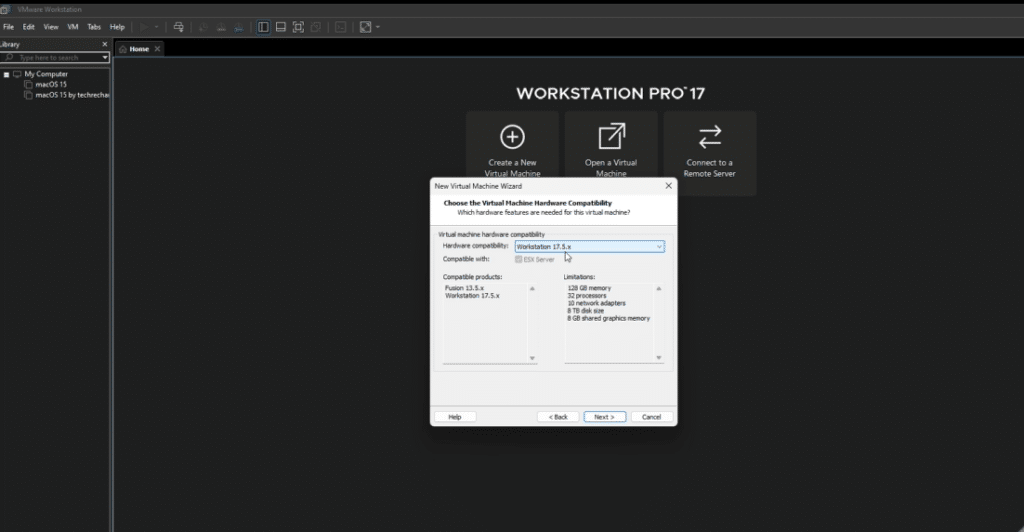
6. Keep Hardware Compatibility as default.
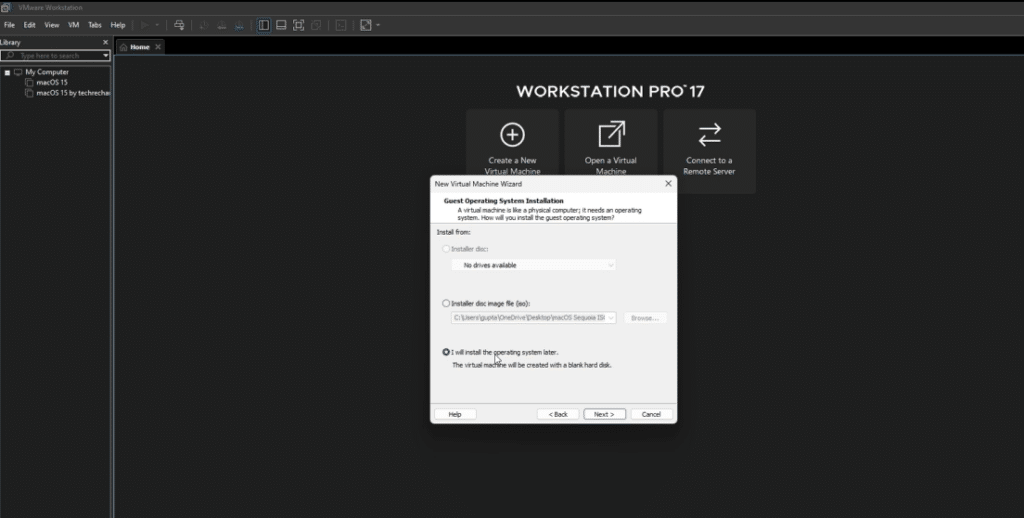
7. Select I will install the operating system later and click Next.
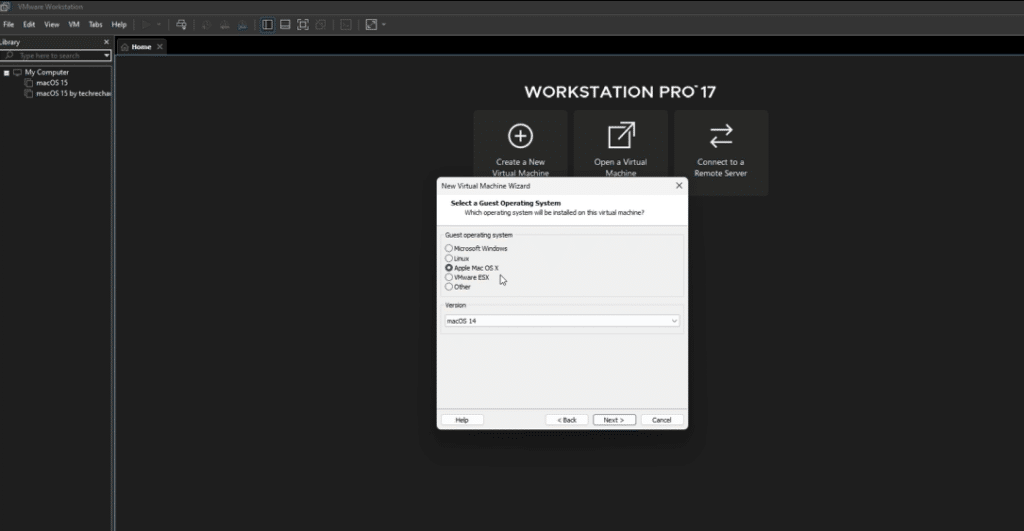
8. Under Guest Operating System, select Apple Mac OS X, and under Version, select macOS 14 and click Next.
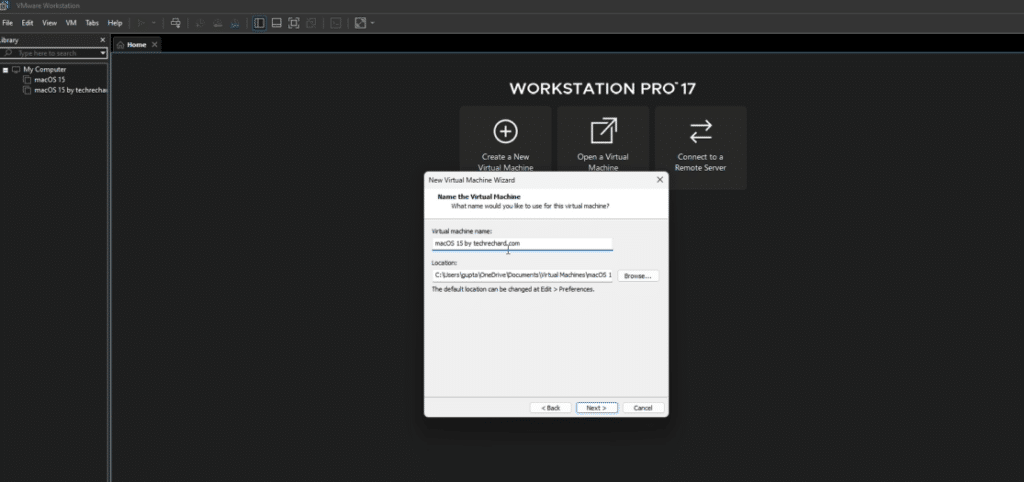
9. Now, name your virtual machine. In my case, it’s macOS 15 by Techrechard.com. Click Next.
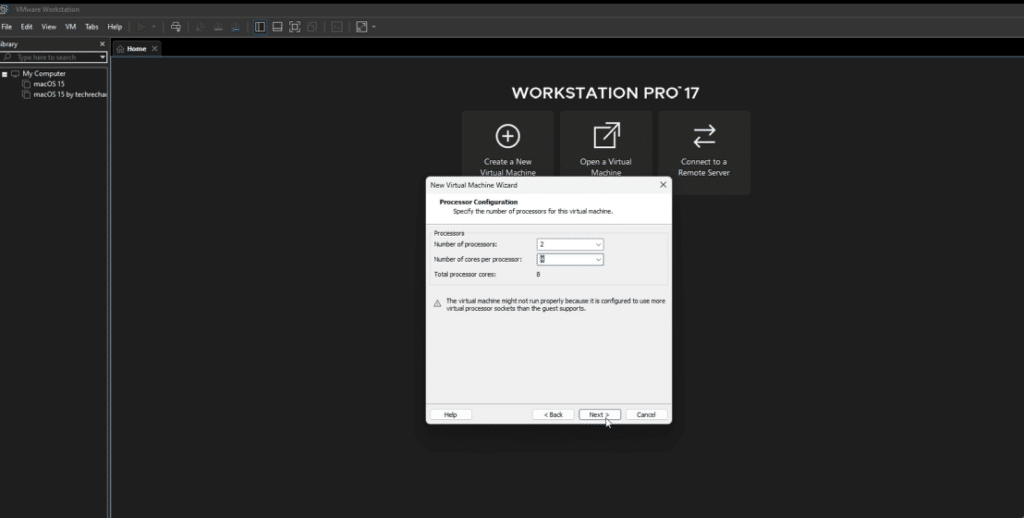
10. Under number of processors, select 2. Under Number of cores per processor, select 4 and click Next.
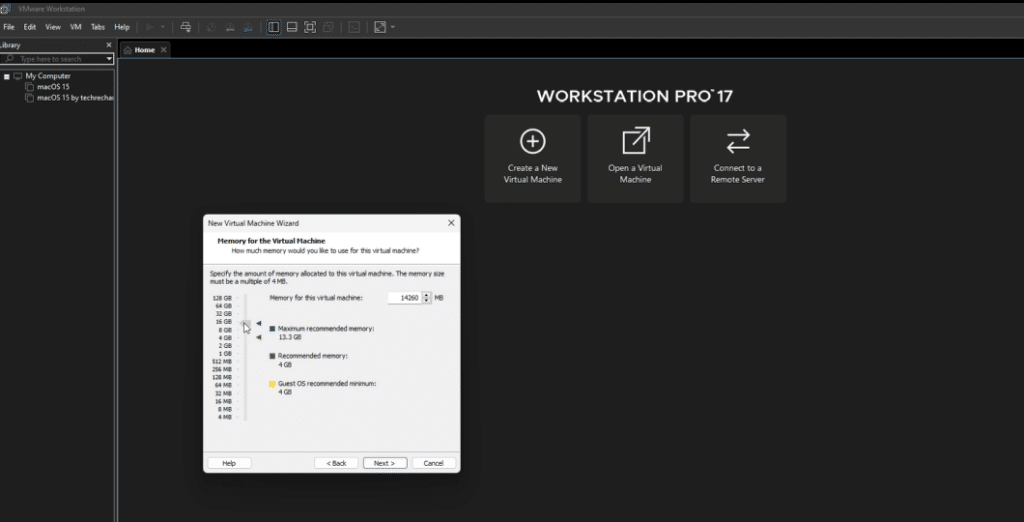
11. Increase your Memory to the maximum available limit and click Next.
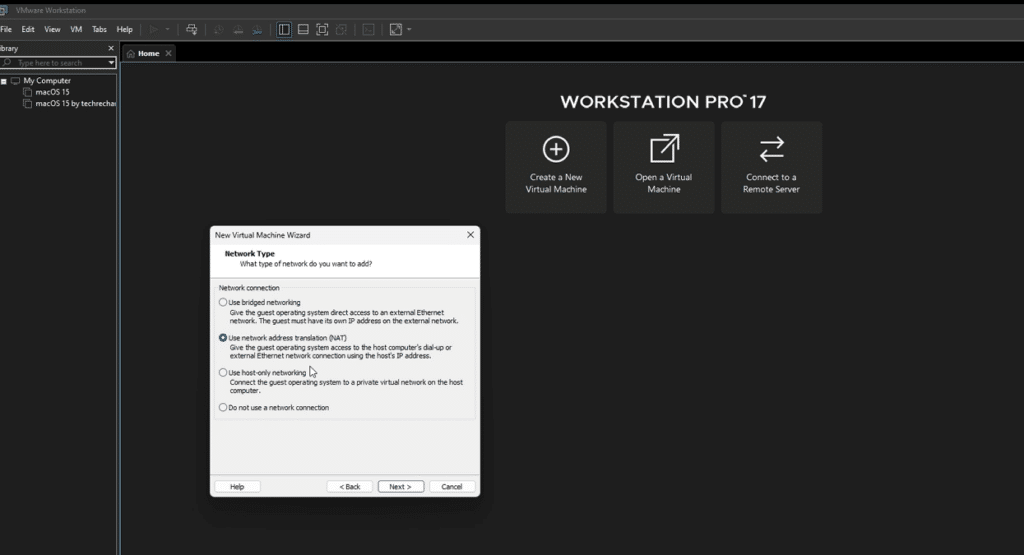
12. Keep the Network type as default and click Next.
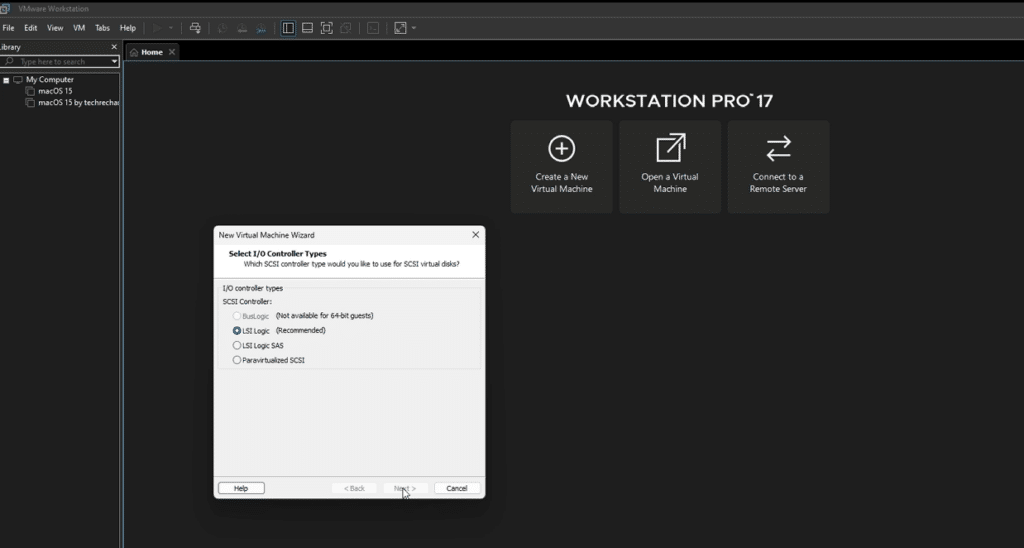
13. Keep I/O Controller Types as default and click Next.
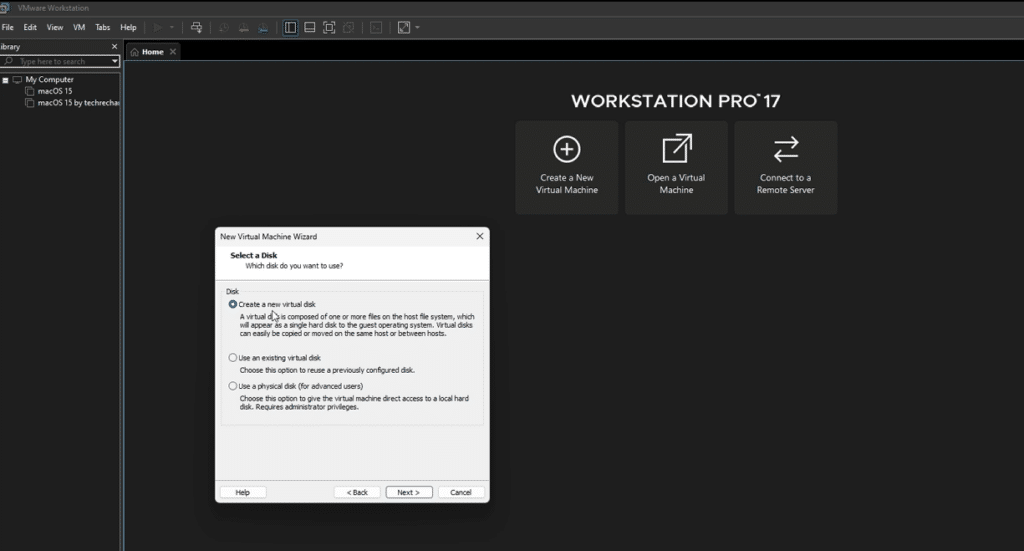
14. Select Create a new virtual disk and click Next.
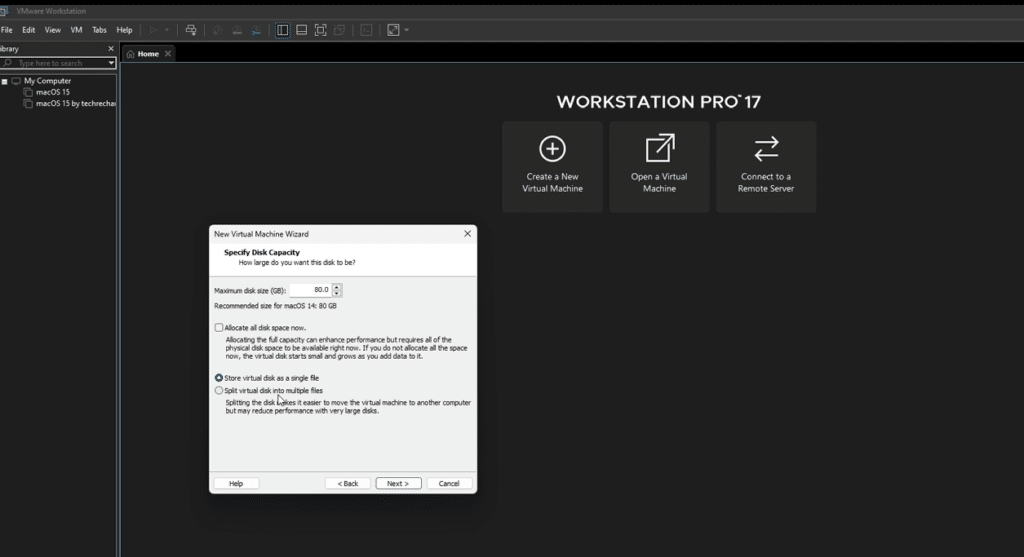
15. Keep your disk size at 80 GB and select Store Virtual disk as a single file and click Next.
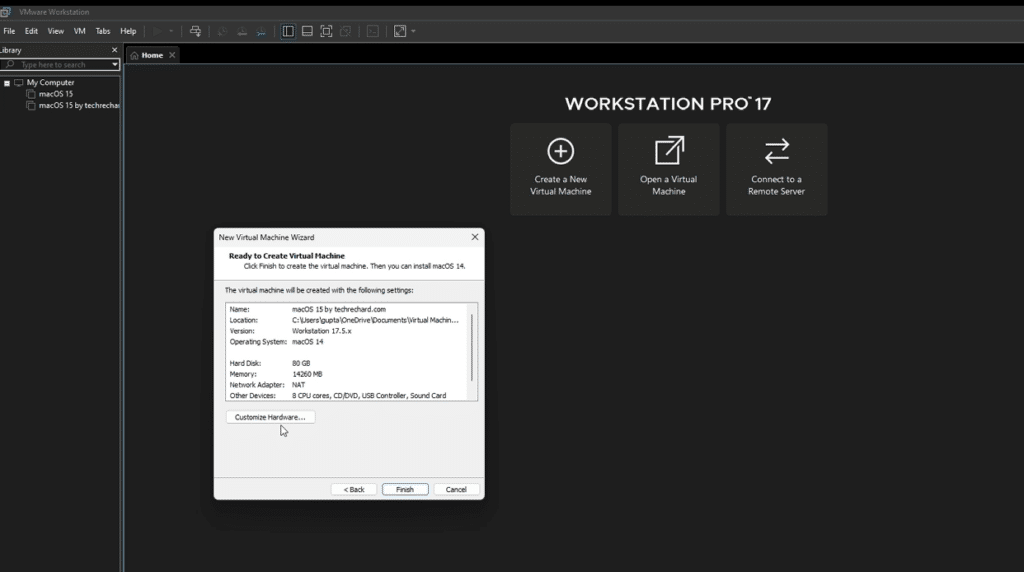
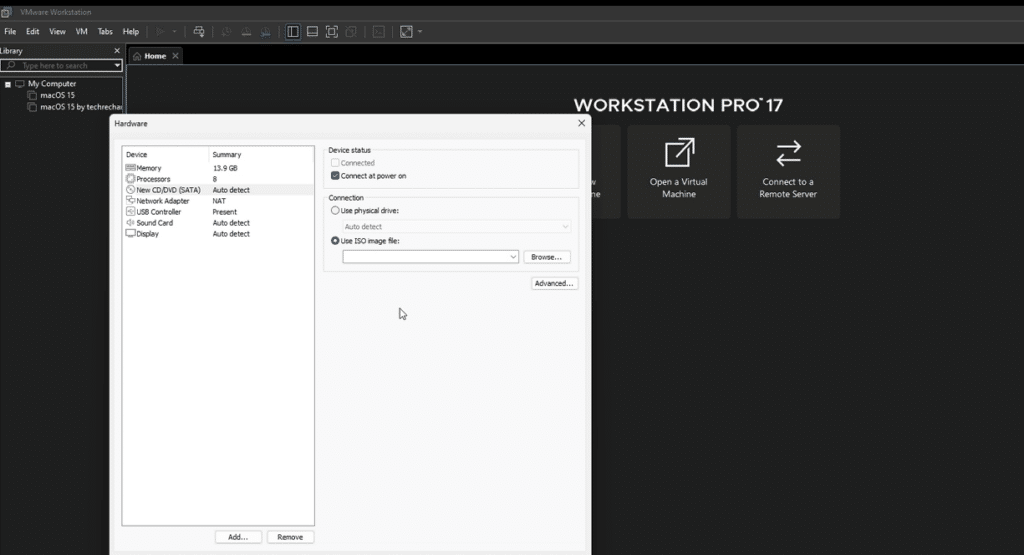
16. Click on next and click Customize Hardware.
17. Now click on New CD/DVD (SATA) click on Use ISO Image file and click Browse.
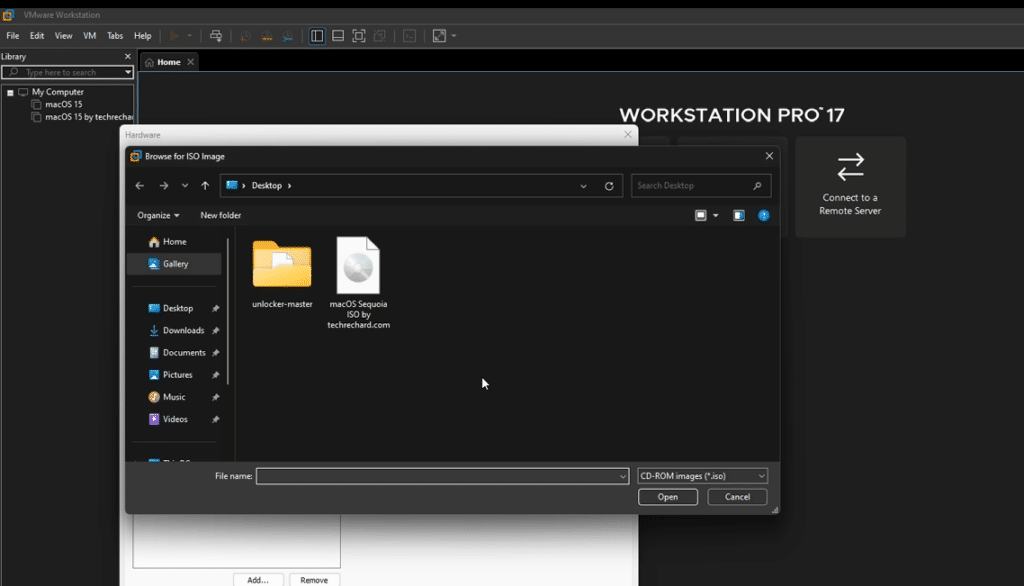
18. Select the macOS Sequoia ISO file that you downloaded in the first step and click Open.
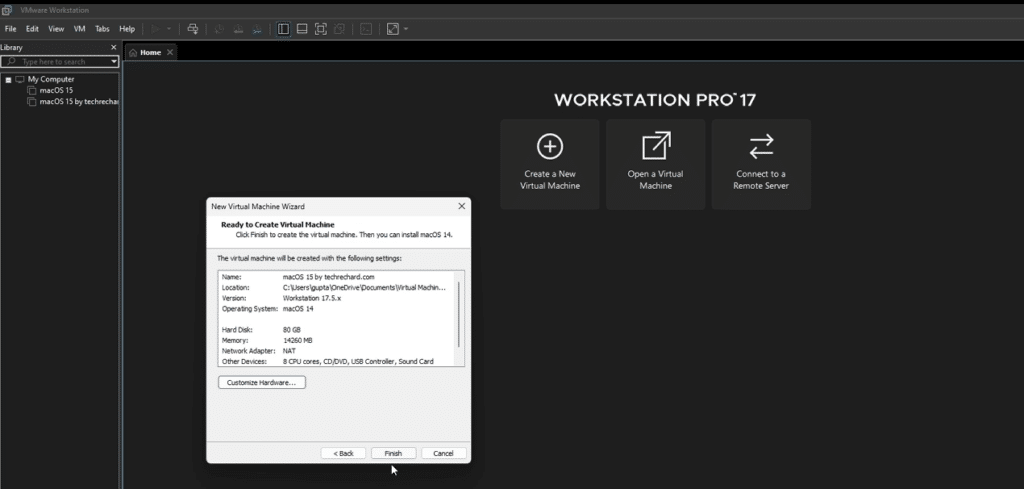
19. Click Finish and close your VMWare.
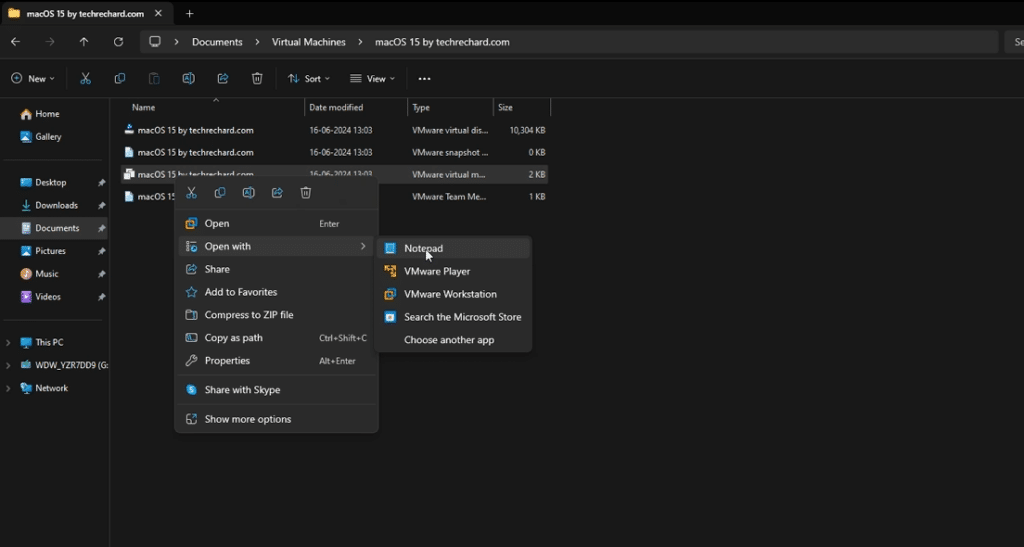
20. Go to My Documents -> Virtual Machines -> macOS 15 by techrechard.com. (where you have saved your virtual machine file).
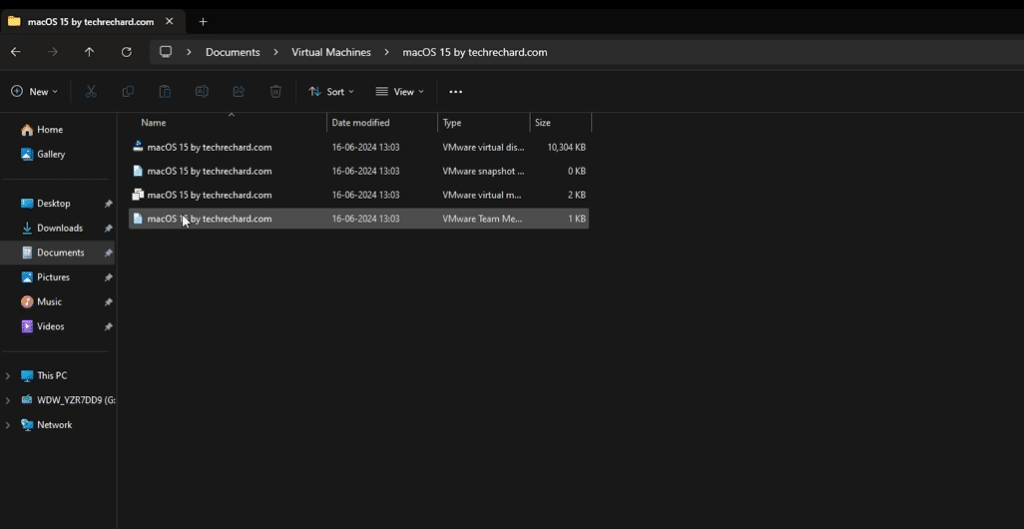
21. Right-click on the macOS 15 by techrechard.com (.VMX) file of 2 KB and select Open with Notepad.
22. Go to the bottom of the file and paste this:
smc.version = "0"
Press Ctrl+S to save the file and close it.

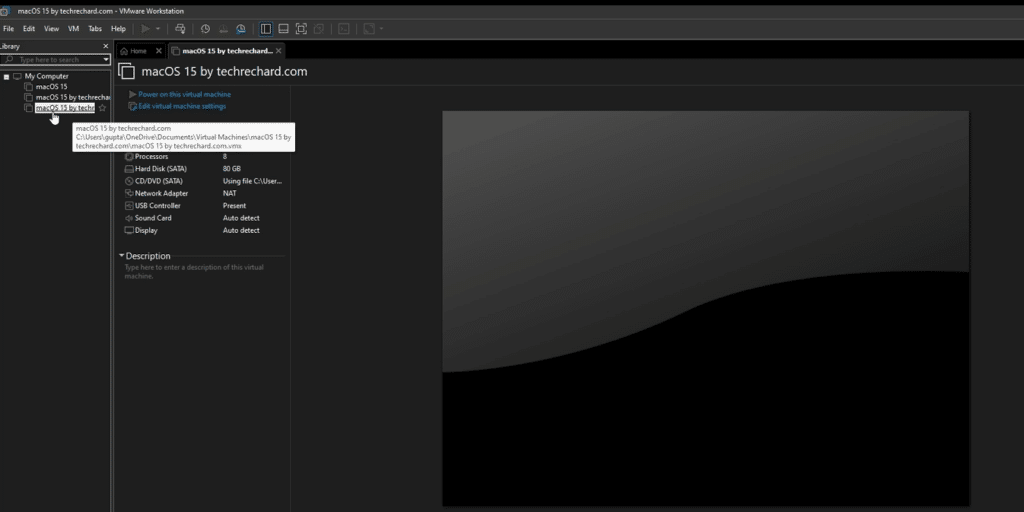
23. Open your VMWare Workstation Pro again and click Power on this virtual machine.
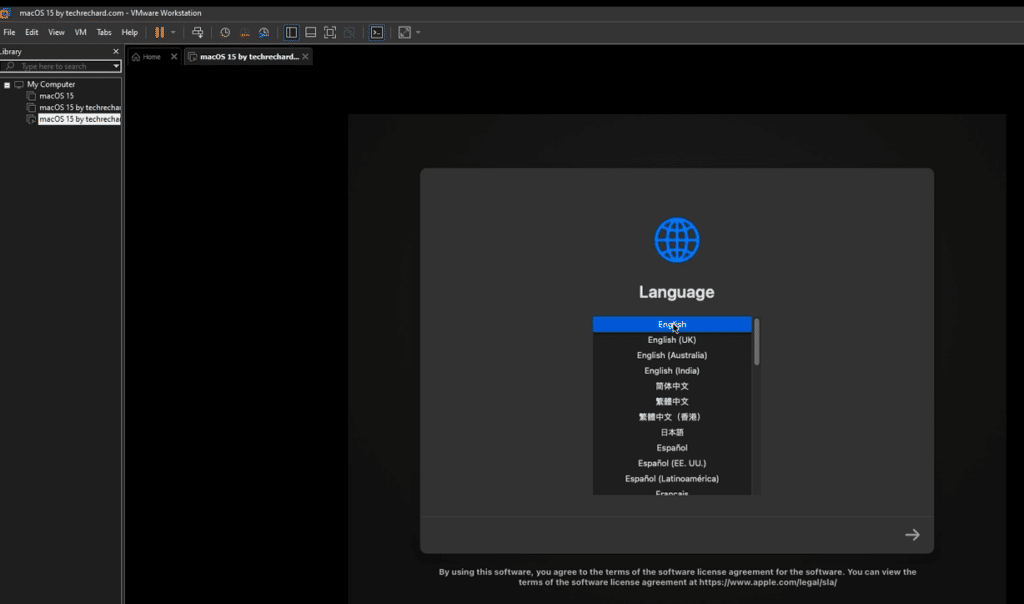
24. Select English and click Next Arrow.
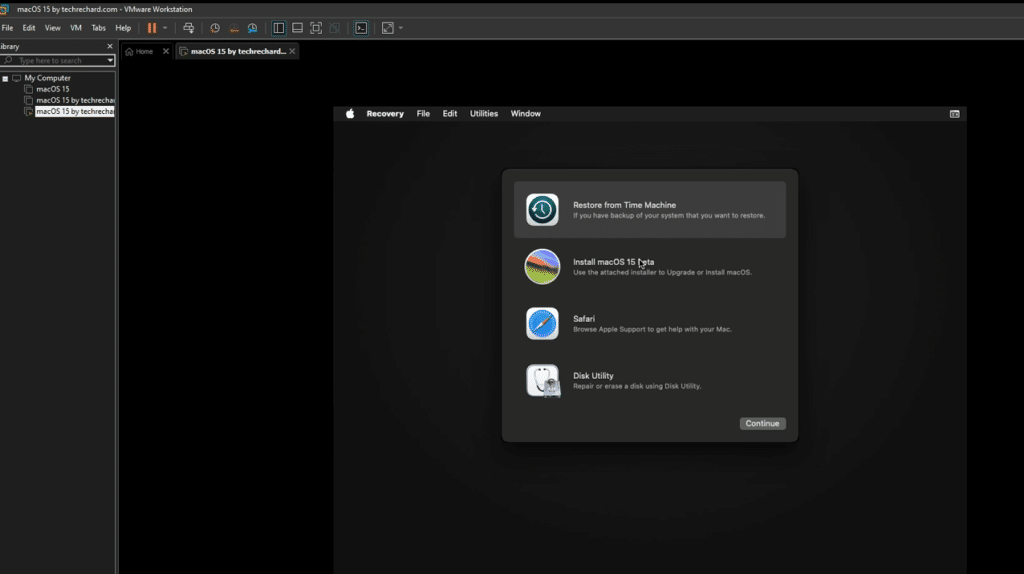
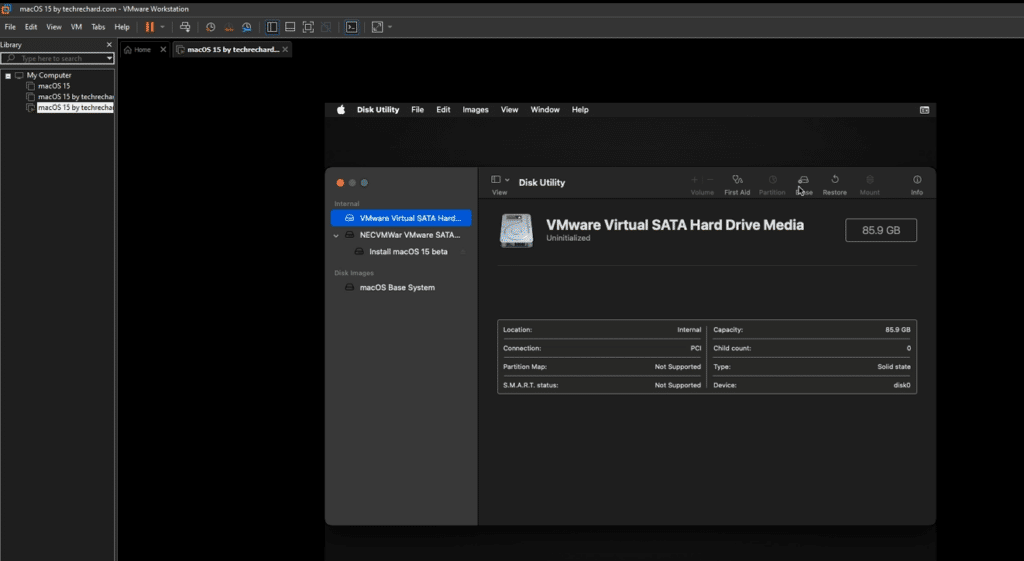
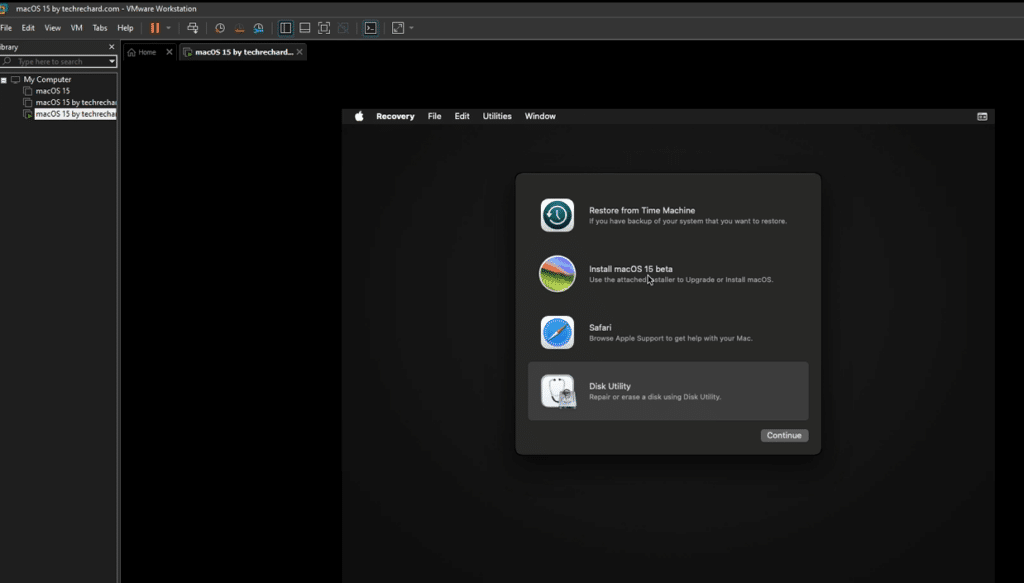
25. Click on Disk Utility and click Continue.
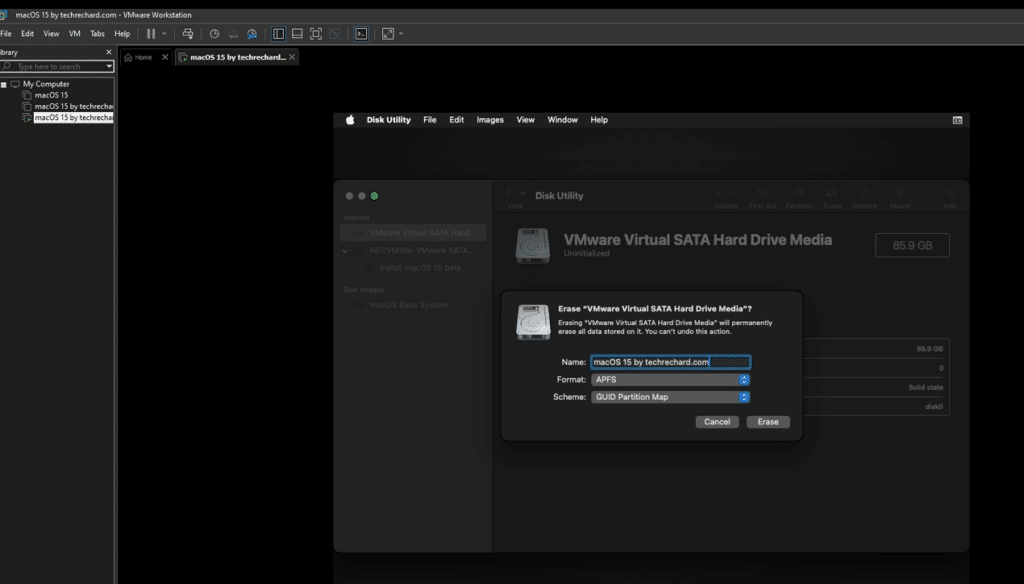
26. Click VMware Virtual SATA Hard Drive Media, click Erase, enter the name of your disk (in my case: macOS 15 by techrechard.com), and click Erase.
27. Click Done, close the Disk Utility, then click Install macOS Beta 15 and Continue.
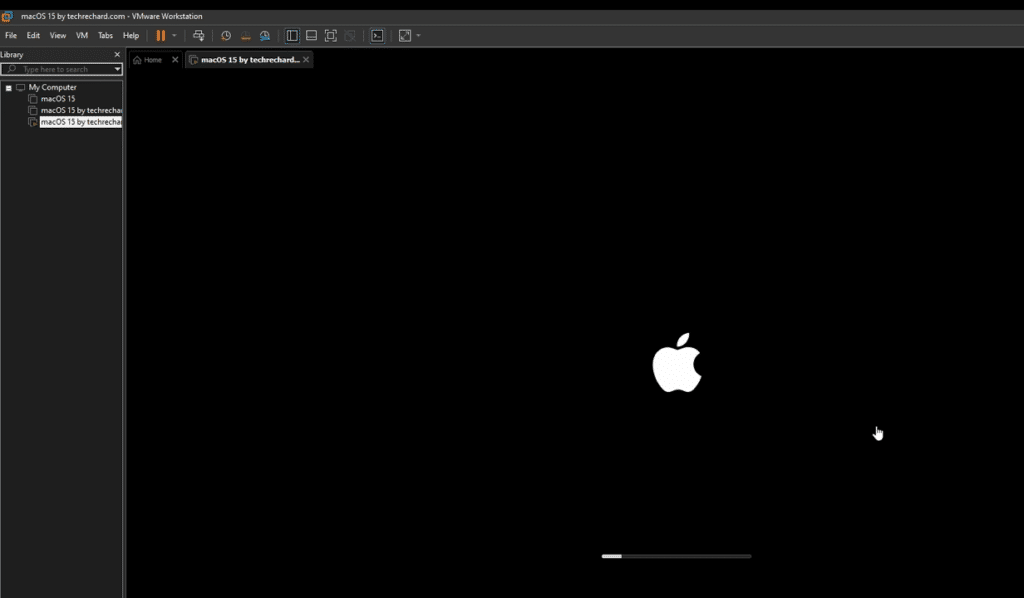
The process will take some time; for me, it took around 51 minutes. Your virtual machine may restart several times, so do not panic.
28. Select your region and click Continue.
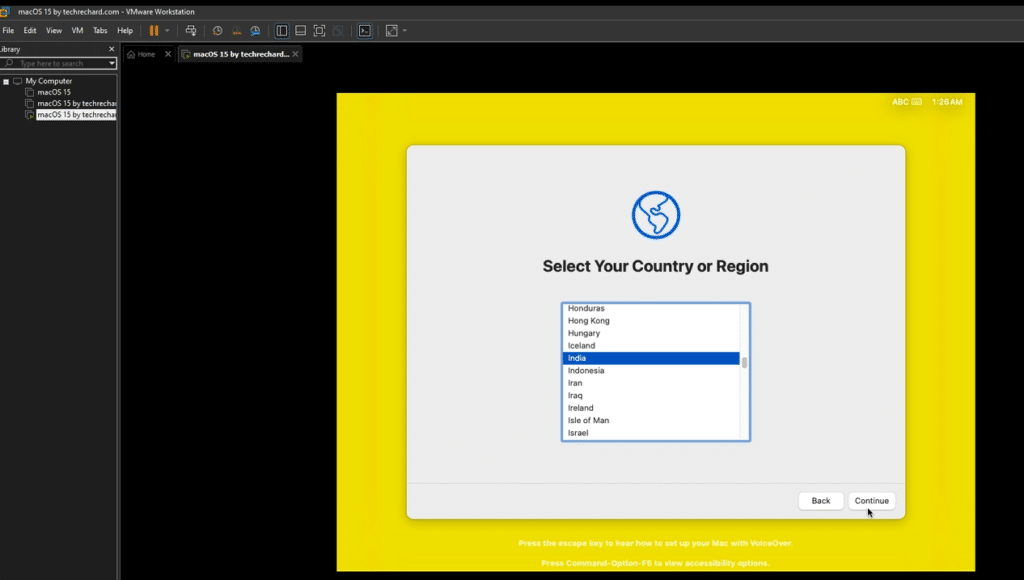
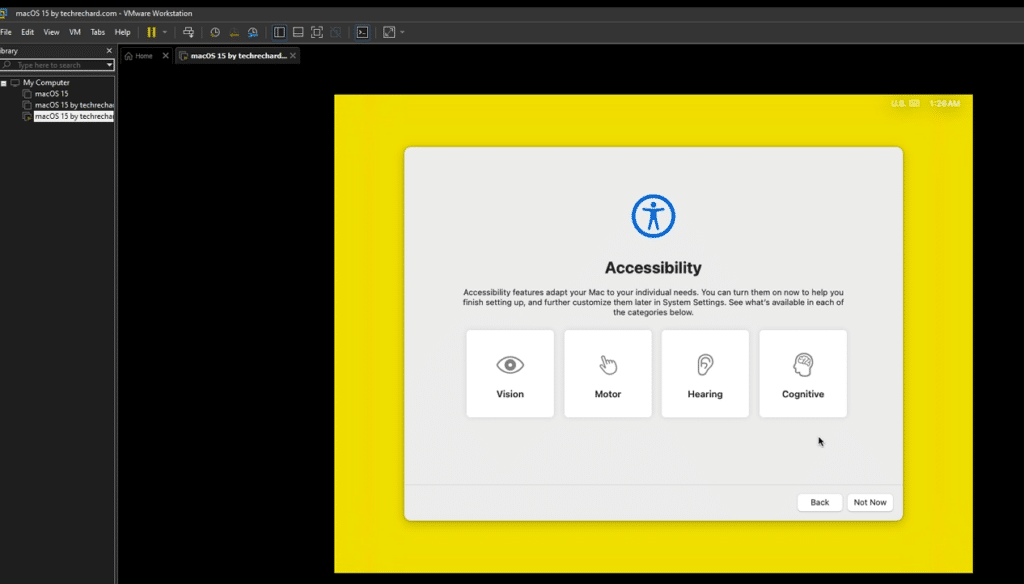
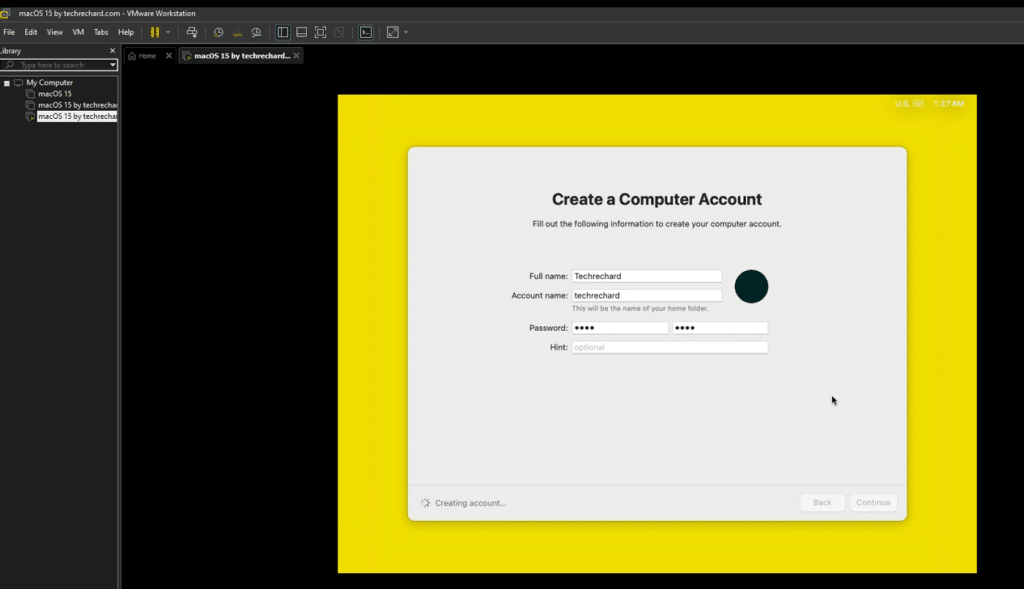
After the process is complete, you can process with the basic setup of macOS Sequoia. You can follow the screenshots below and continue with the installation of macOS Sequoia on VMware.

Complete Video Tutorial
Conclusion: Install macOS Sequoia on VMWare on a Windows PC
In conclusion, installing macOS Sequoia on VMware on your Windows PC opens up a world of possibilities for exploring and experiencing Apple’s latest operating system.
By following the steps outlined in this guide, you’ve gained the ability to harness the power of macOS Sequoia within a virtual environment without the need for dedicated Apple hardware. Whether for development, testing, or personal use, virtualization technology enables you to delve into macOS Sequoia’s features while maintaining the flexibility and convenience of your Windows setup.
Embrace the opportunities ahead and enjoy your journey with macOS Sequoia on VMware!
For more macOS Sequoia Guides, use this link.
![Download macOS Sequoia ISO, DMG, and VMDK [Latest]](https://techrechard.com/wp-content/uploads/2024/06/Download-macOS-Sequoia-ISO-DMG-and-VMDK--370x245.png "Download macOS Sequoia ISO, DMG, and VMDK [Latest]")


2 Comments
Ruby, very very thanks. Very clear the process, I was finally able to install Sequoia on the notebook to compile apps for iPhone with Xcode. I wish you much success!
Thank you so much! Cheers!