

Table of Contents
In this article, we will learn how to install Windows 11 on MAC with Boot Camp. Windows 11 requires a TPM 2.0-enabled processor and a compatible motherboard, but it’s not currently fully available on Macs. But there are workarounds.
You can also see our guide, where we have installed Windows 11 on MAC with Parallels Desktop: How to Install Windows 11 on MAC with Parallels Desktop: 2 Easy Steps
Windows 11 on Limitations on Mac
Recently, Microsoft announced Windows 11 with an all-new user interface and improved multitasking features. One requirement — the need to support TPM 2.0 — can prevent Mac computers from ever officially running the OS.
Some Mac computers support TPM 2.0 on the processor, but none currently support it on the motherboard. This may not be possible in the software. Still, for Intel Mac to officially launch Windows 11, Apple will have to update the Mac for this compatibility, or Microsoft will have to remove this requirement.
Bypassing Windows 11 on Limitations on Mac
In short, there is currently no official support for running Windows 11 on a Mac. But, we at Techrechard made some efforts and experimented with Windows 11. Luckily, we were finally able to install Windows 11 on Mac [both Intel and M1 Mac- TESTED]. So, let us get deeper into this and help you guide through the process of installing Windows 11 on Mac.

Install Windows 11 on MAC with Boot Camp: Requirements.
We will need a Windows for Mac Virtualization program to install Windows on our Mac. There are many programs out there that can help us achieve this task. In this tutorial, we will show you how to install Windows on a Mac with the help of Boot Camp Assistant.
Usually, people who want to run Windows software on their Mac use virtualization software like Parallels or VMware Fusion. But Parallels and VMware Fusion are not free and they cost as much as $200 per license. VirtualBox can also run both Linux distributions and versions of Microsoft Windows on your Mac with no booting into or rebooting from another operating system required. And it is the perfect solution if you don’t want to pay a lot.
We also created this guide- How to Install Windows 11 on VMware Workstation: Complete Guide – TechRechard. Though we have used a windows system for this method, you can repeat the same steps on your MAC and install Windows 11 on MAC with VMWare.
But with this tutorial, we will install Windows 11 on MAC with Boot Camp.
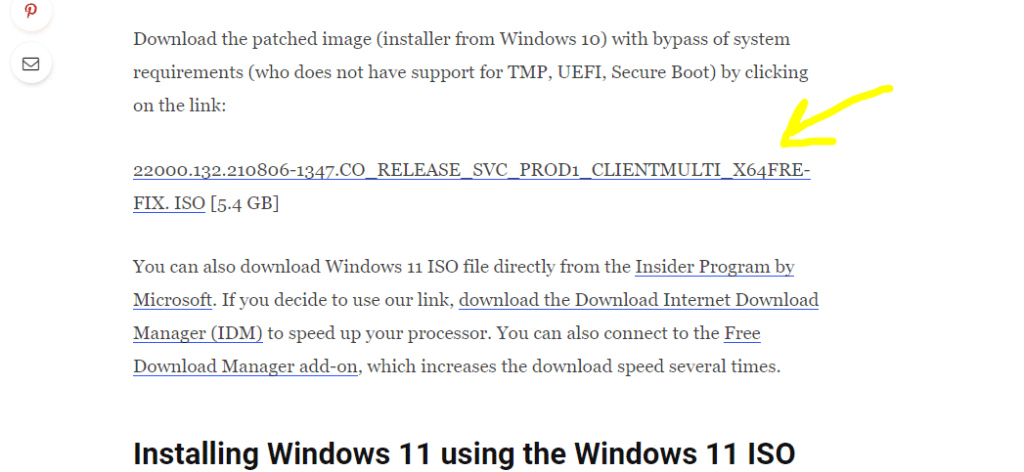
- Download Windows 11 ISO Image that Bypasses Restrictions in the Form of TPM 2.0, Secure Boot, and UEFI. You can download it from here (bottom of the post). We have also mentioned the complete tutorial on how we created this Windows 11 ISO file here- How to: Create a Windows 11 ISO Image that Bypasses Restrictions in the Form of TPM 2.0, Secure Boot, and UEFI
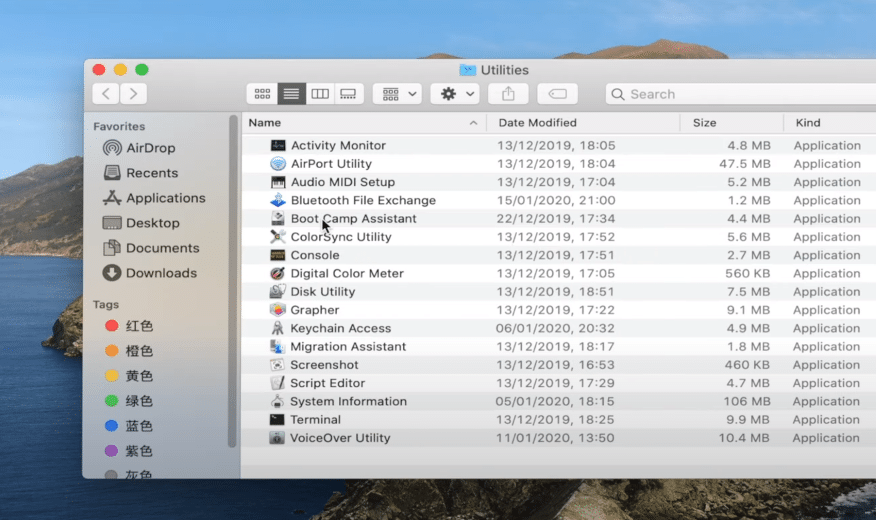
- Boot Camp Assistant (You can find it under your Applications > Utilities on MAC).
How to Install Windows 11 on Mac with Boot Camp: Step-by-Step Guide
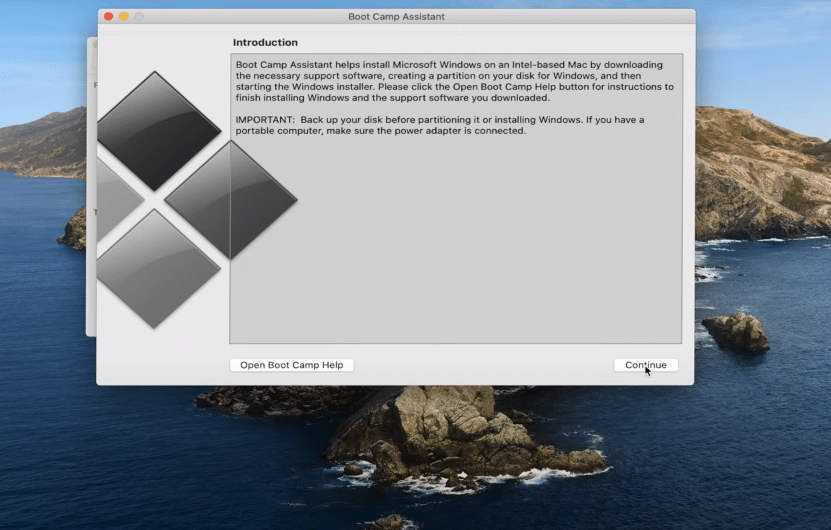
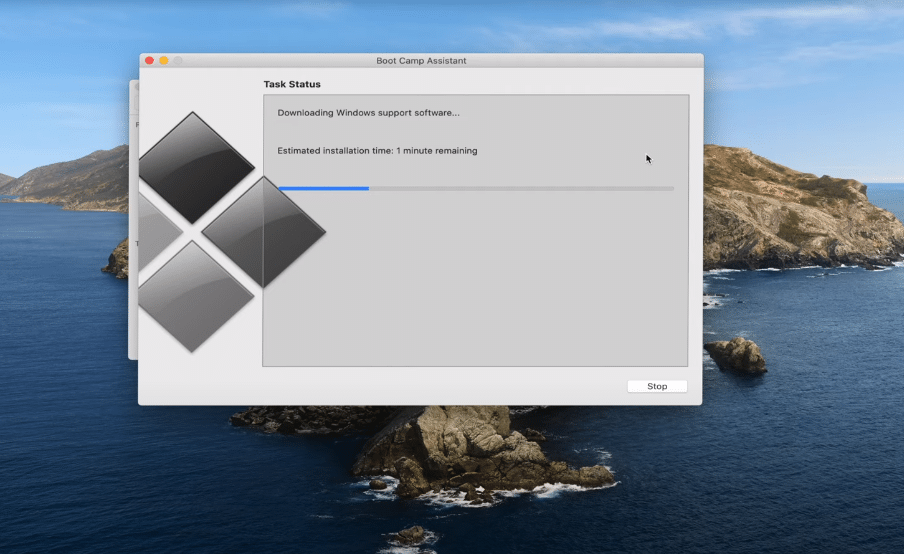
- Open Boot Camp Assistant (You can find it under your Applications > Utilities on MAC)
- Click Continue.
- Create a separate partition for Windows 11 (Make sure you have atleast 64GB of free space in the new partition). Click Continue.
- Now add the Windows 11 ISO image that you downloaded above.
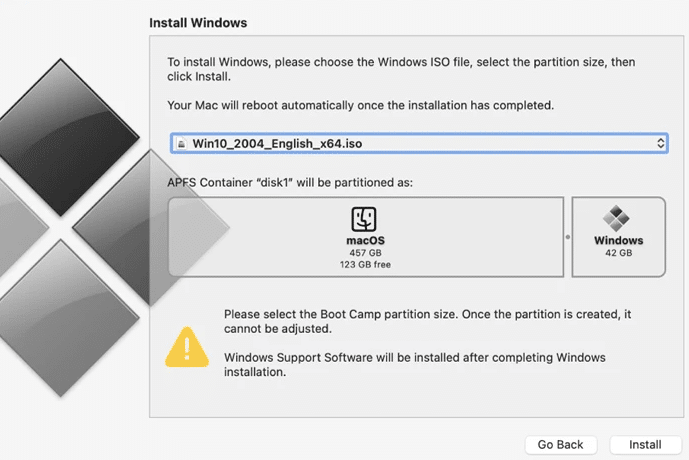
- Now you need to alot the disk space to your new partition. You can specify any storage size as per your convinience and requirements.
- Enter your password.
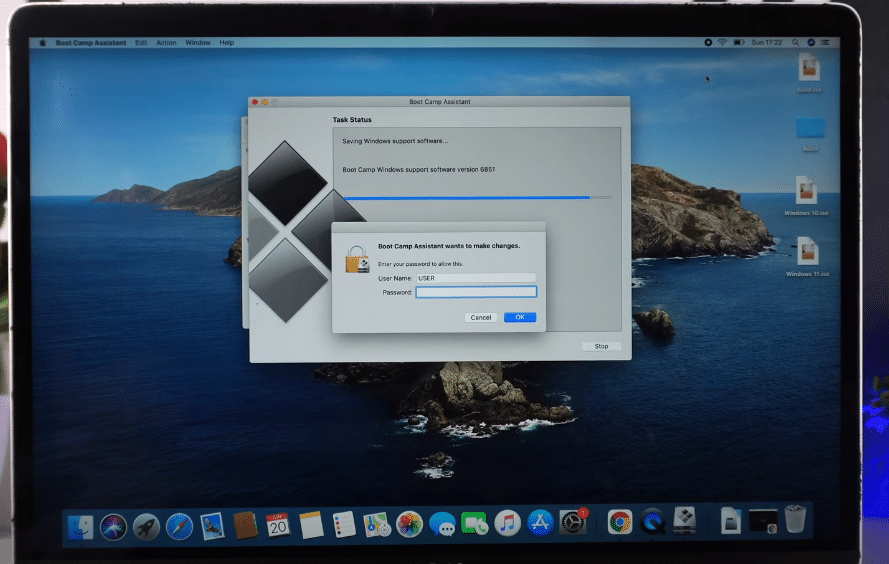
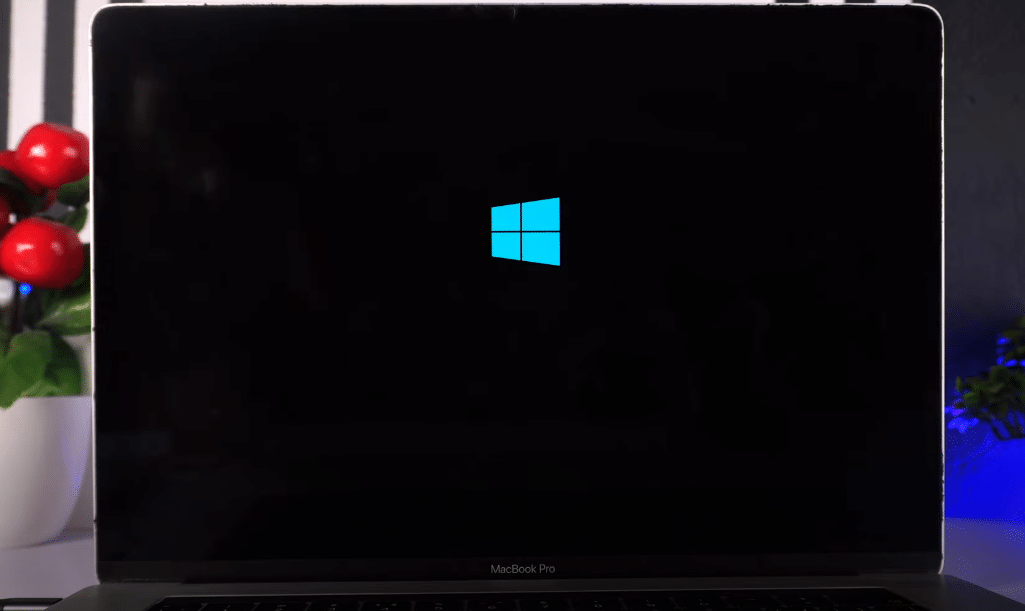
- Now your system will restart and proceed with furthur installation steps to install Windows 11 on Mac.
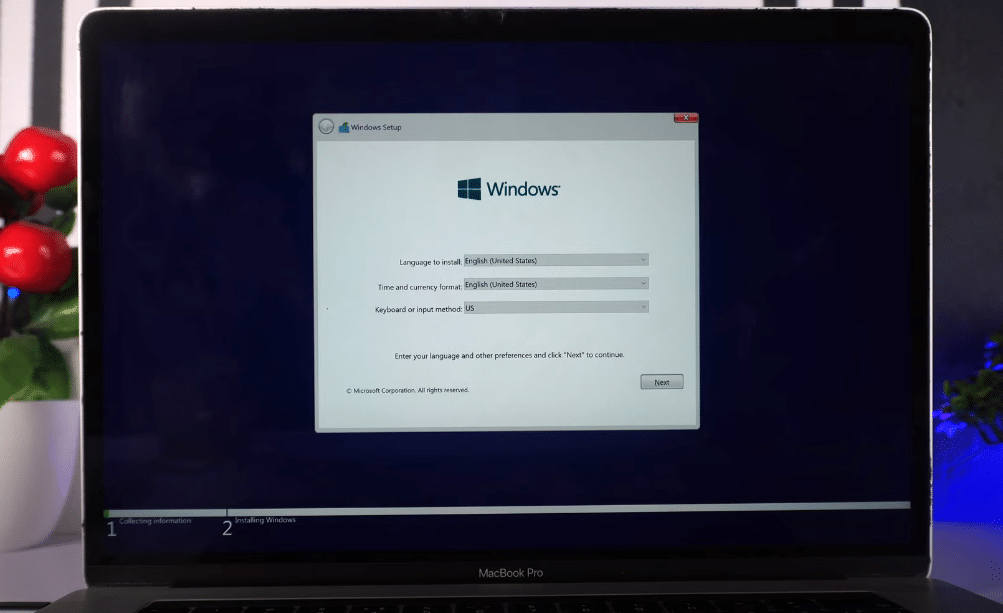
- Continue with the Windows setup. Select Language > Time > Keyboard. Click Next.
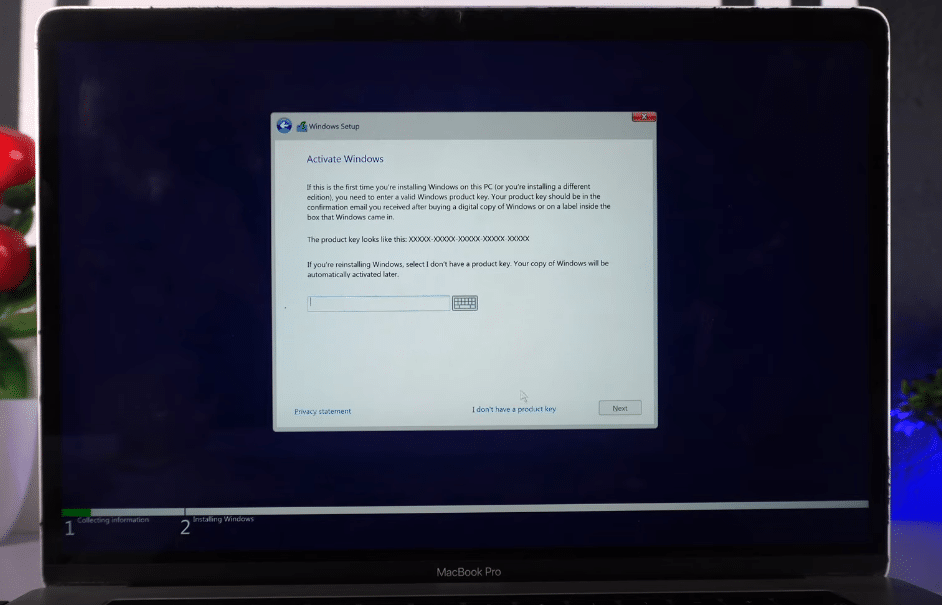
- Click I don’t have a product key.
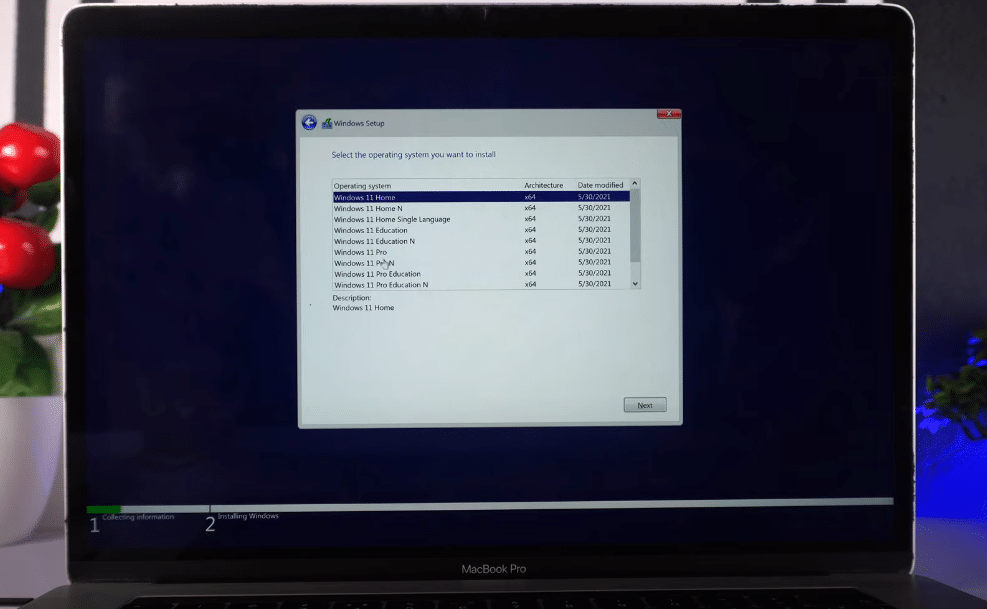
- Select the version of Windows you want to install.
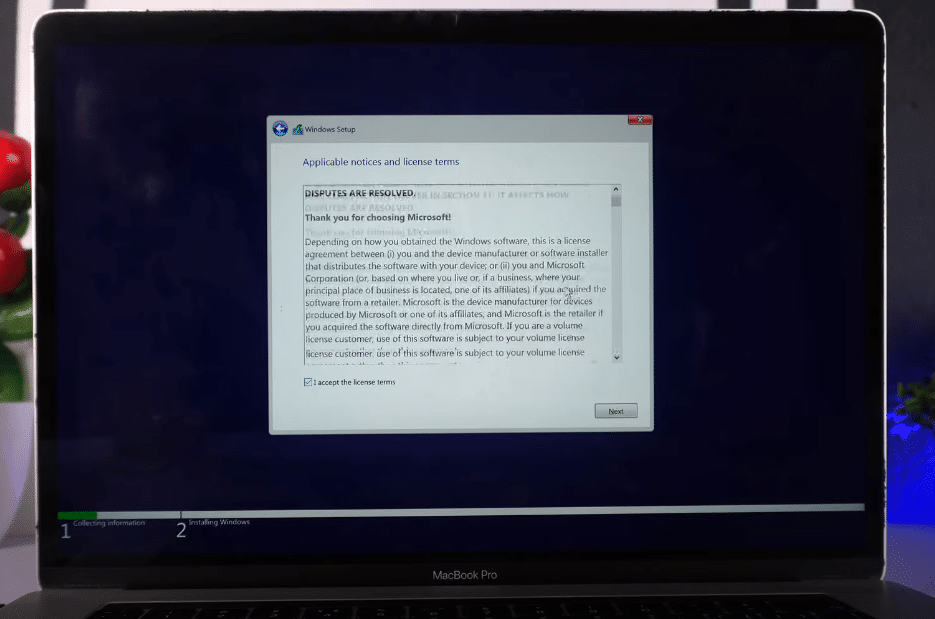
- Accept Terms and Conditions.
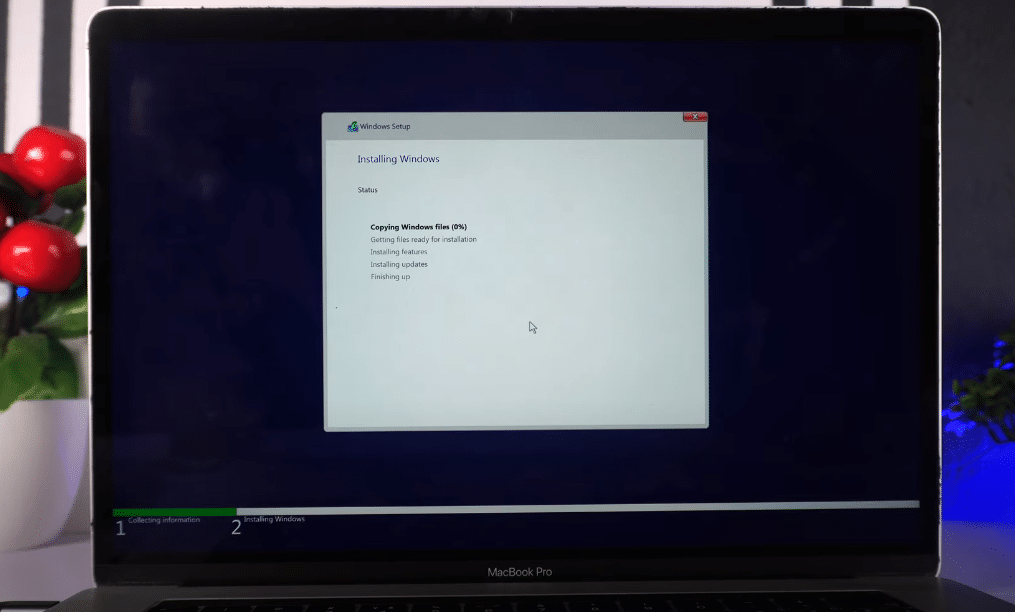
- Wait for the setup to install all the required files.
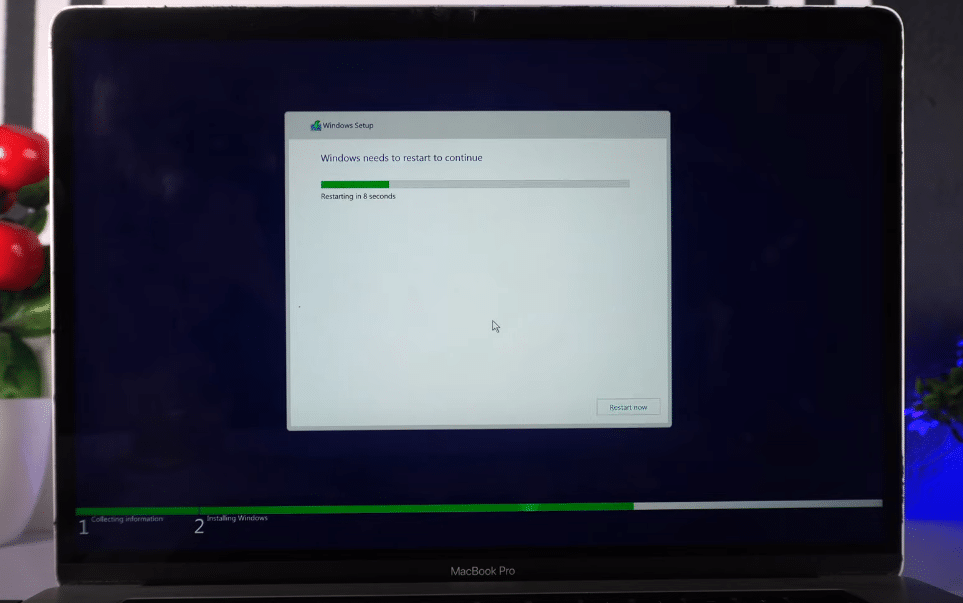
- Wait for the system to restart. Alternatively, you can also click Restart Now.
- Now, you will be able to see the final installation steps of Windows 11 on Mac.
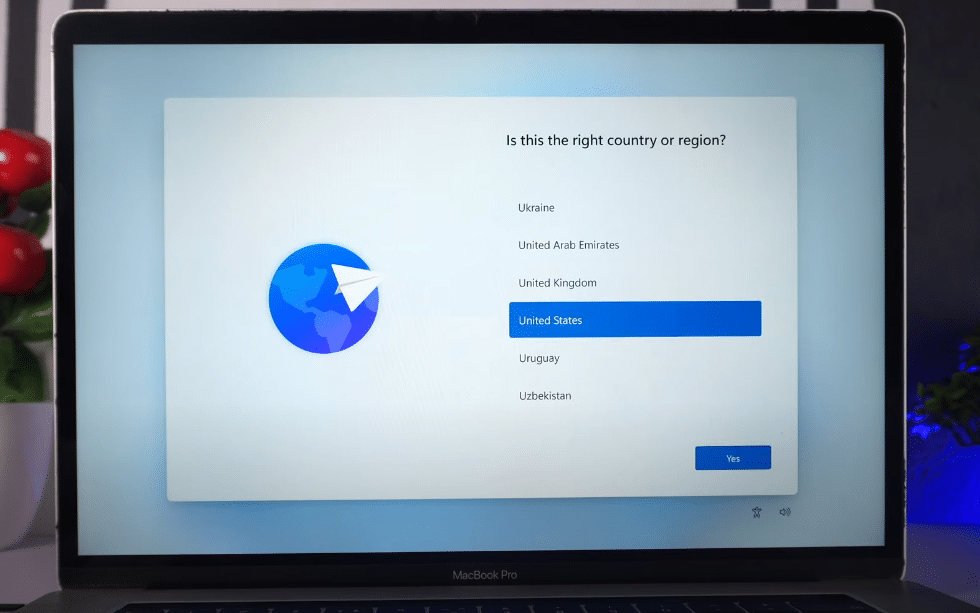
- Select your Location and Click Yes.
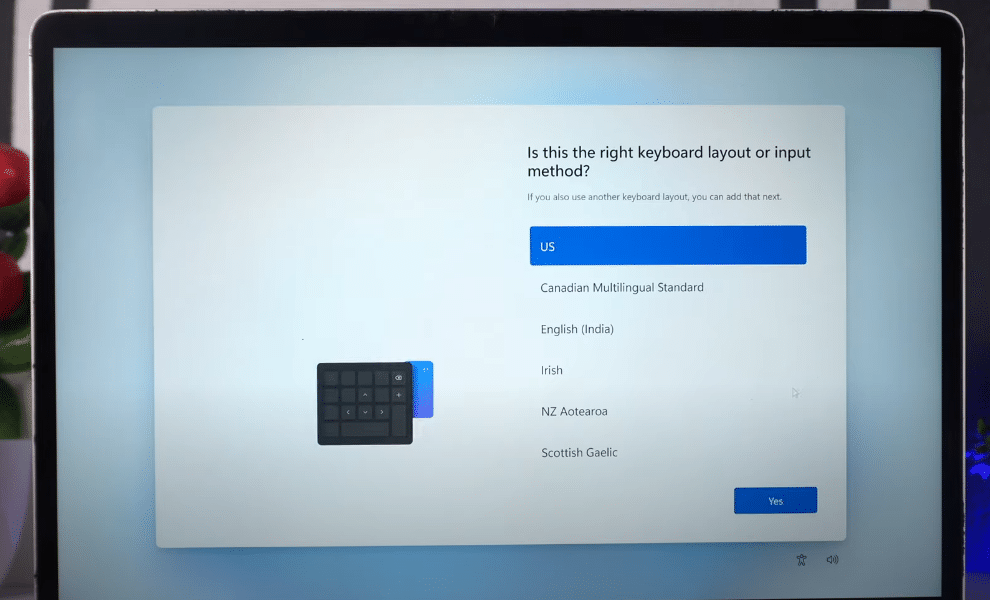
- Select your Keyboard layout and click Yes. Skip the secondary Keyboard layout.
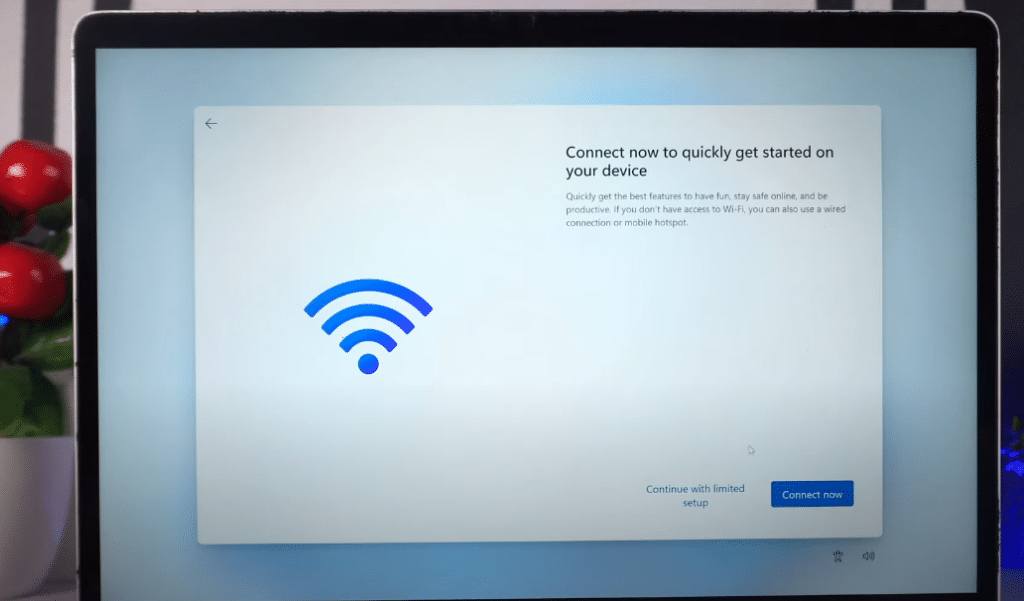
- If you want, you can connect to your Internet. I skipped it and continued with Limited Setup.
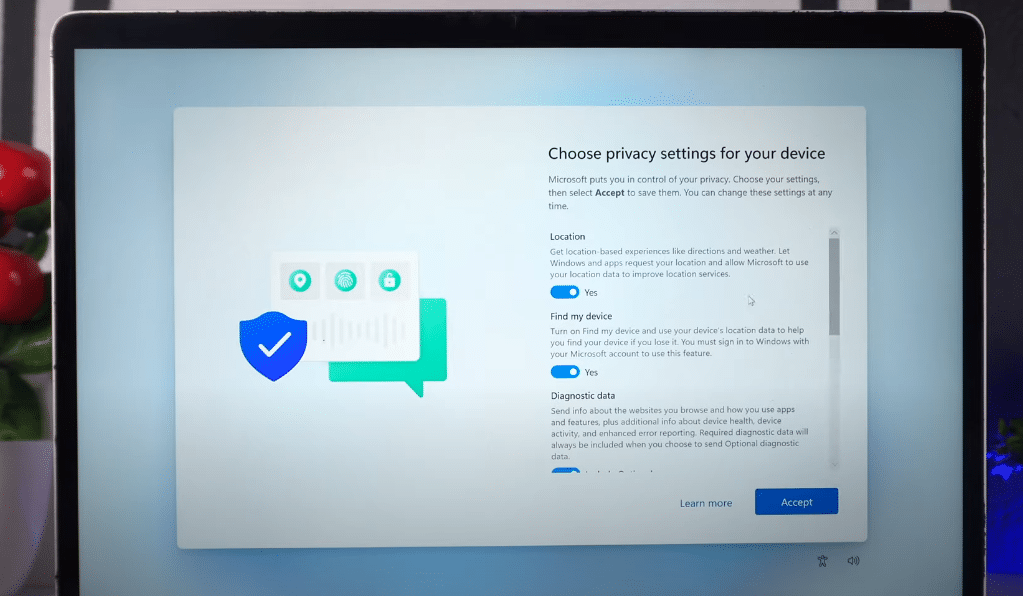
- Enter your Name, Password, and Privacy Settings.
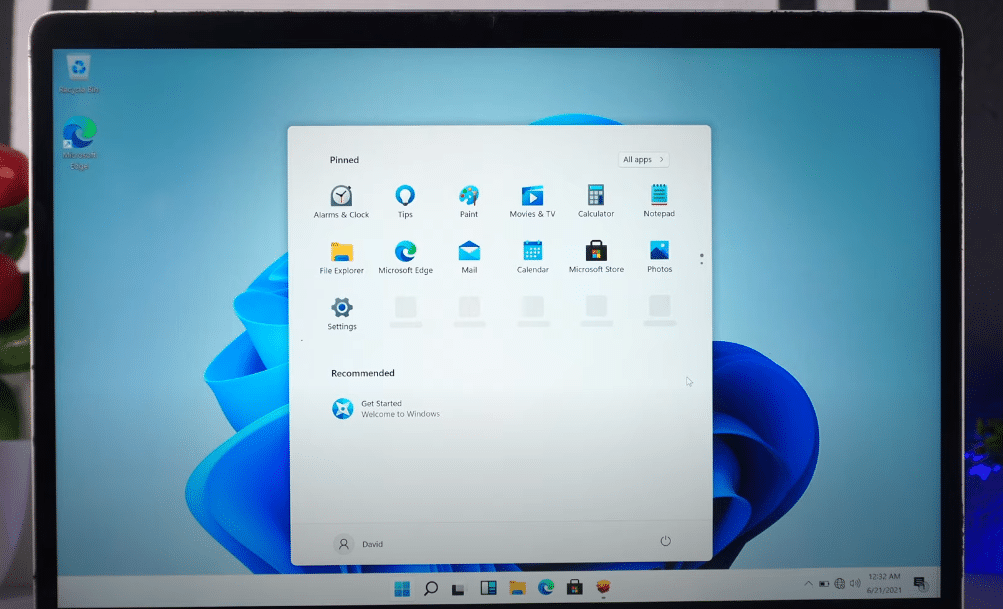
- Your installation of Windows 11 on MAC is complete.
You can now activate your Windows 11 with the help of this guide- How to Activate Windows 11 for Free: 3 Methods.
Conclusion: Install Windows 11 on MAC with Boot Camp
I hope this article was helpful. If you face any issues, you can comment below.
You can also see our guide, where we have installed Windows 11 on MAC with Parallels Desktop: How to Install Windows 11 on MAC with Parallels Desktop: 2 Easy Steps.
As a disclaimer, this is not the official release of Microsoft Windows 11. This build is only for those wanting to test out Windows 11 on their Mac. In that case, I will advise you to wait for the general public release of Windows 11, but if you want to test out Windows 11, do it at your own risk. If you follow the steps correctly, everything should just be fine.


