

Table of Contents
In this article, we will learn How To Install macOS 13 Ventura on VMWare. We have provided all the links to download the macOS Ventura ISO file for VMWare, macOS Unlocker for VMWare, and official VMWare.
If you are on a MAC, you can use this guide: How to Install macOS Ventura in a Virtual Machine on an M1 or M2 Mac with UTM
If you are a MAC user, you can simply download macOS Ventura DMG file and directly install it on your system. For Windows users, this guide will help you install macOS 13 Ventura on VMWare on your Windows PC.

Things Required to Install macOS Ventura on VMWare on Windows PC.
- Enable virtualization of your Windows 11 PC
- Download and Install VMWare on your Windows PC
- Download & Install macOS Unlocker For Vmware Workstation/Player
- Download macOS Ventura ISO File
Step by Step Guide:
1. Enable virtualization of your Windows 11 PC. Here is a guide you can use: How to Enable Virtualization in Windows 11? Easy Guide
2. Install VMWare Workstation and Install macOS Unlocker.
Here is a complete video tutorial that you can use:

3. Download macOS Ventura ISO File
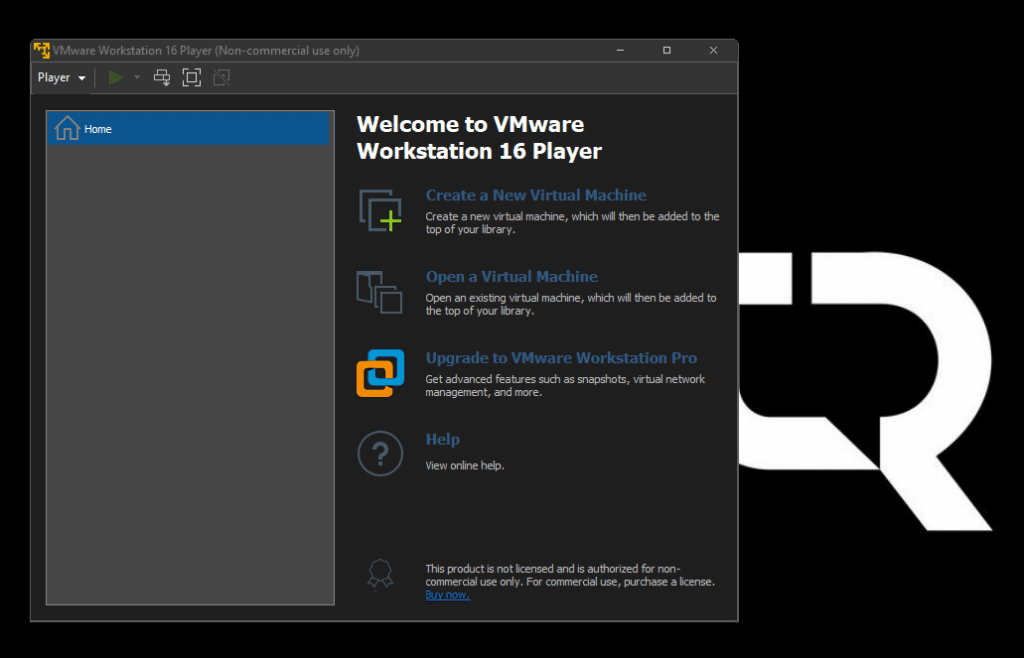
4. Open VMWare and click Create a new virtual machine.

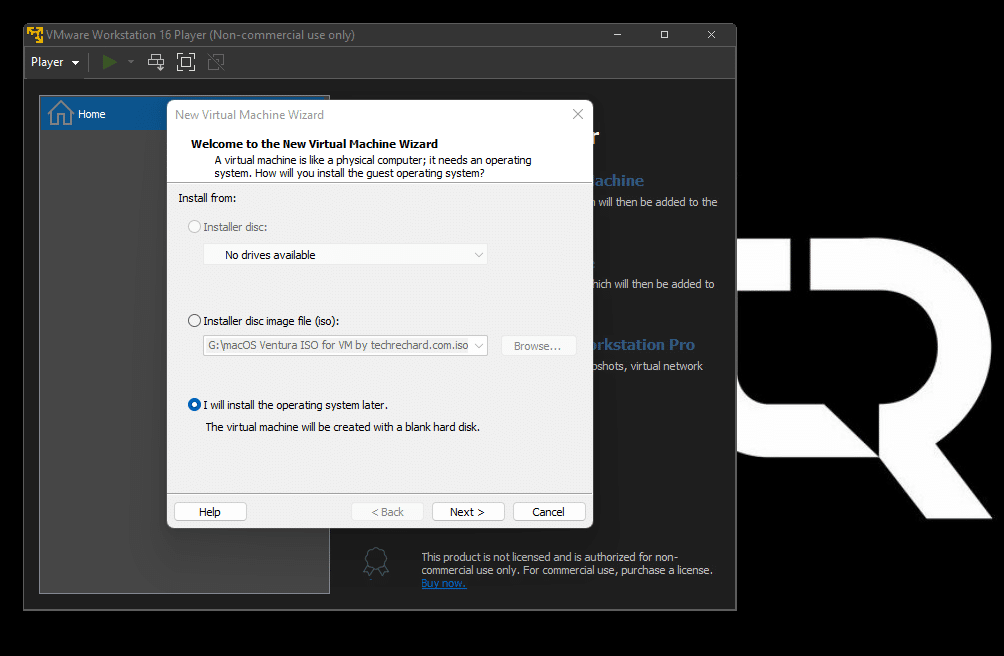
5. Select I will Install the Operating System later and click Next.

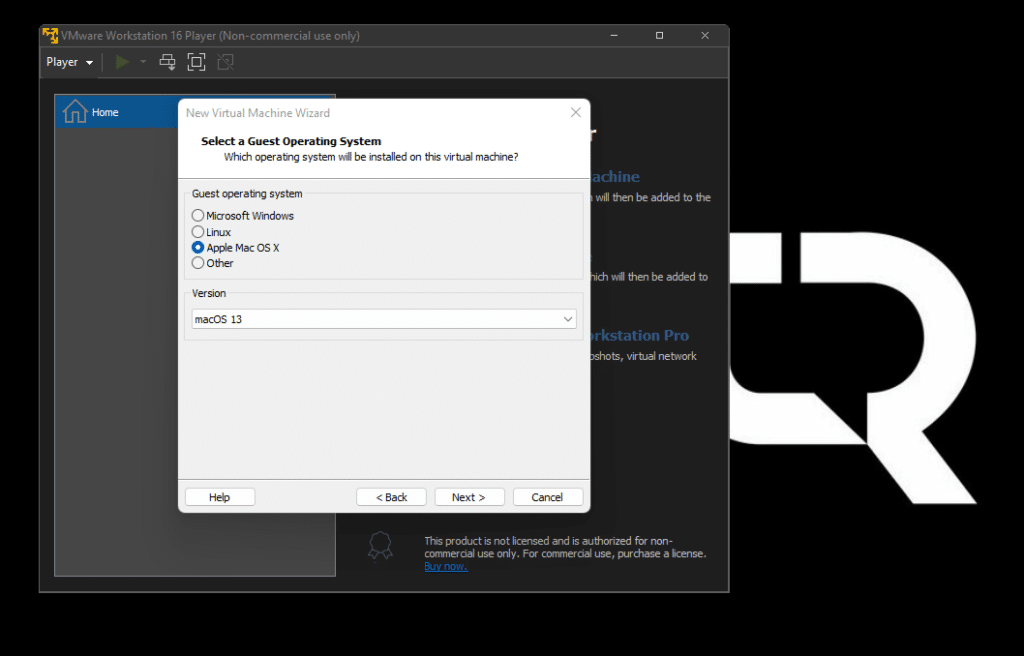
6. Select Mac Apple OS X and in version, select macOS 13 and click Next.

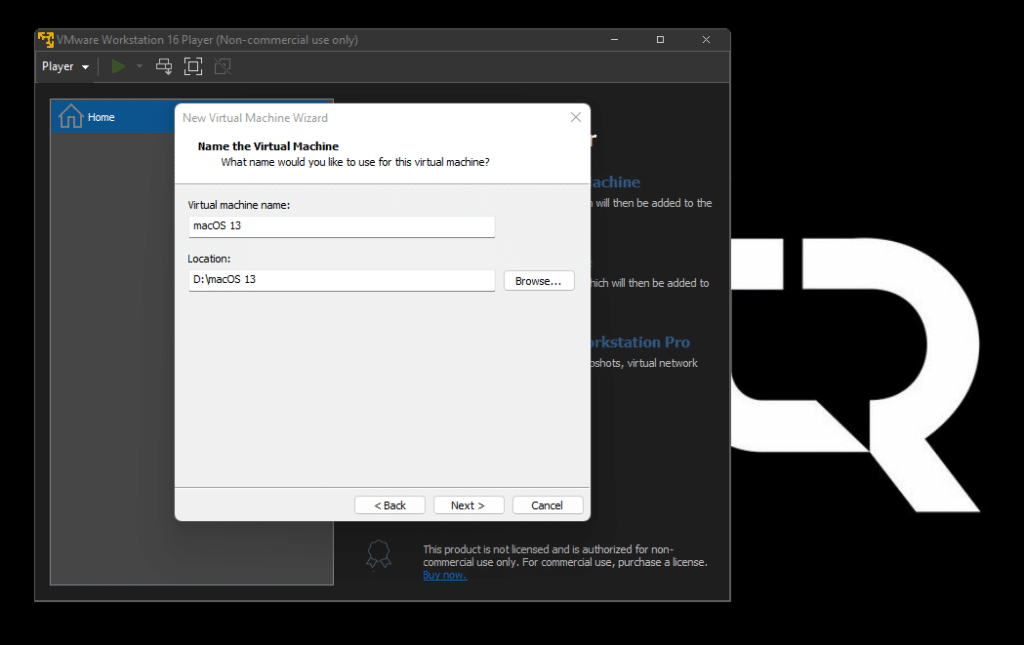
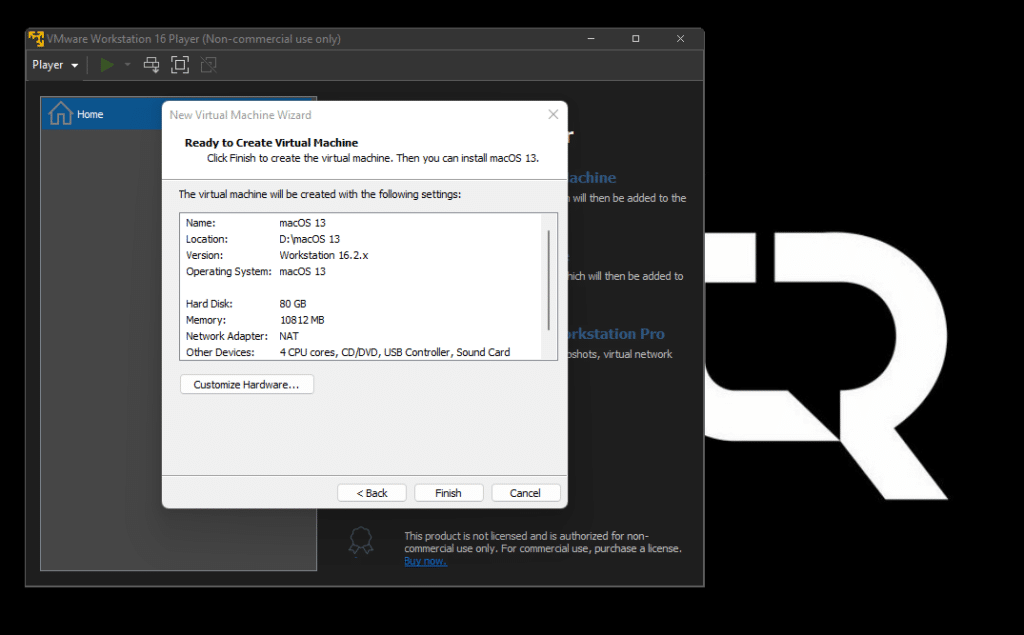
7. Enter a name for your virtual machine (in my case: macOS 13) and click Next.

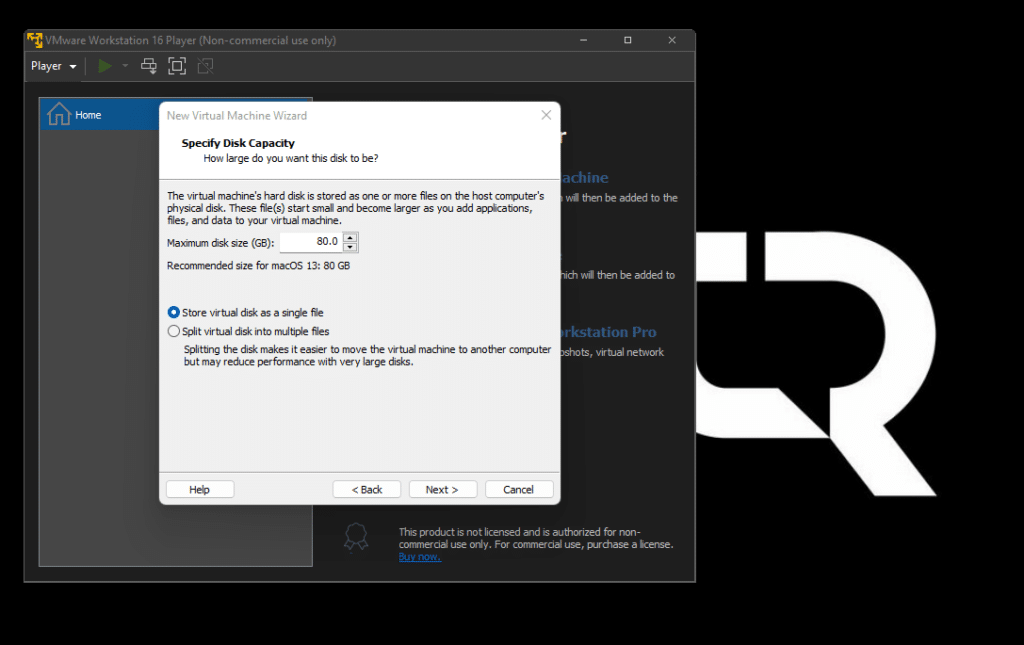
8. Specify the size, keep anything above 80GB.
9. Click Customize Hardware.

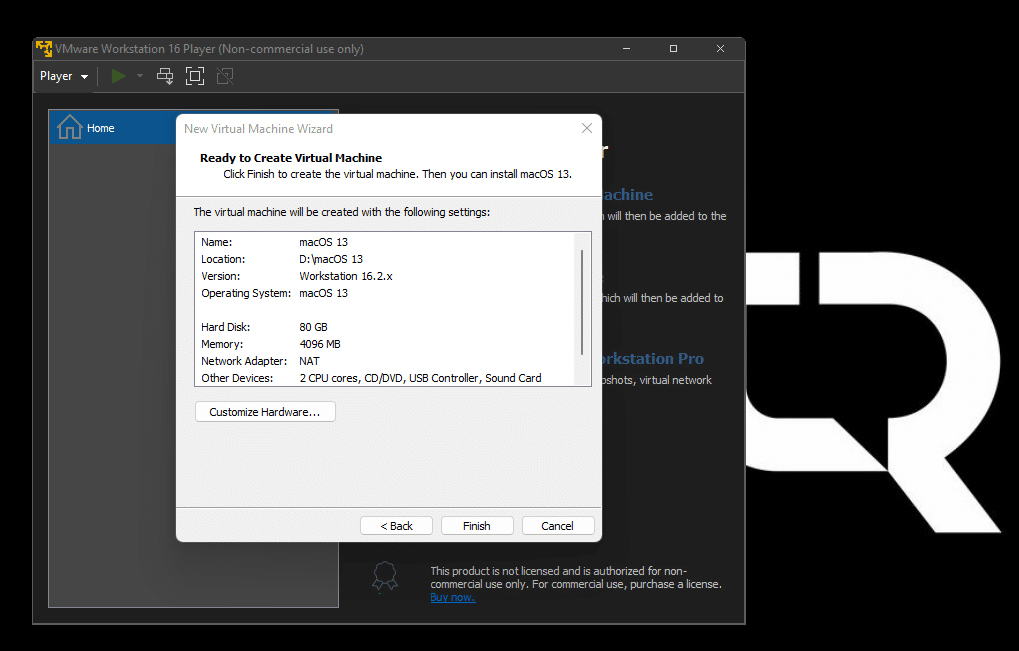
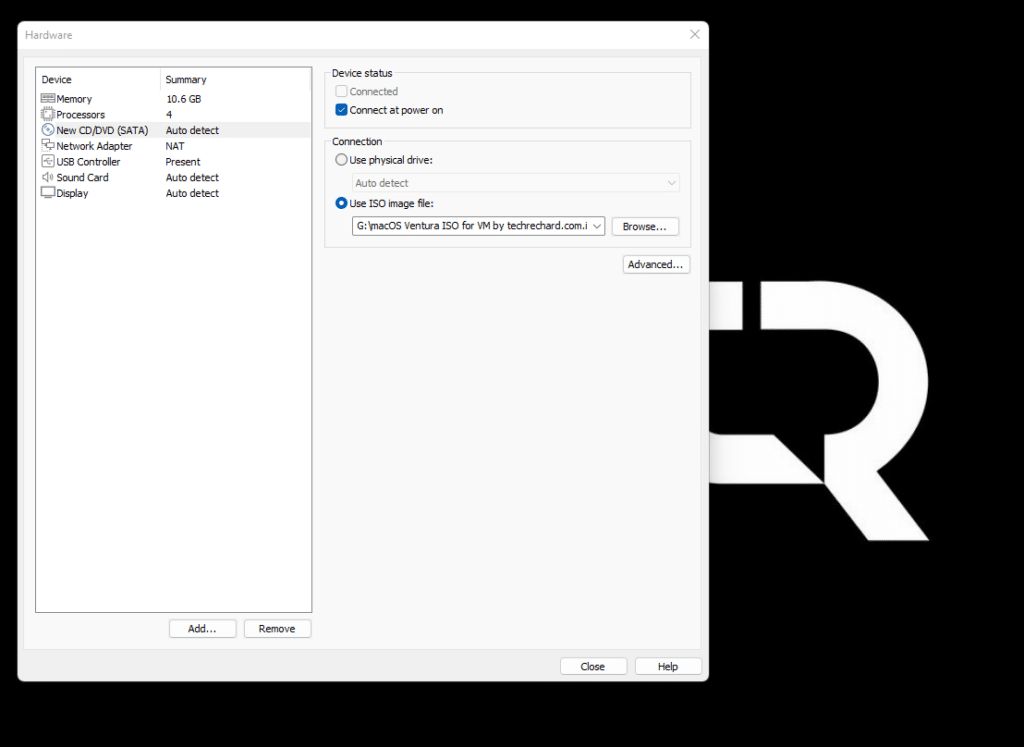
10. Keep memory in the desired range and set processors to 4.


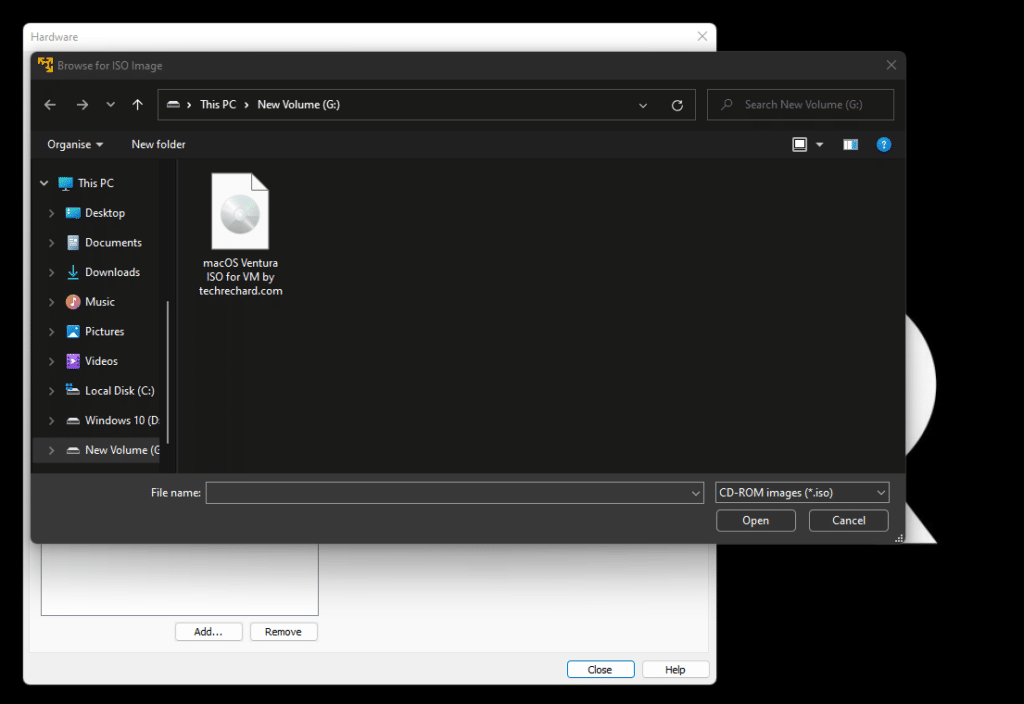
11. Under New CD/DVD (Sata), click on Use ISO Image file and then browse and add your macOS Ventura ISO file that you downloaded above.

12. Click close.

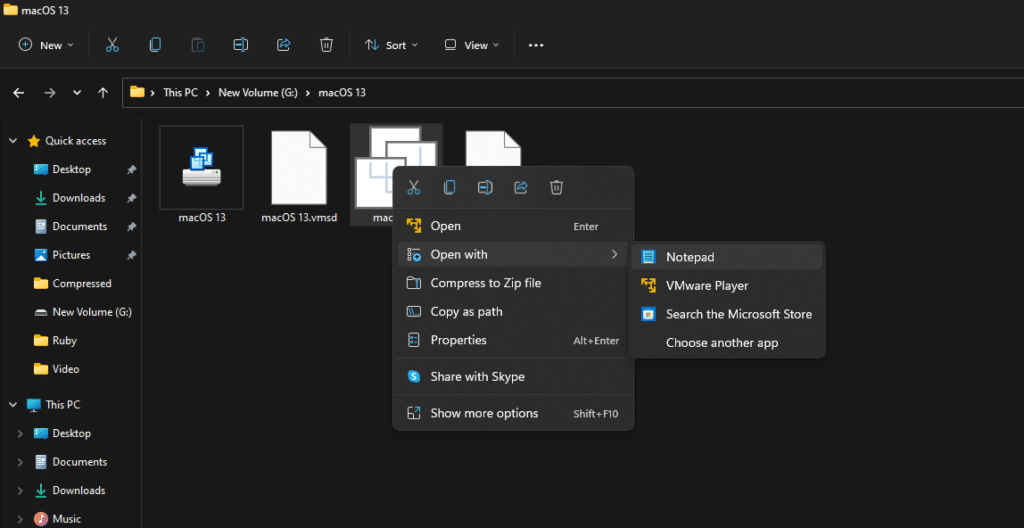
13. Click Finish and Close your VMWare and browse to the directory where you have created your macOS 13 virtual machine.

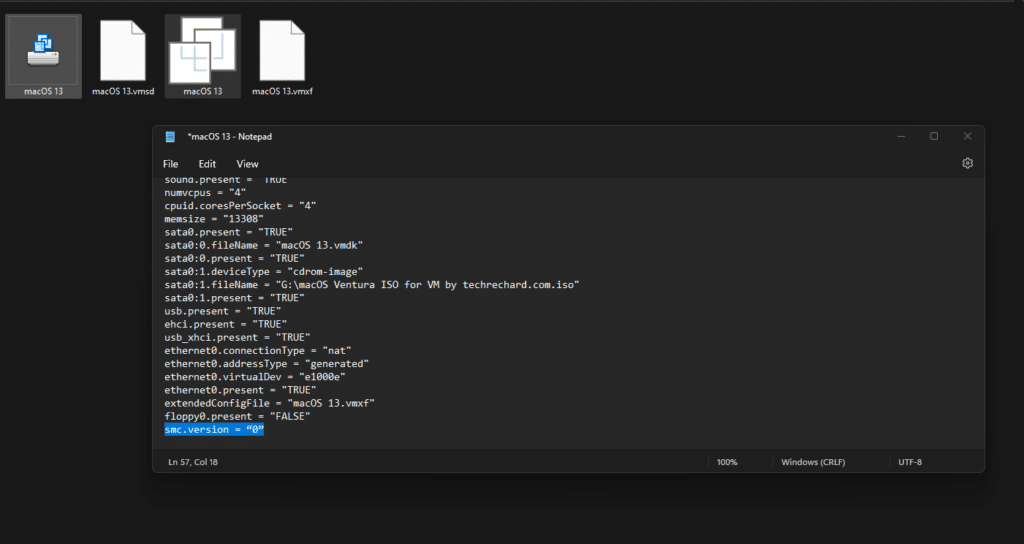
14. Right-click on .vmx file and select Edit with Notepad.

15. At the end type smc.version = “0”.

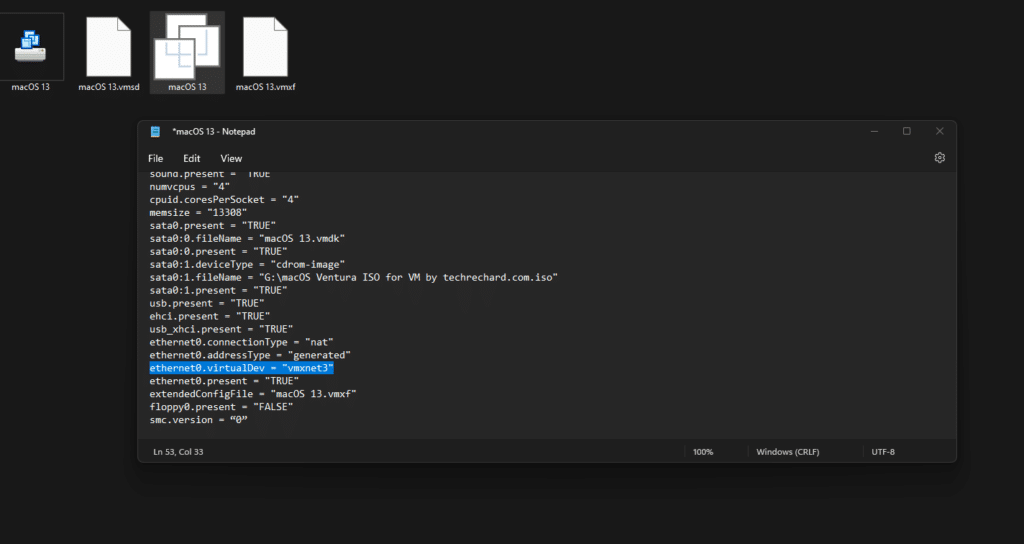
16. Search for Ethernet0.VirtualDev = “e1000e” and replace e1000e with vmxnet3 and save the file.
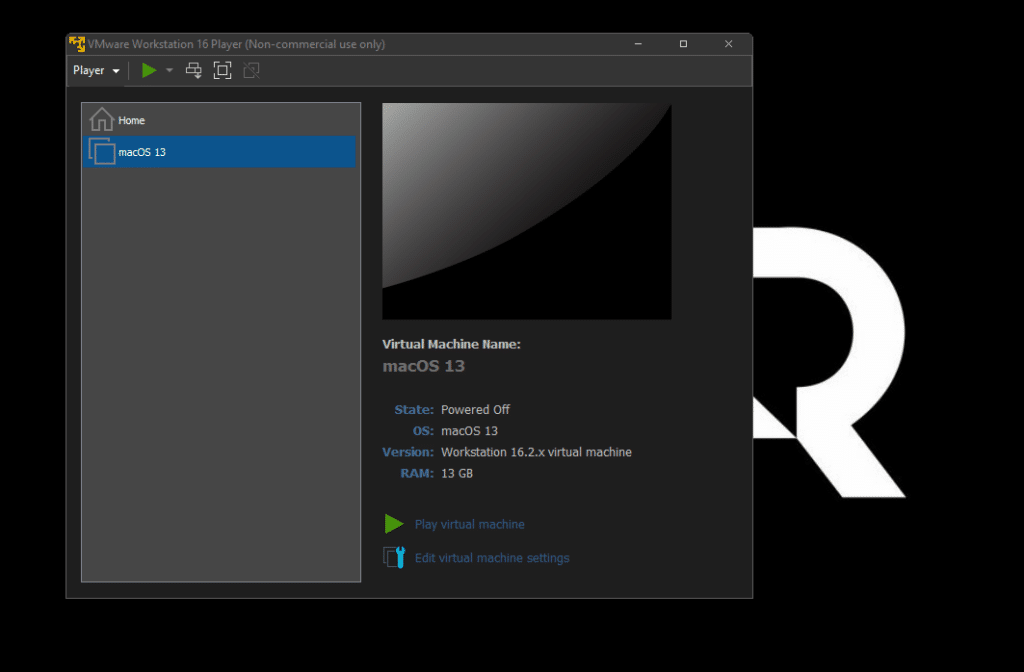
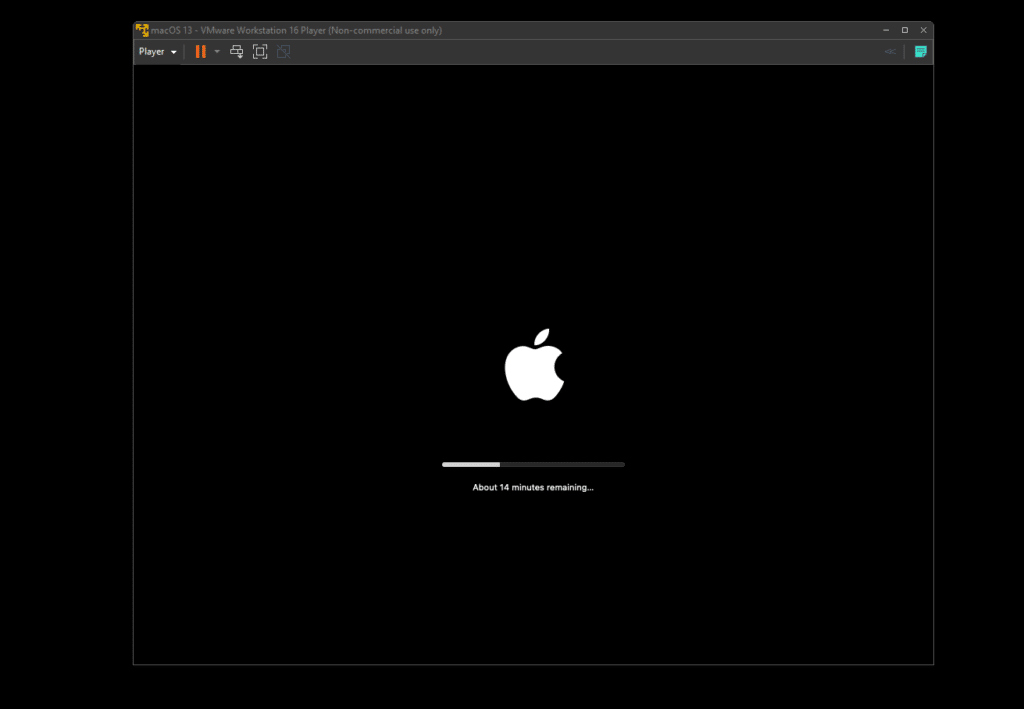
16. Open your VMWare again and start your machine.

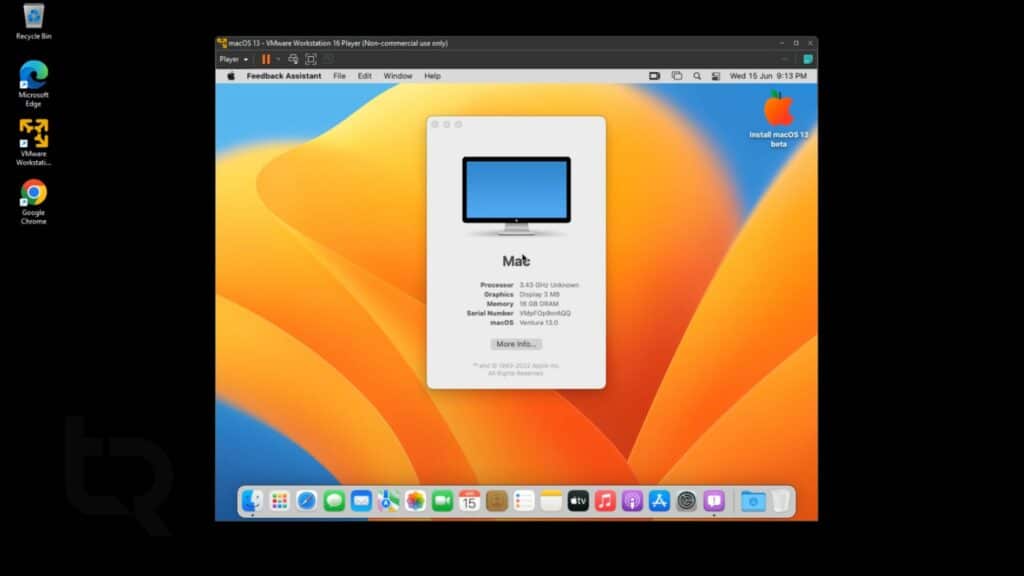
17. The process will take some time and wait for the apple logo to appear.

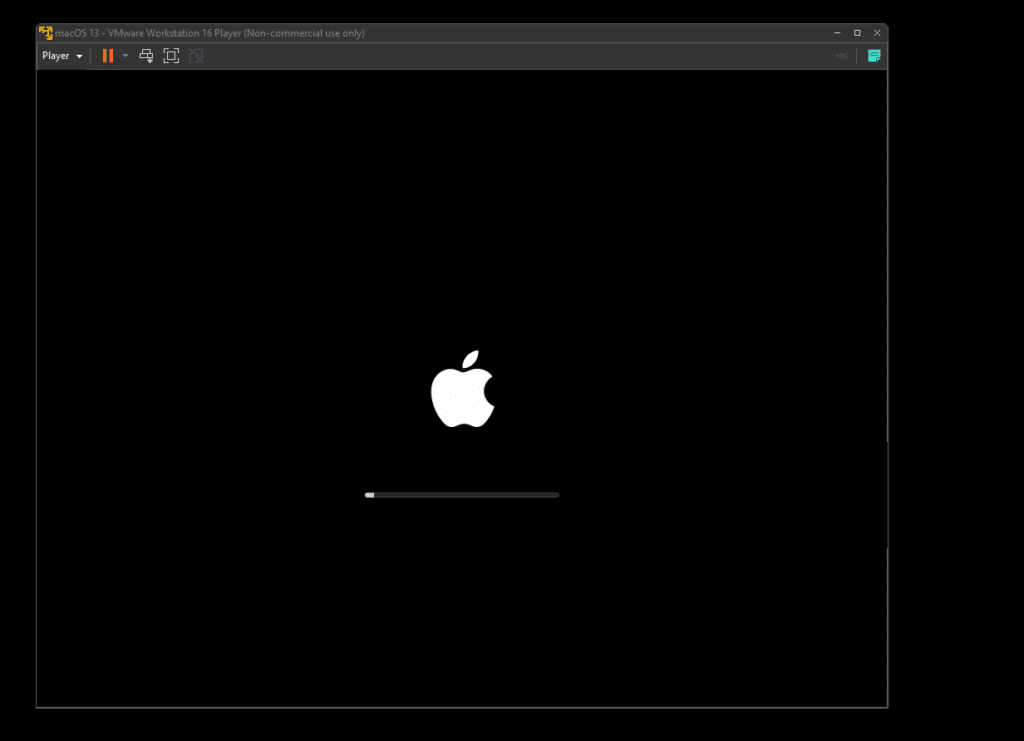
18. Now, you can simply proceed with the installation of macOS Ventura 13.

The following steps of personalizing your macOS Ventura can be seen in the below video tutorial. You can follow all the steps in the video and process with the installation of macOS 13 Ventura on VMWare.
Frequently faced errors: (Updated 20/06/2022)
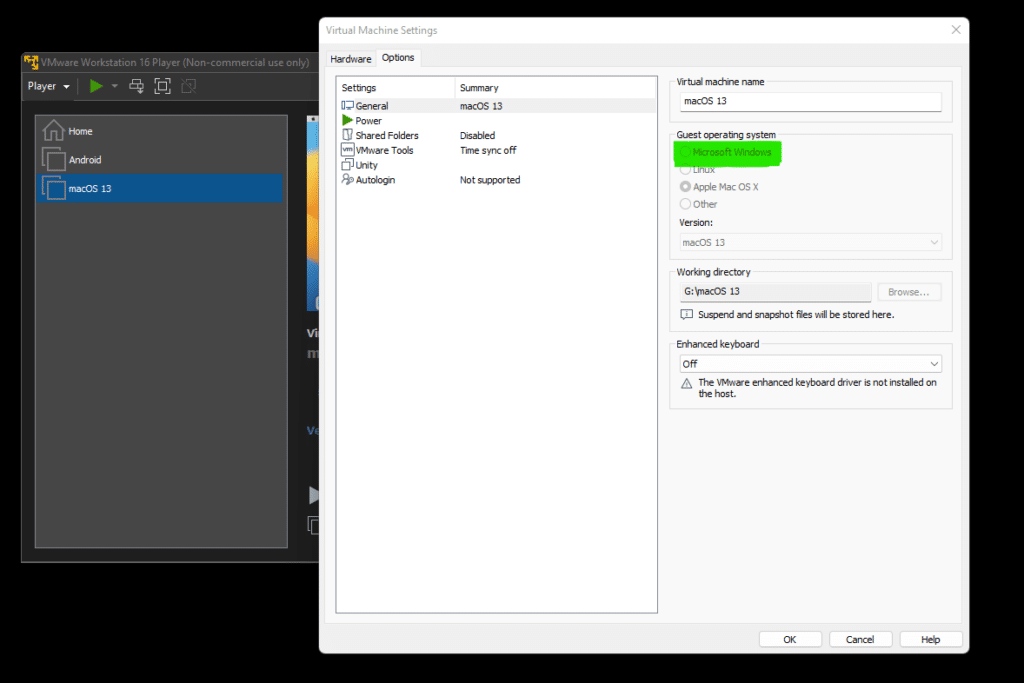
1. Stuck in a boot loop
If you are stuck in a boot loop. Go to your VM settings -> Options -> General -> Change Guest Operating System to Microsoft Windows.
If your VM restarts with the installation process again and you are stuck in a loop. For those stuck on boot loop, wait like 5/7 boot loops, after it will stop (intel processor).

2. I am using the macOS Ventura VMDK file. What is the password for the account “Vaibhav Gupta”?
The password for my account is 0904.
If you face any issues, here is the complete video tutorial.
Conclusion: macOS 13 Ventura on VMWare
I hope this guide on How To Install macOS 13 Ventura on VMWare was easy and helpful. If you face any issues, please comment down below.
If you face any issues with VMWare, you can run it on VMWare. Here is the guide: Install macOS 13 Ventura on VirtualBox