
Table of Contents
Virtualization can provide a safe environment for testing new operating systems, trying out potentially harmful software, or simply running different OSes on your computer. This step-by-step guide will walk you through how to install macOS Ventura in a virtual machine on an M1 or M2 Mac using UTM.

Requirements
- An M1 or M2 Mac.
- At least 8GB of RAM and 60GB of disk space.
- macOS Ventura IPSW file.
- UTM software.
Download Necessary Files
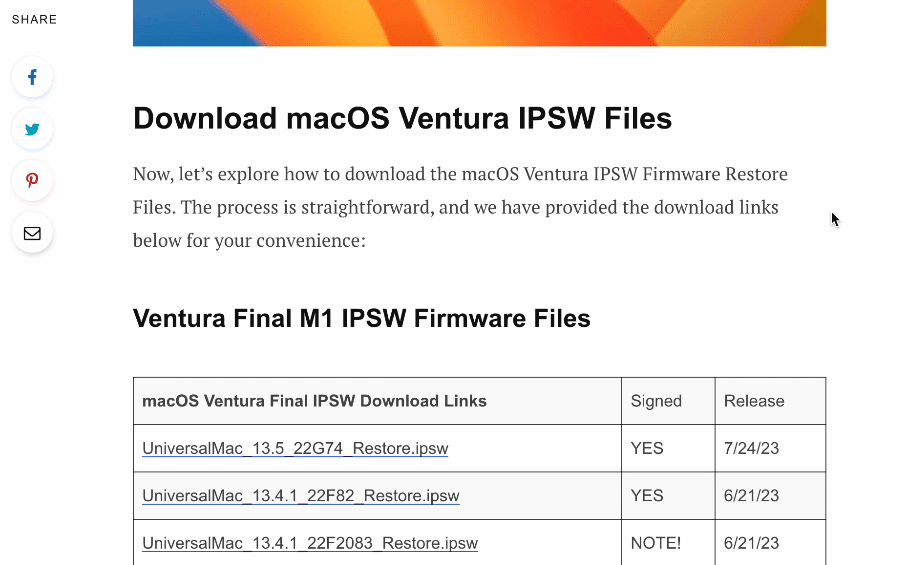
1. Download macOS Ventura IPSW File: You’ll need this file to install macOS Ventura. You can obtain it from Apple’s Developer website or our website archives.

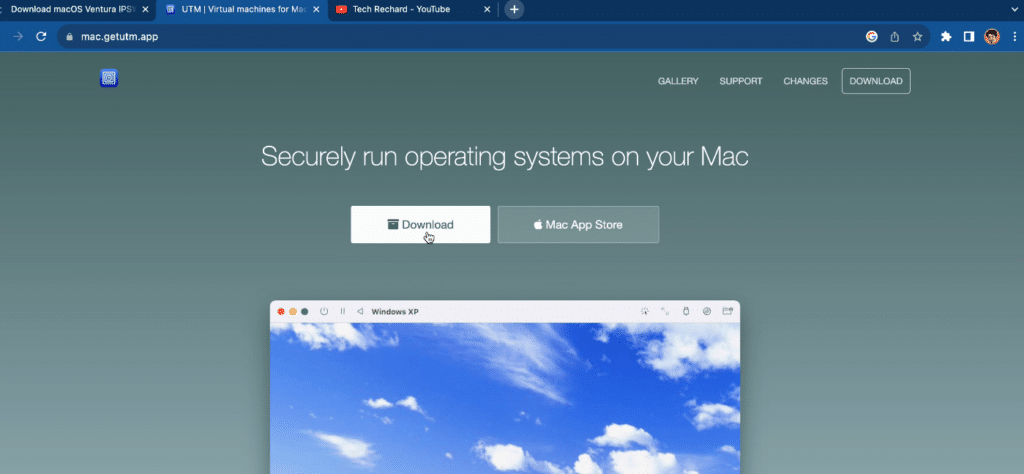
2. Download UTM: UTM is a virtual machine manager for macOS. You can download it for free from the official UTM website. Once downloaded, move the UTM app to your /Applications folder.

Setup the Virtual Machine in UTM
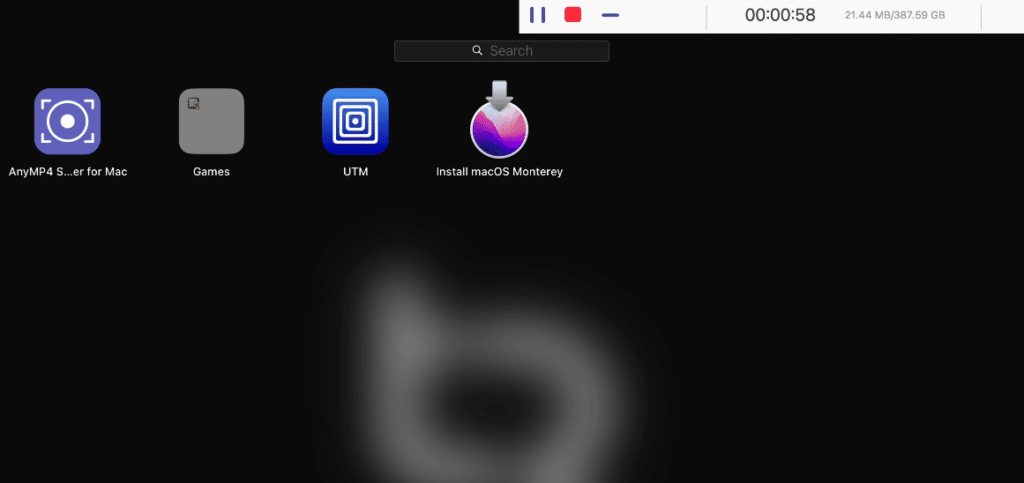
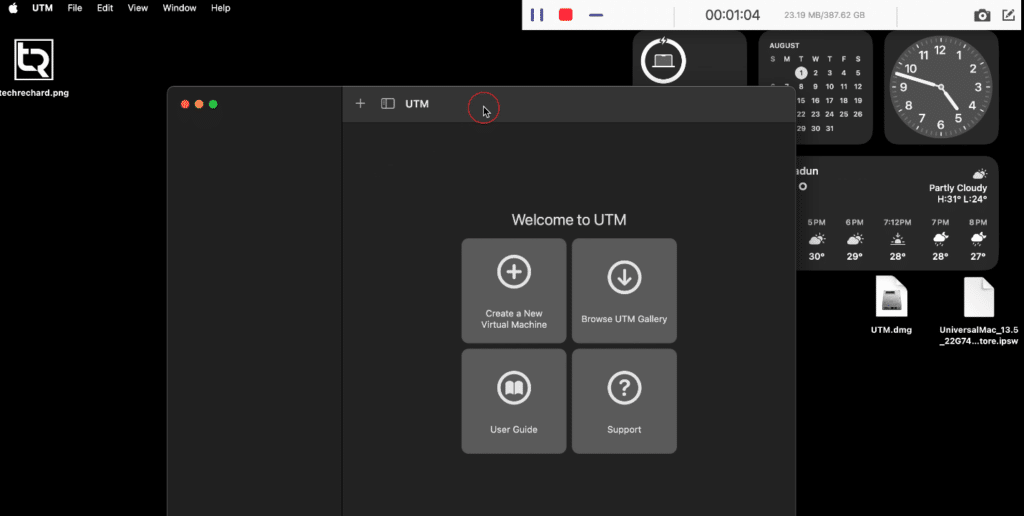
1. Launch UTM: Open UTM from your Applications folder.

2. Create a New Virtual Machine: Click the “+” button at the top left of the UTM interface to start creating a new virtual machine.

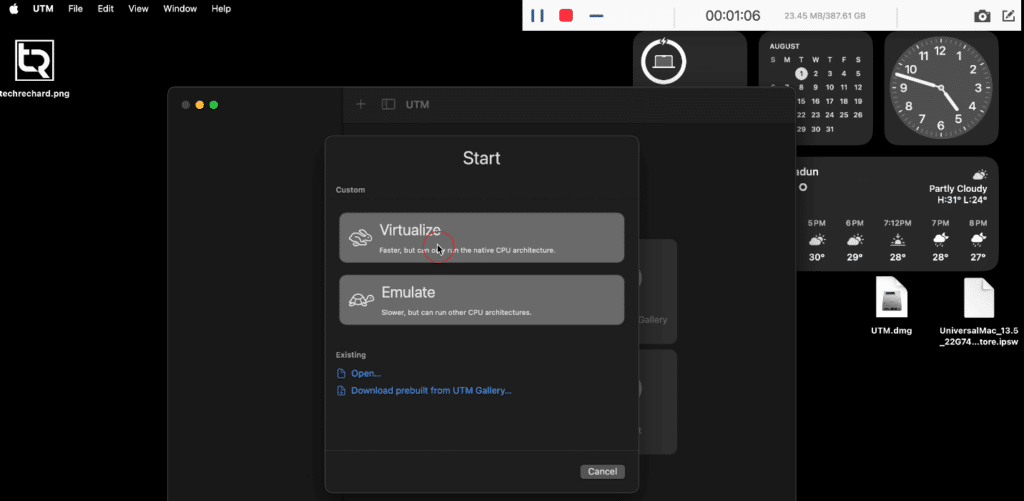
Click Virtualize.

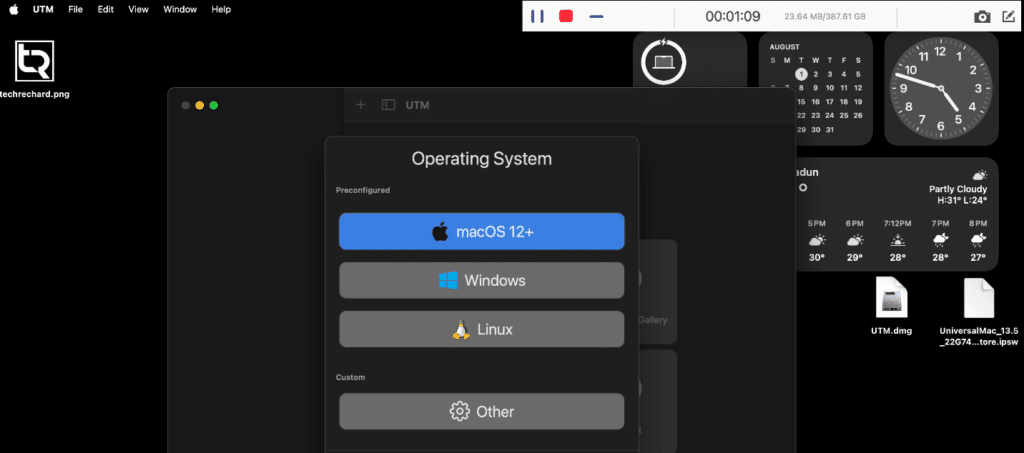
Click macOS 12+.

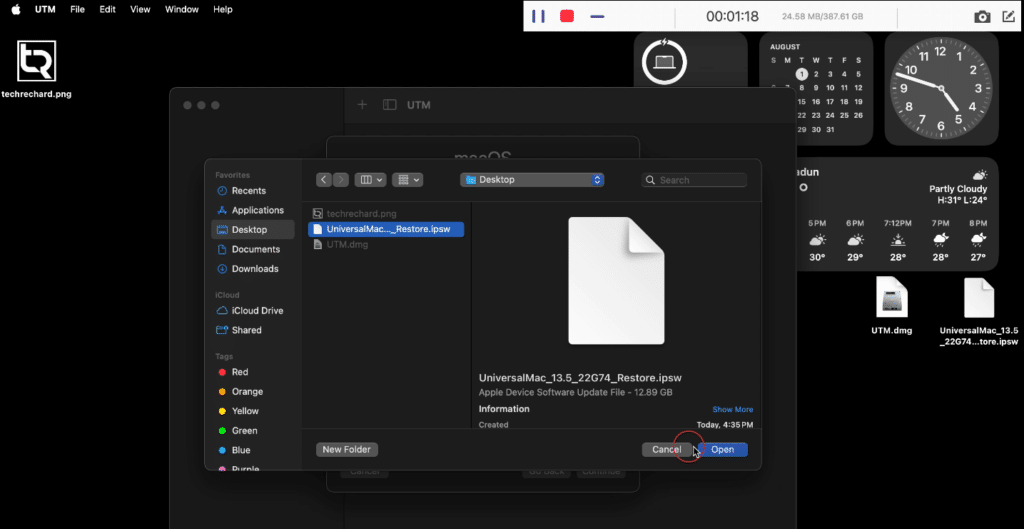
Now, click Browse and select the macOS Ventura IPSW file you downloaded above.

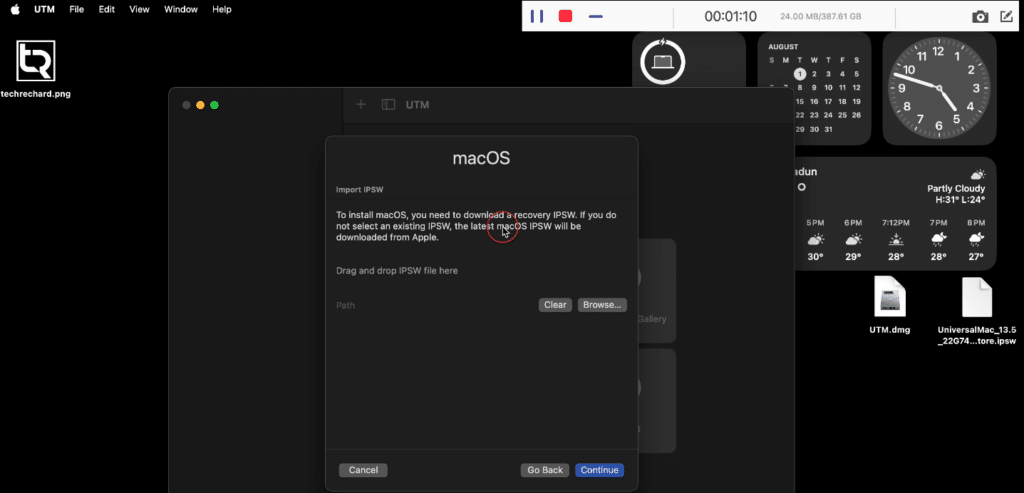
Select the file named- UniversalMAC*_Restore.ipsw and click Open.

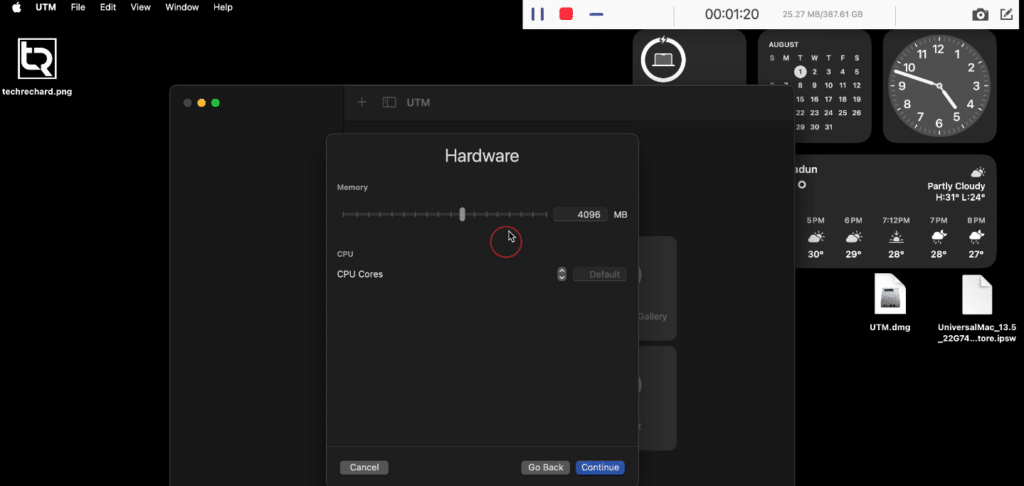
3. Allocate Resources: Under the Hardware tab, you can configure the amount of RAM and CPU cores allocated to your virtual machine. For smooth operation, allocate at least 8GB of RAM and 4 CPU cores. Once selected, click Continue.

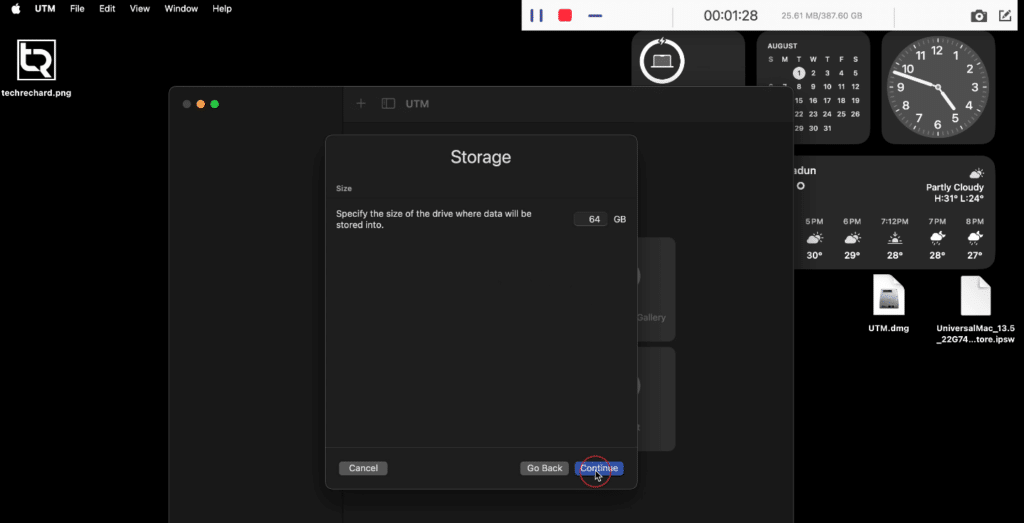
4. Allocate Disk Space: Keep the default 64 GBs under the Storage tab and click Continue.

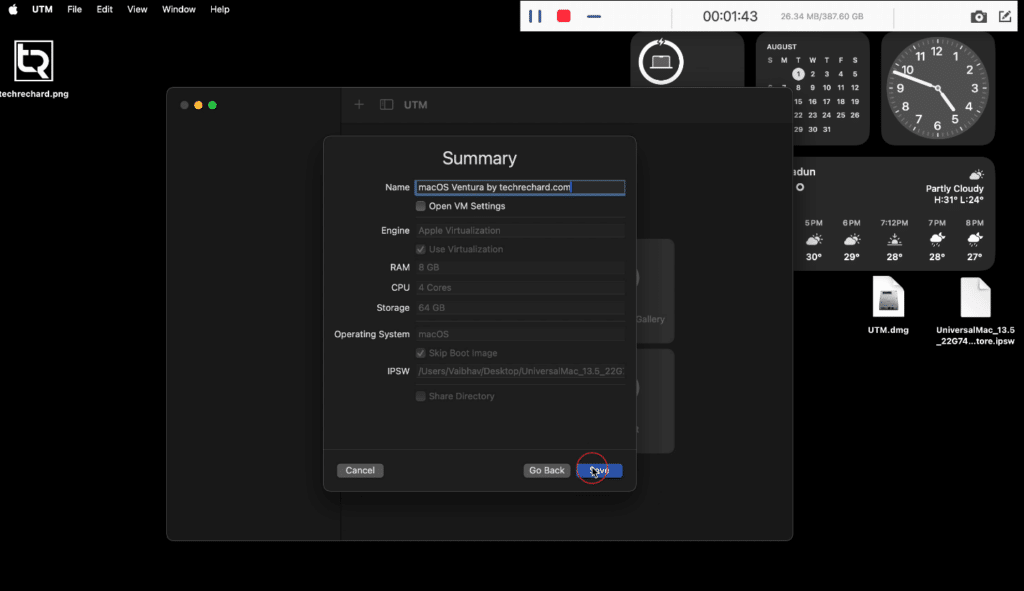
5. Name your Virtual Machine: Under the Summary tab, enter a name for your virtual machine. In my case, it is: macOS Ventura by techrechard.com, and click Save.

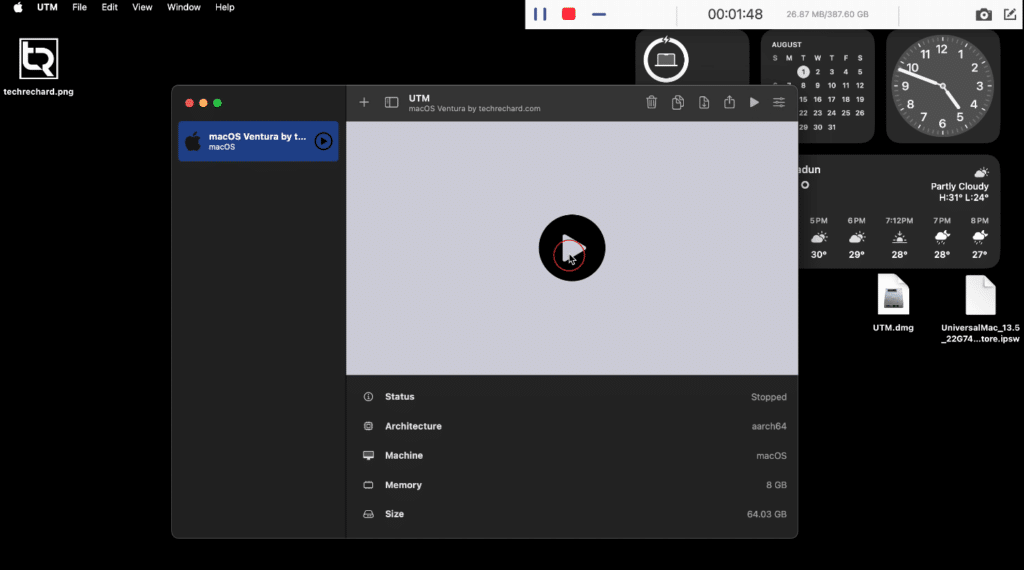
6. Start your Virtual Machine: Once everything is in order, click the Play button.

Install macOS Ventura
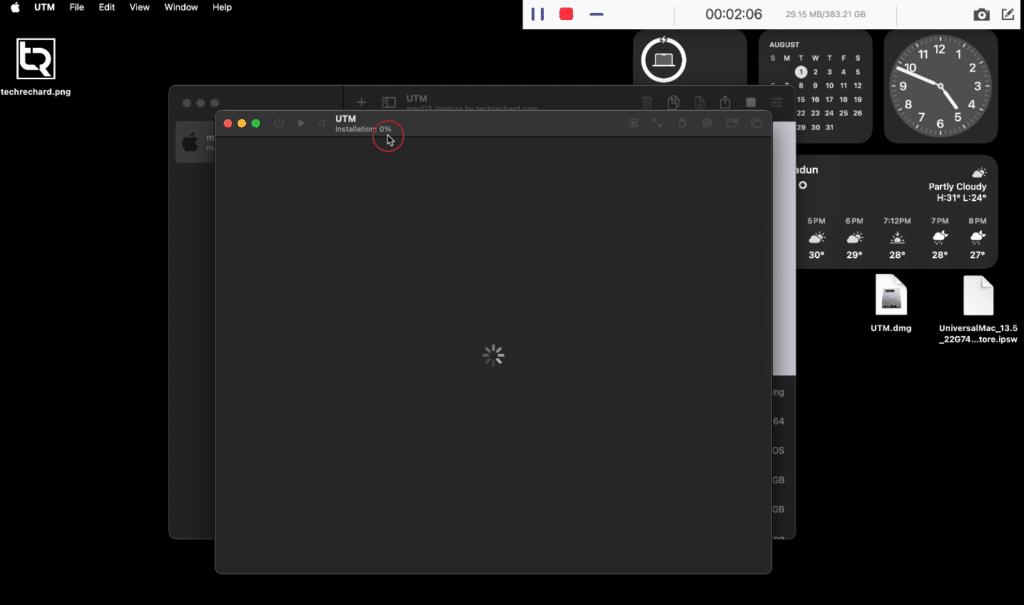
1. Install macOS Ventura: The VM will boot from the IPSW file and start the macOS Ventura installation process.
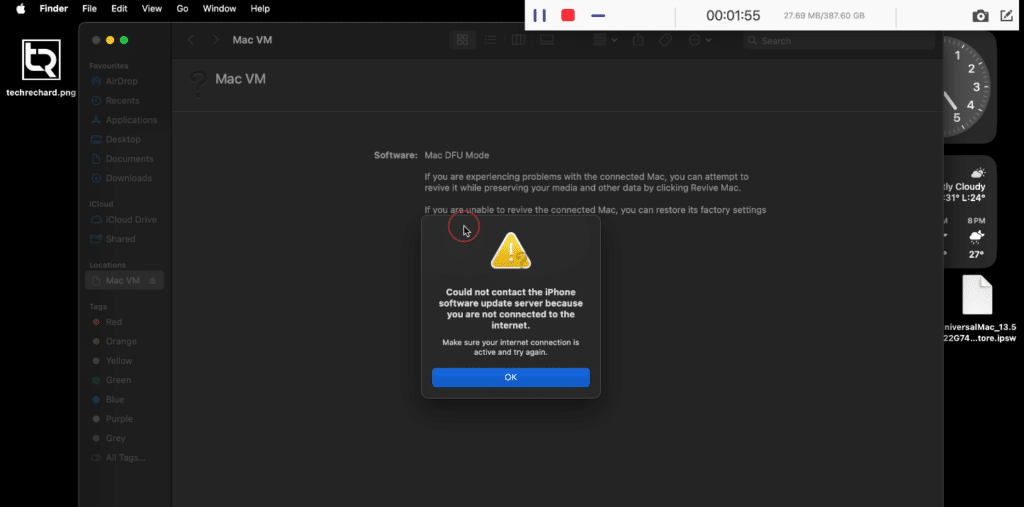
If you see the below screen (Mac DFU Mode), close this Windows and ignore this warning.

The installation process will take around 3-4 minutes. So you can sit back and relax.

2. Follow the on-screen instructions to install macOS Ventura: You will now be redirected to the Hello screen.
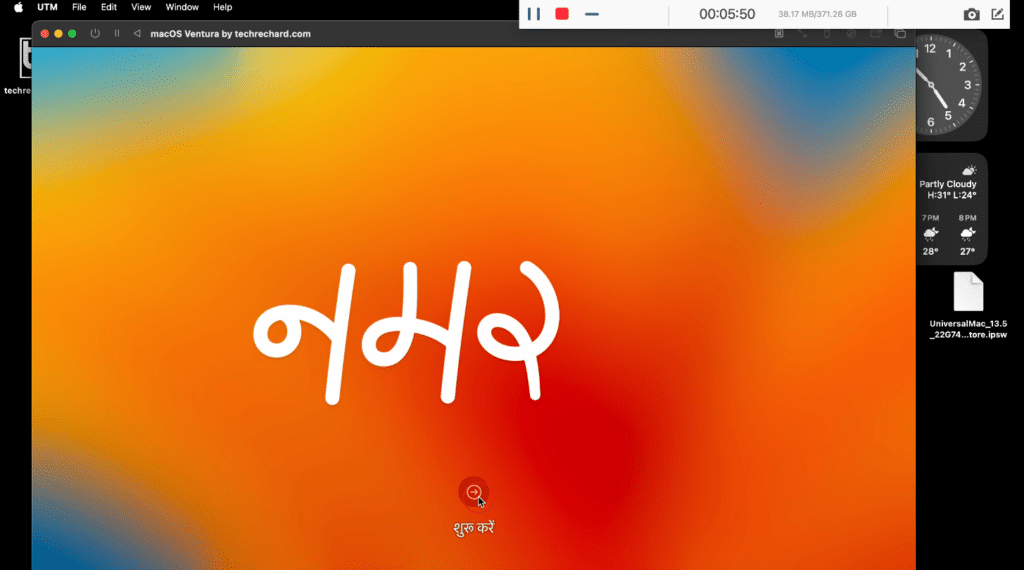
Select the Language of your choice.

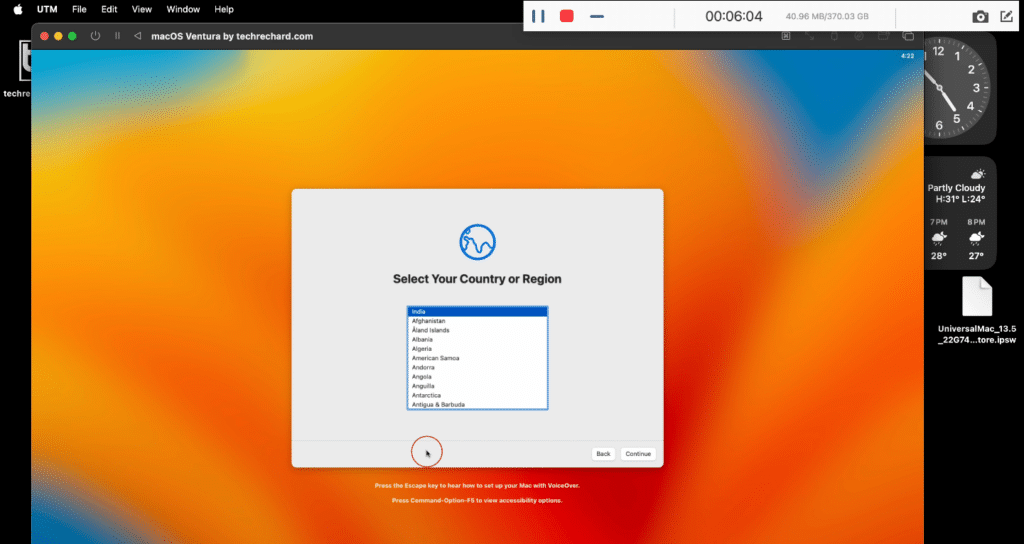
Select your Country or Region and continue with the basic installation.

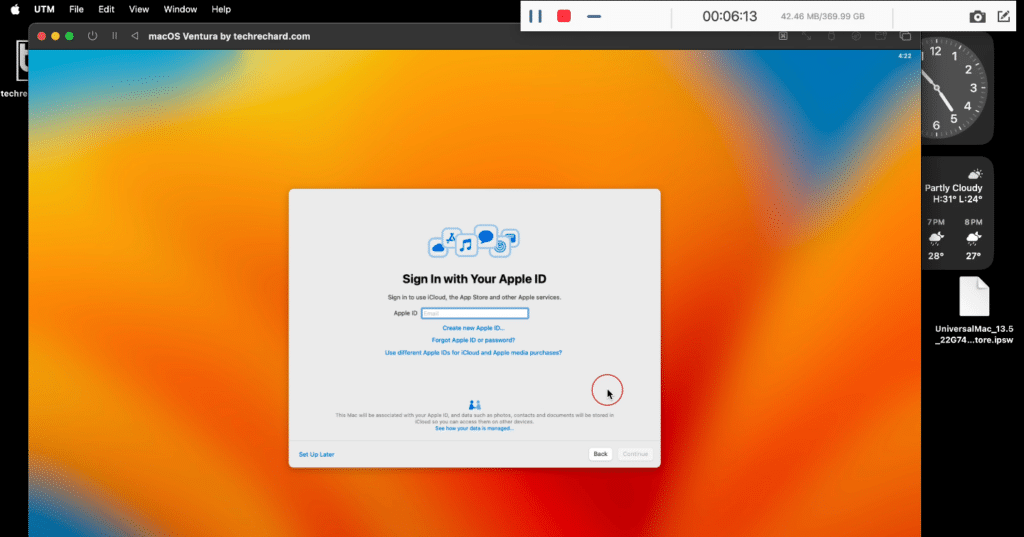
You can now sign in with your Apple ID. If you want to skip this for now, you can simply click Set up Later.

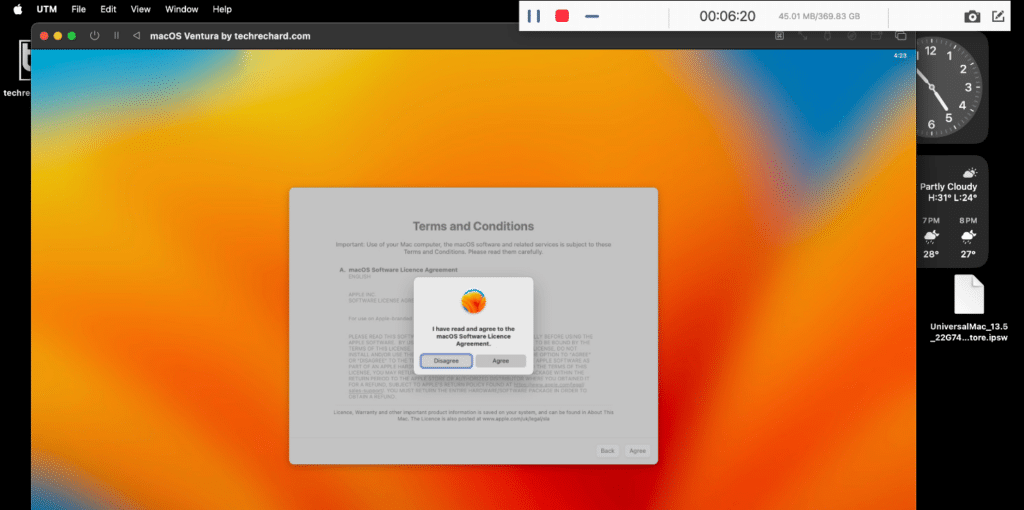
Accept the Terms and Conditions and continue.

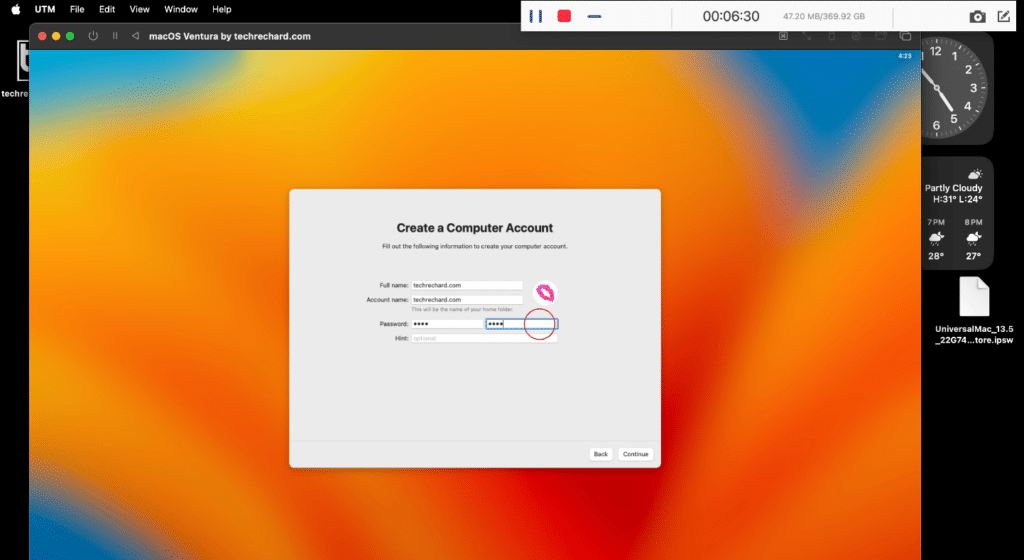
Now, create your Computer Account by filling in your Full name, account name, and Password. Once done, click Continue.

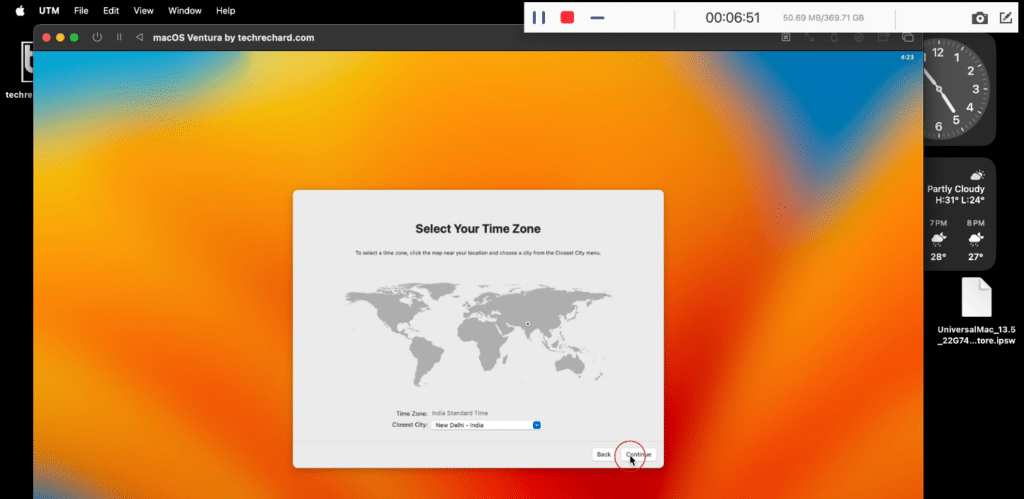
Select your Time-zone by clicking on the location on the map and click Continue. Complete the other basic installation steps until you are on your macOS Ventura Desktop.

Post-Installation
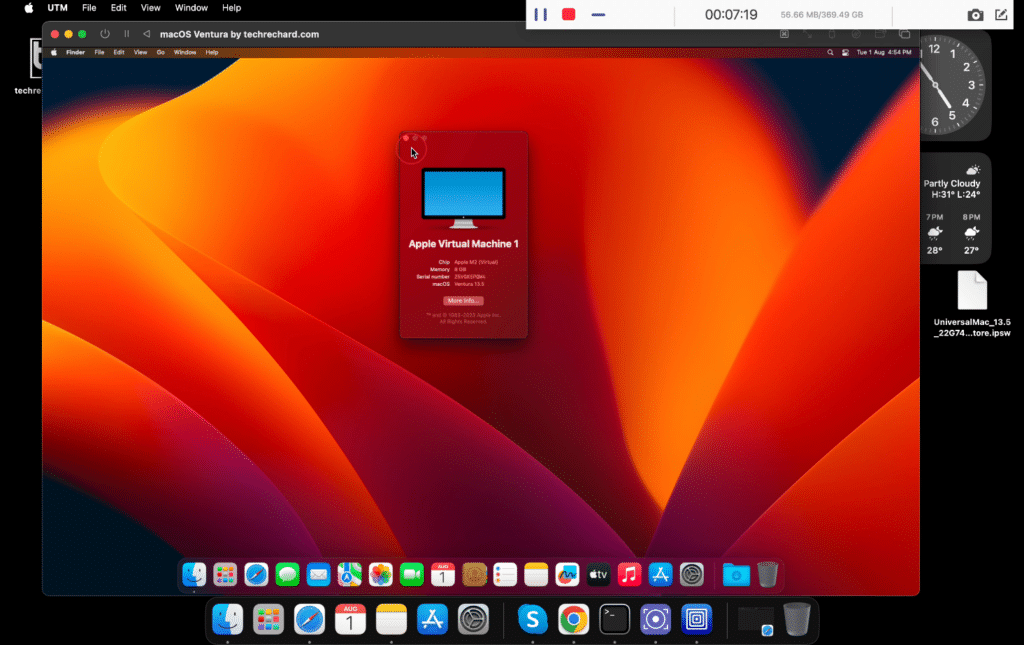
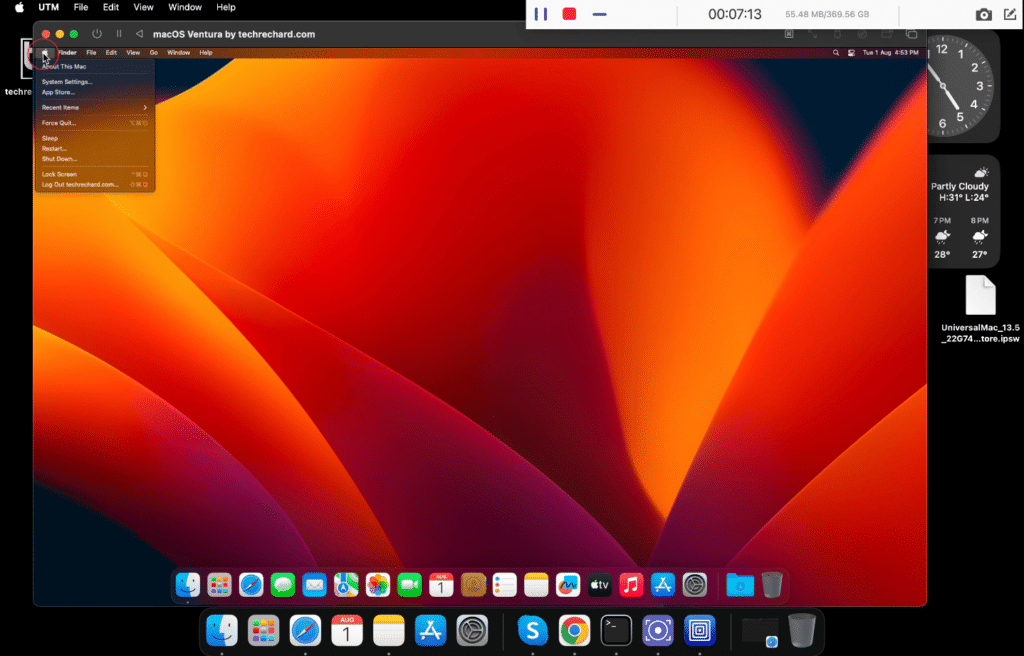
Once the installation process is complete, the virtual machine will boot into macOS Ventura. You’re now running macOS Ventura in a UTM virtual machine on your M1 or M2 Mac. You can update and install applications as you would on a physical Mac.

Remember to adjust the allocated CPU cores and RAM in UTM’s settings if you need more performance.
Complete Video Tutorial:
Conclusion
Setting up macOS Ventura in a virtual machine on your M1 or M2 Mac with UTM allows you to experiment with the operating system without worrying about affecting your primary OS. Whether you want to test software, update packages, or learn more about macOS, running it in a VM provides a safe and secure environment.
For more macOS Ventura-related guides, you can visit here.