

Table of Contents
Have you ever wished to experience the user-friendly interface and exclusive features of Apple’s macOS Sonoma on your Windows PC? With the advancements in virtualization technology, it’s now possible to install macOS Sonoma on VMWare, a popular virtualization software for Windows.
If you are a MAC user and want to install macOS Sonoma on Virtual Machine, you can use this guide: How to install macOS Sonoma on Virtual Machine on MAC using UTM
We previously installed macOS Sonoma on Virtualbox as well. If you want to read that guide, visit here: How to install macOS Sonoma on Virtualbox on Windows PC: 32 Easy Steps
Whether you’re a macOS enthusiast, a developer testing applications, or simply curious about the Mac ecosystem, this comprehensive guide will walk you through the step-by-step process of setting up macOS Sonoma on VMWare on your Windows PC. By the end of this tutorial, you’ll have a fully functional macOS Sonoma virtual machine running seamlessly on your Windows system, giving you access to all the features and functionalities that macOS offers. So, let’s embark on this journey together and unlock the possibilities of macOS Sonoma on your Windows PC!
In this article, we will learn How To Install macOS Sonoma on VMWare on Windows PC. All the required download links will be available in this guide.
Things Required to Install macOS Sonoma on VMWare on Windows PC.
- Enable virtualization of your Windows 11 PC
- Download and Install VMWare on your Windows PC
- Download & Install macOS Unlocker For Vmware Workstation
- Download macOS Sonoma ISO File
You can also go through our guide: macOS Sonoma: Top 10 Bugs and Their Fixes
Step-by-Step Guide:
1. First, go to the official website of VMWare Workstation Pro and download it. Once you have downloaded it, install it on your Windows PC.
2. Now, download VMWare Unlocker and install it.
Here is a complete video tutorial for step 1 and step 2:

3. Open VMWare and click Create a new virtual machine.


4. Select Typical (Recommended) and click Next.


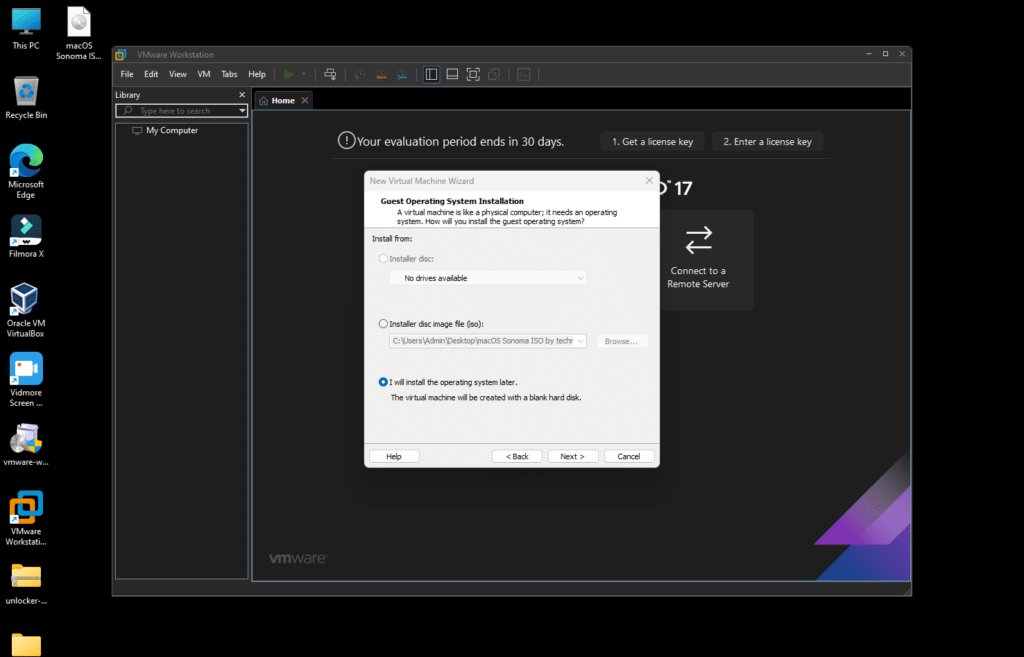
5. Select I will Install the Operating System later and click Next.

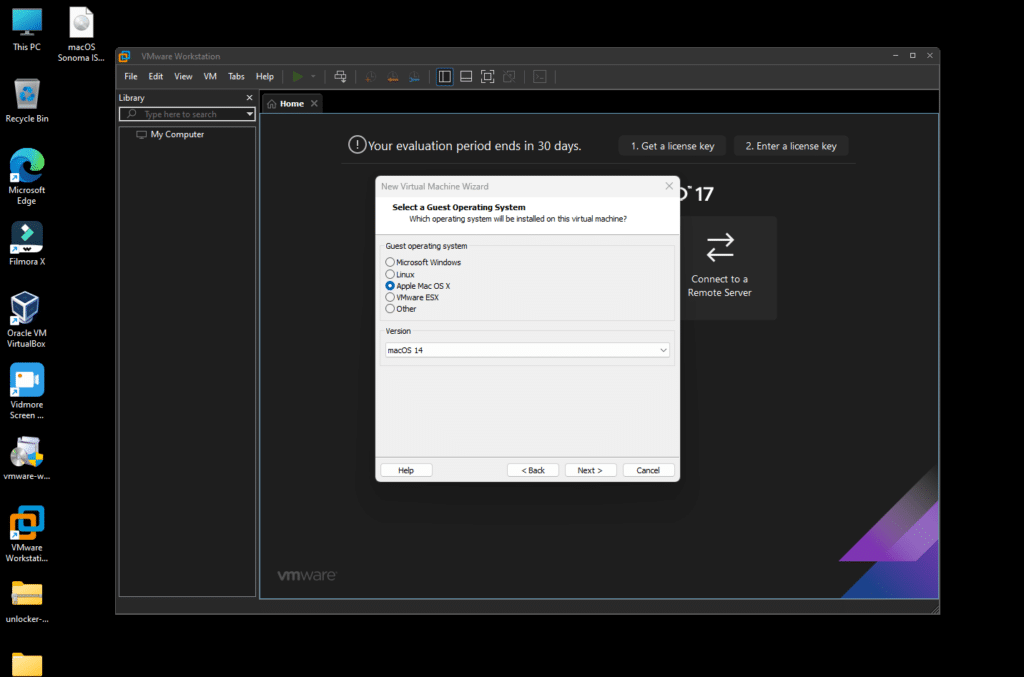
6. Select Apple Mac OS X and in version, select macOS 14 and click Next.

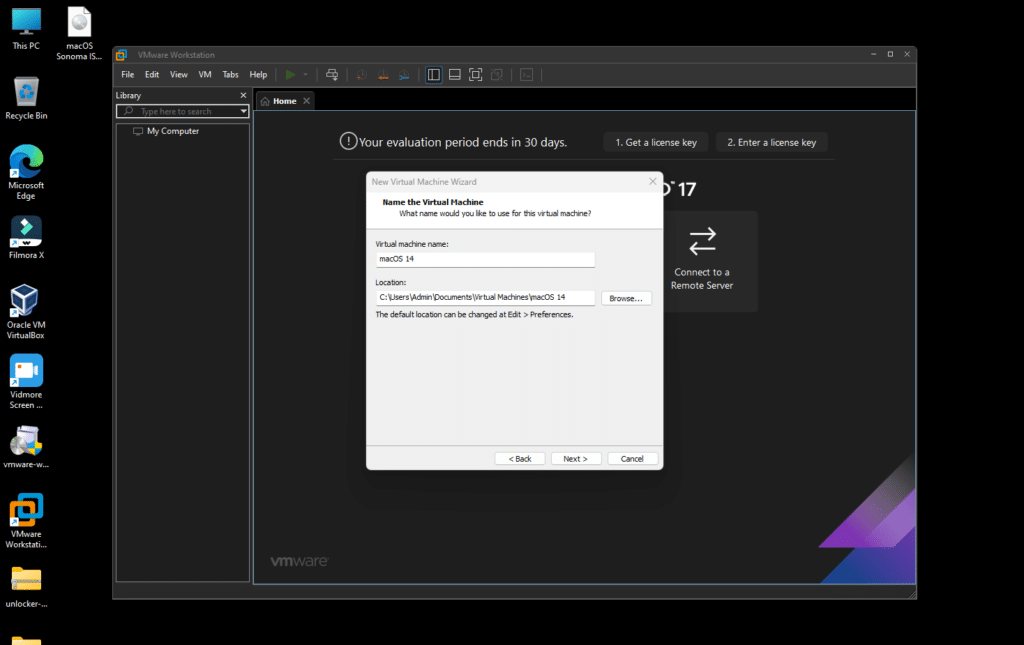
7. Enter a name for your virtual machine (in my case: macOS 14) and click Next.

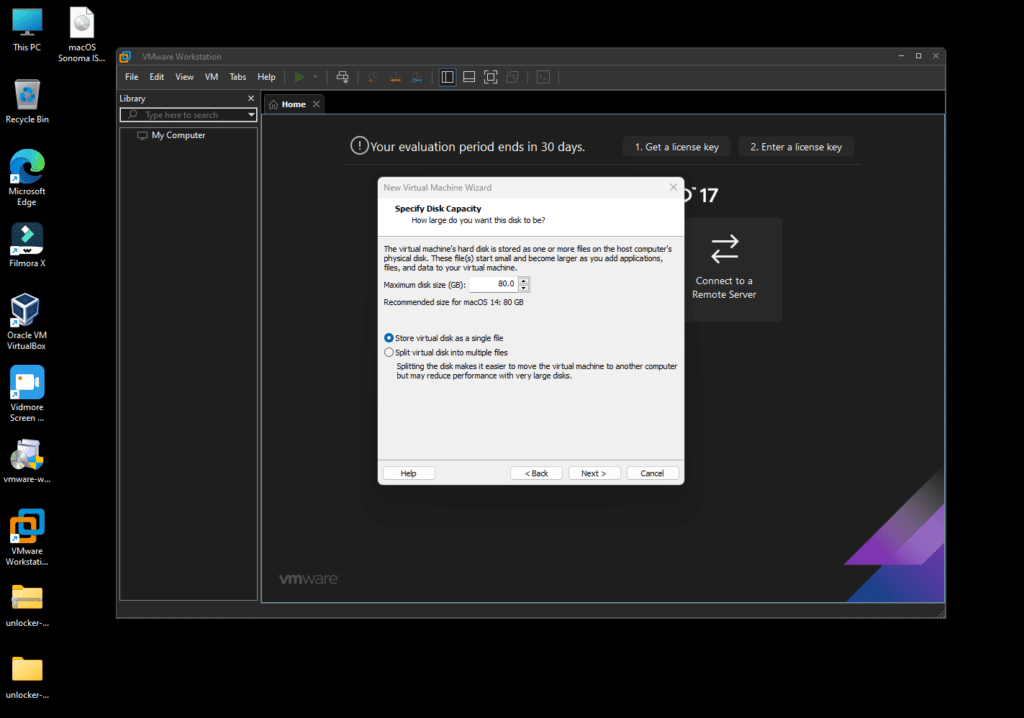
8. Specify the size; keep anything above 80GB and select Store virtual disk as a single file. This will help you create a macOS Sonoma VMDK file.

9. Click Customize Hardware.

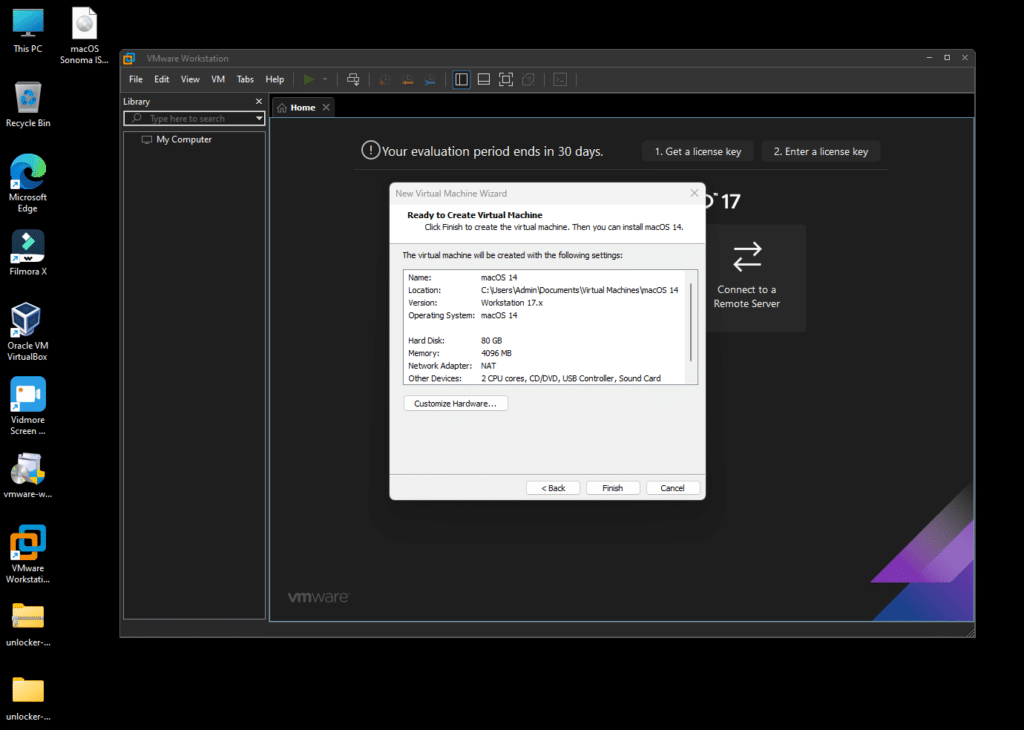
10. Keep memory close to the highest available and set processors to 2.


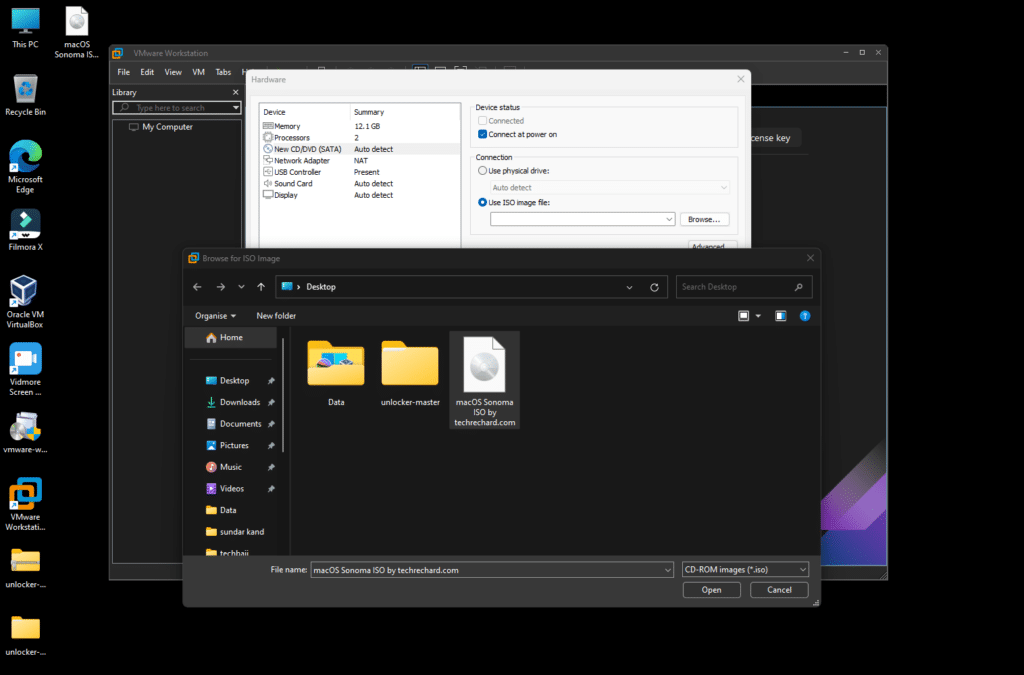
11. Under New CD/DVD (Sata), click on Use ISO Image file and then browse and add your macOS Sonoma ISO file you downloaded above and click Open.

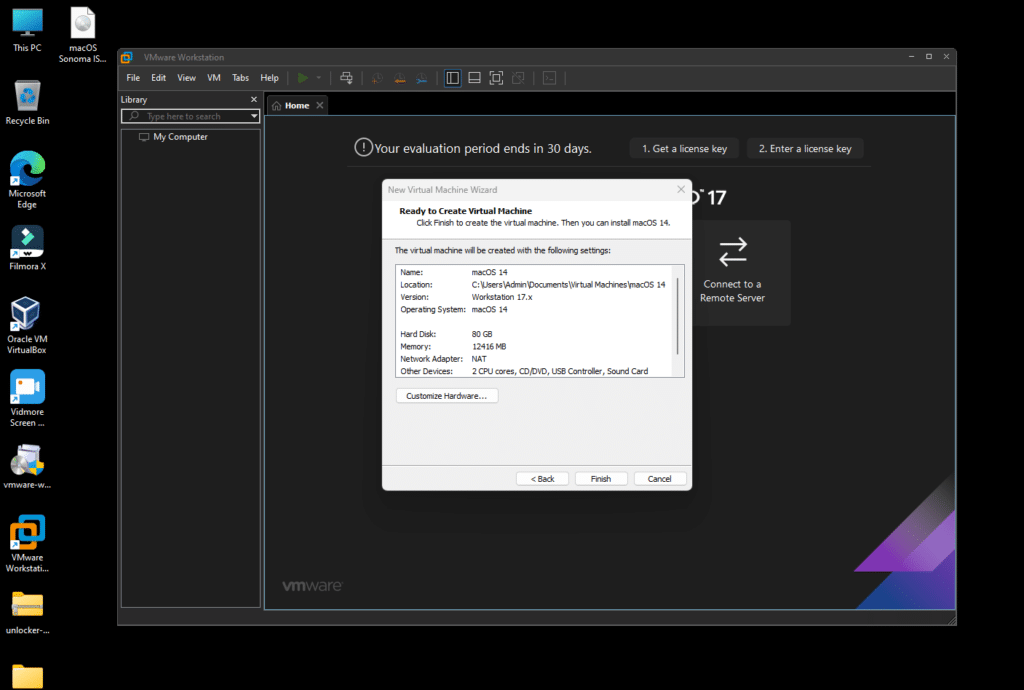
12. Click Close, Finish, and Close the VMWare Workstation Pro.

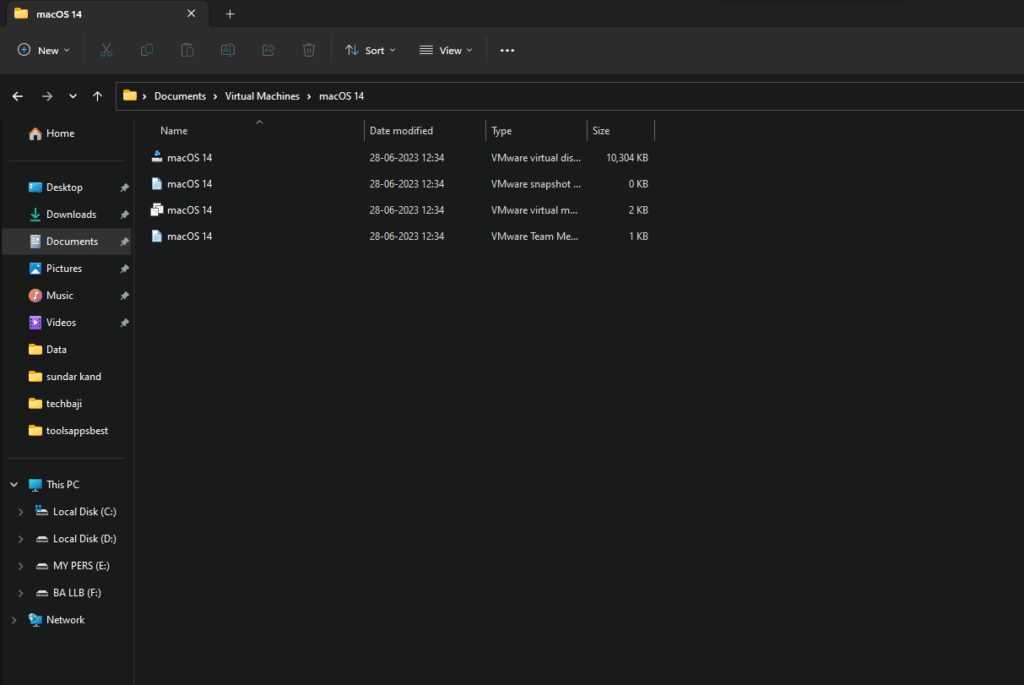
13. Go to My Documents -> Virtual Machines -> macOS 14.

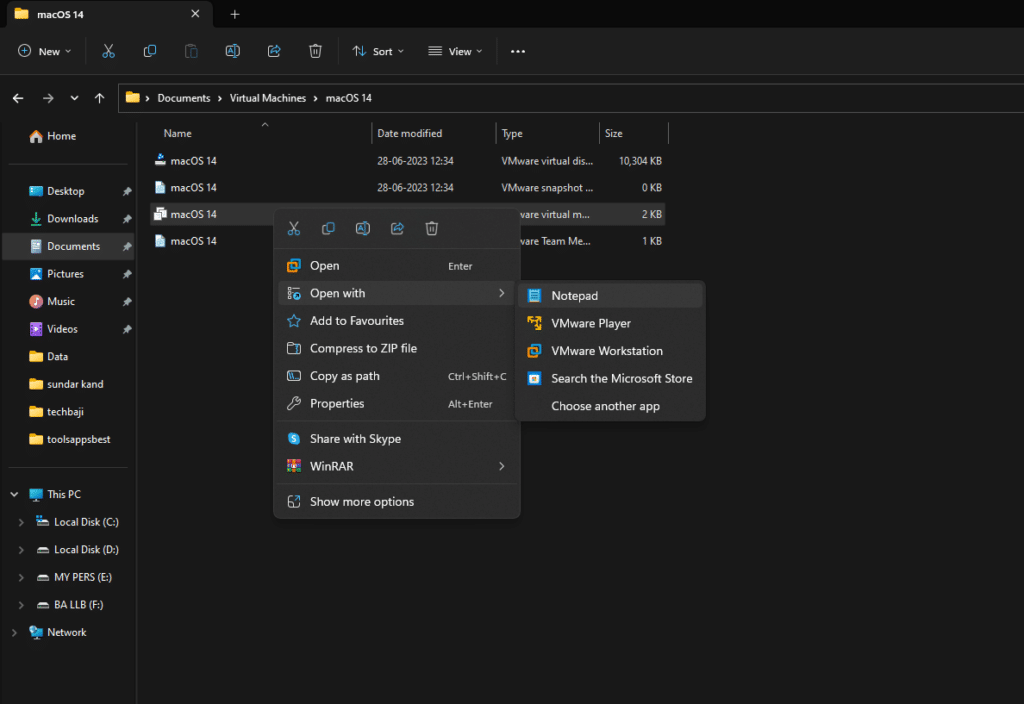
14. Right-click on the macOS 14 (.VMX) file of 2 KB and select Open with Notepad.

15. Go to the bottom of the file and paste this:
smc.version = "0"
Press Ctrl+S to save the file and close it.

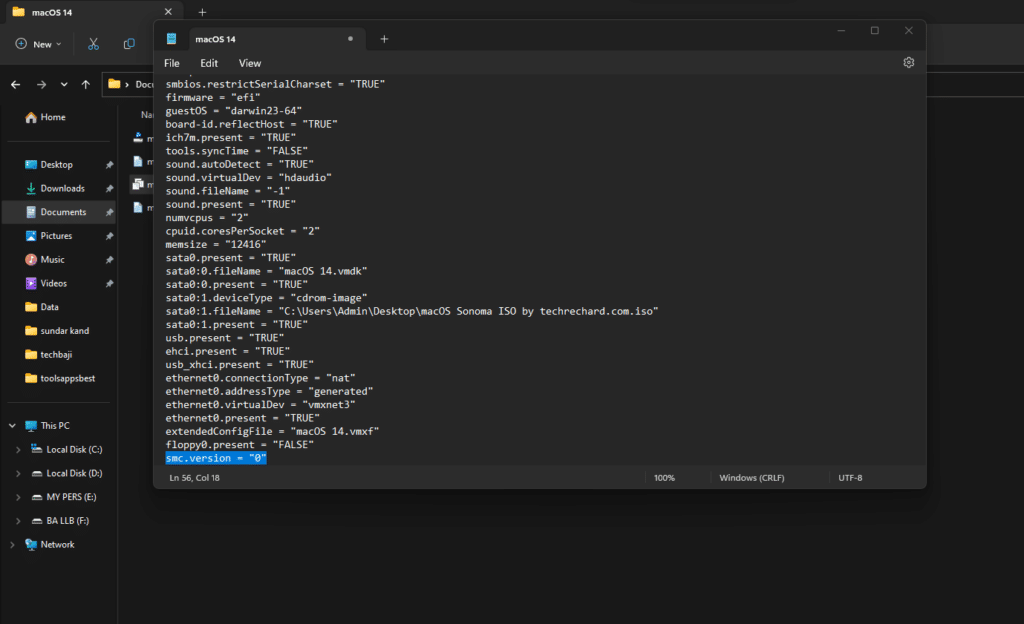
TO ENABLE ETHERNET:

Search for Ethernet0.VirtualDev = “e1000e” and replace e1000e with vmxnet3 and save the file.
16. Open your VMWare Workstation Pro again and click Power on this virtual machine.

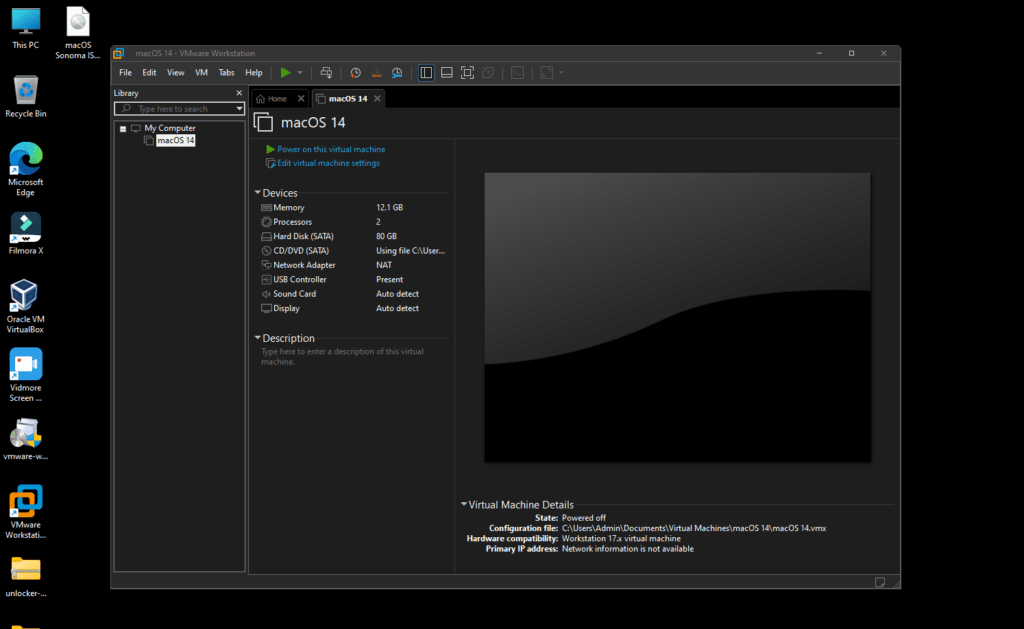
17. The process will take some time and wait for the Apple logo to appear.


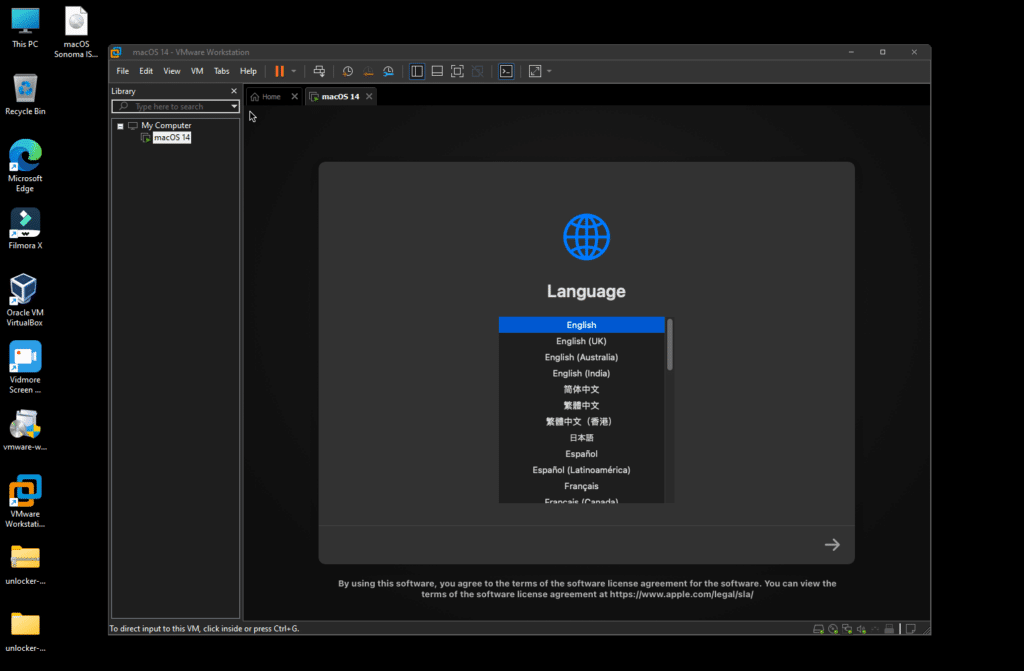
18. Select English and click Next Arrow.

19. Click on Disk Utility and click Continue.


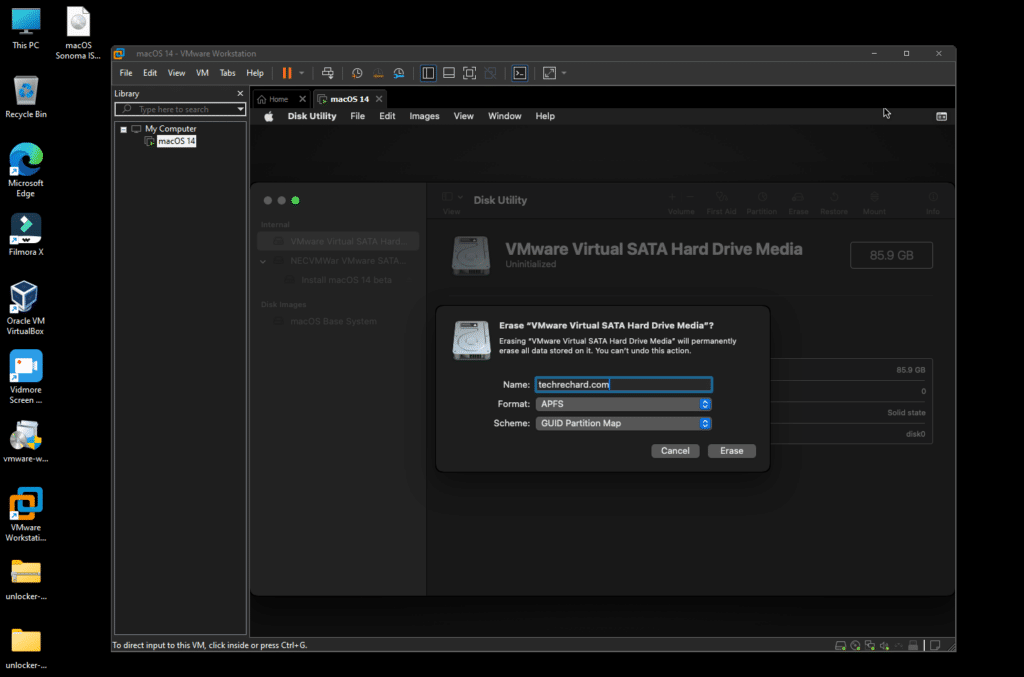
20. Click VMware Virtual SATA Hard Drive Media, click Erase, enter the name of your disk (in my case: techrechard.com), and click Erase.
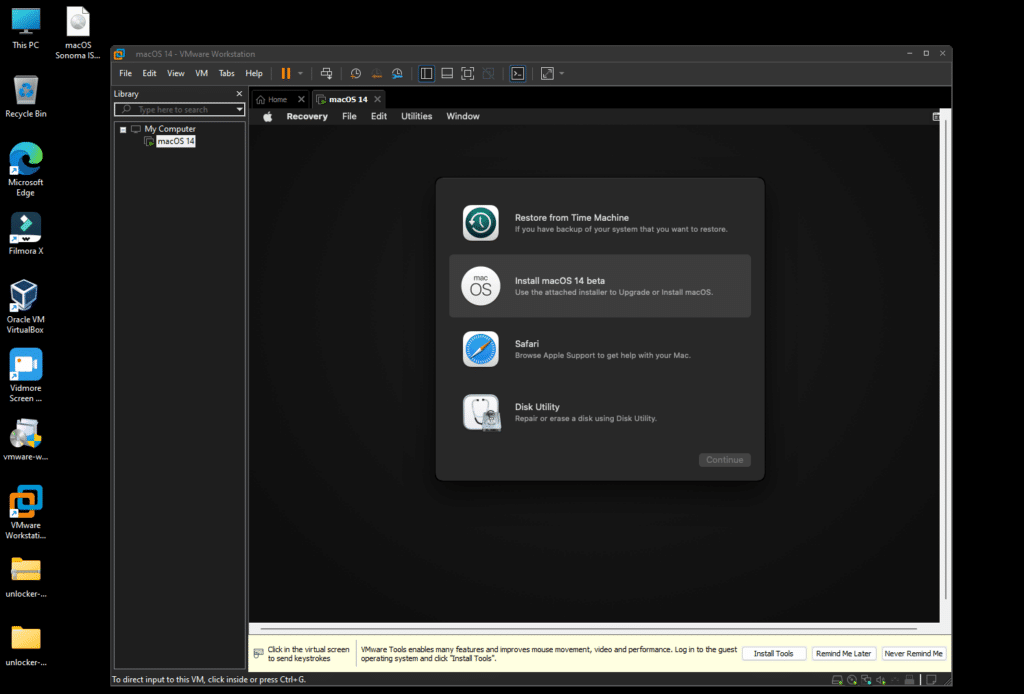
21. Click Done, close the Disk Utility, then click Install macOS Beta 14 and Continue.

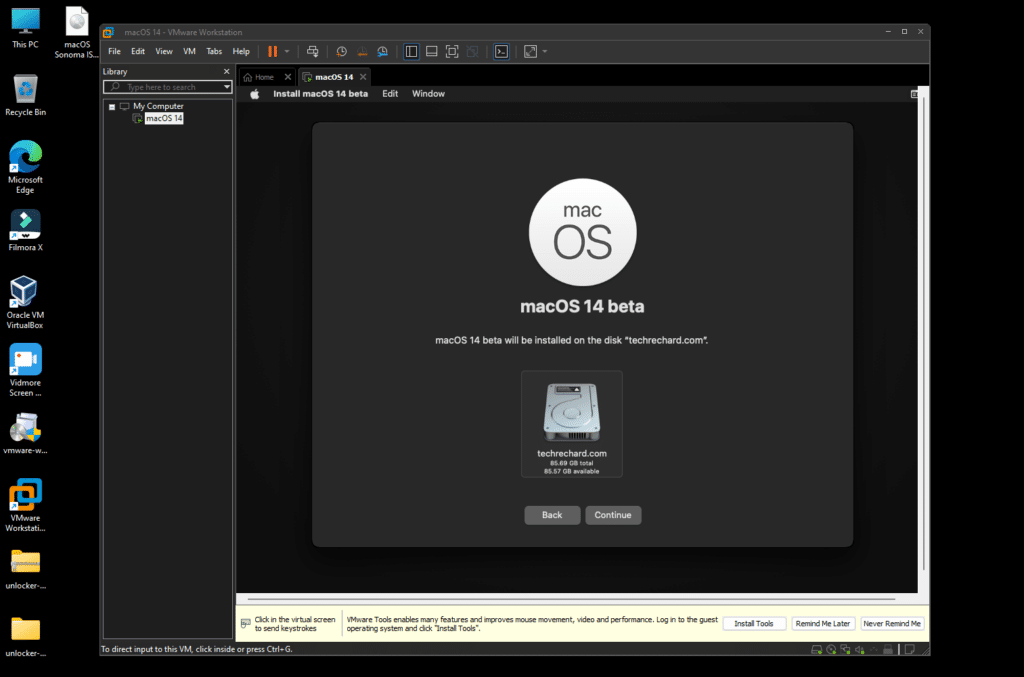
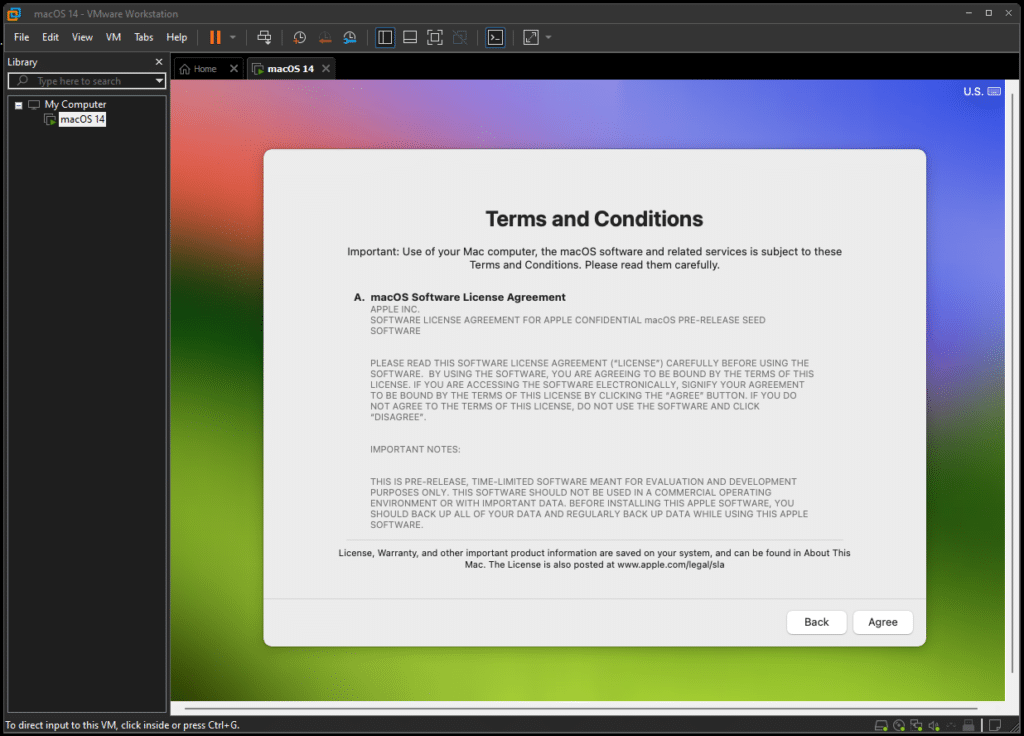
22. Click Continue, agree to the terms and conditions, select the Hard Disk to install macOS Sonoma, and click Continue.
23. This process will take 30-40 minutes, and your VM may restart several times. So, do not panic. Just wait for the process to finish.
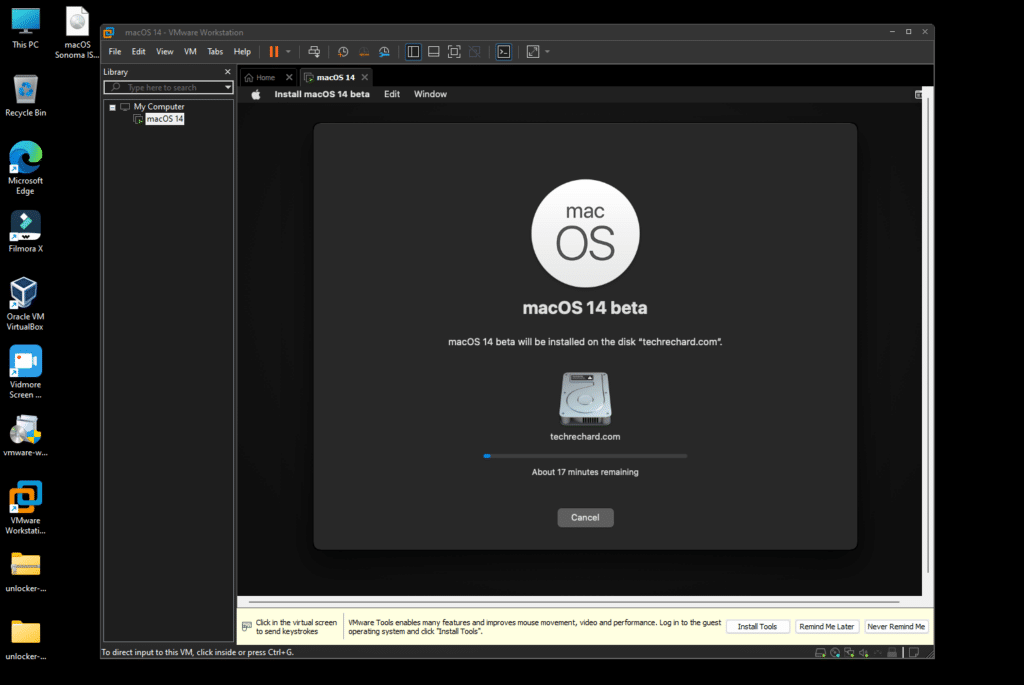
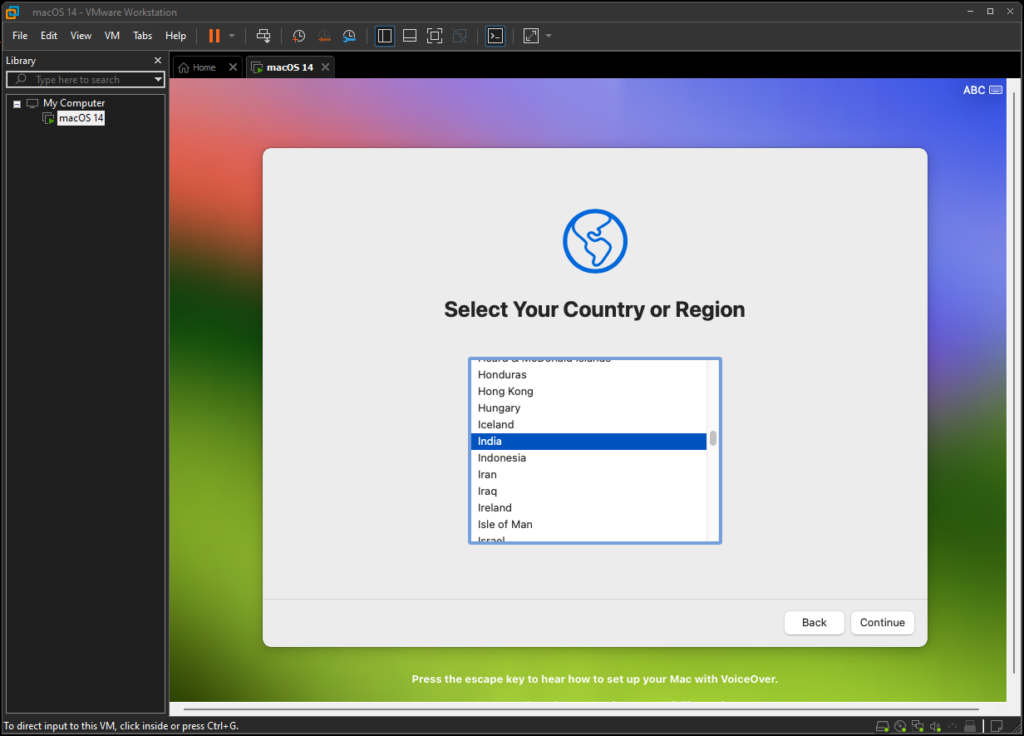
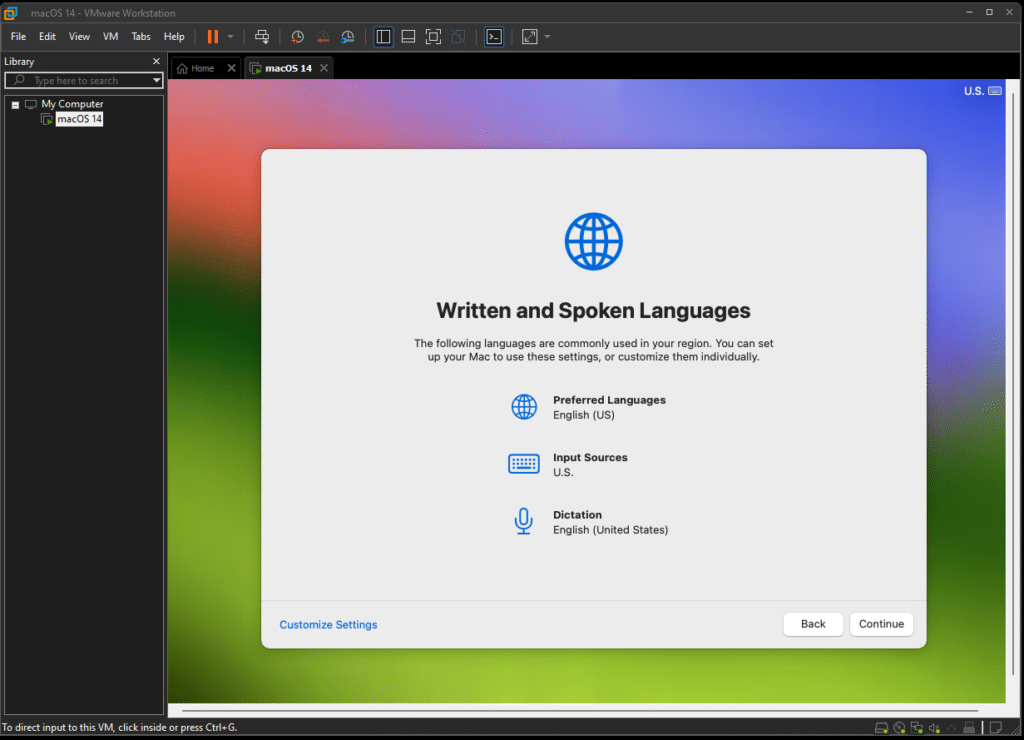
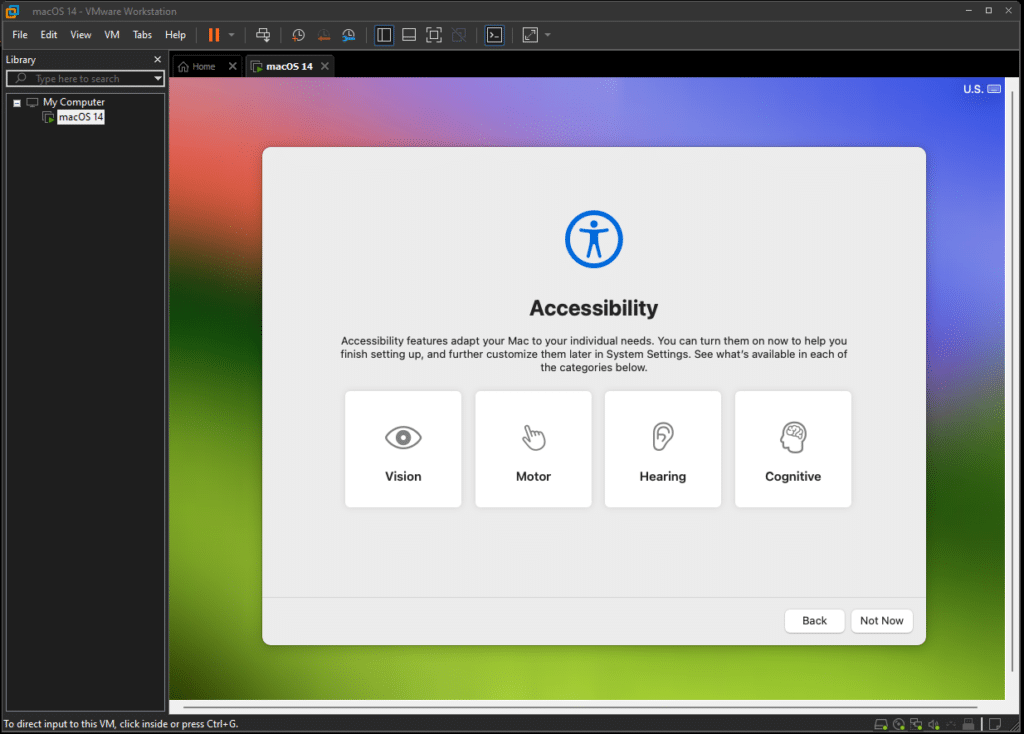
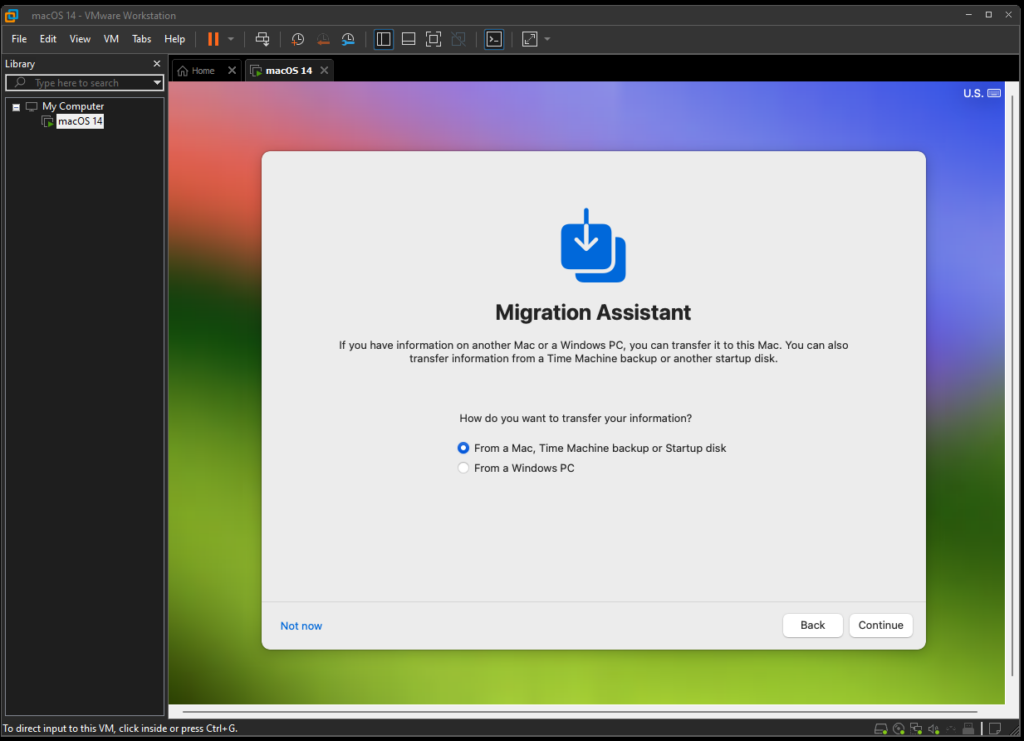
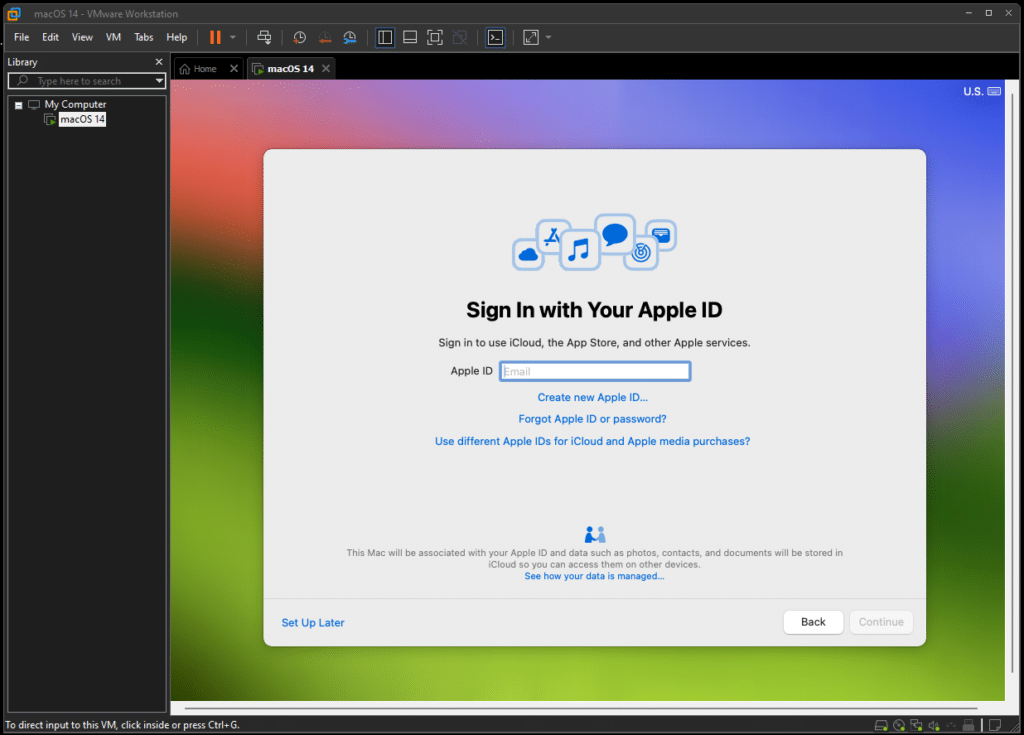
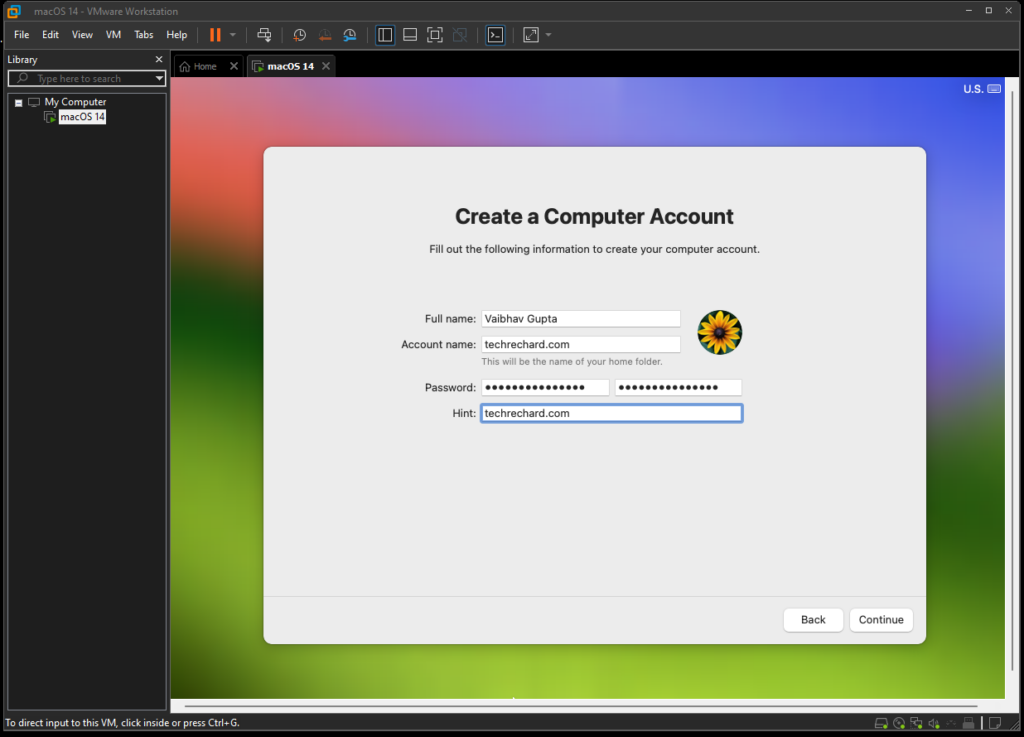
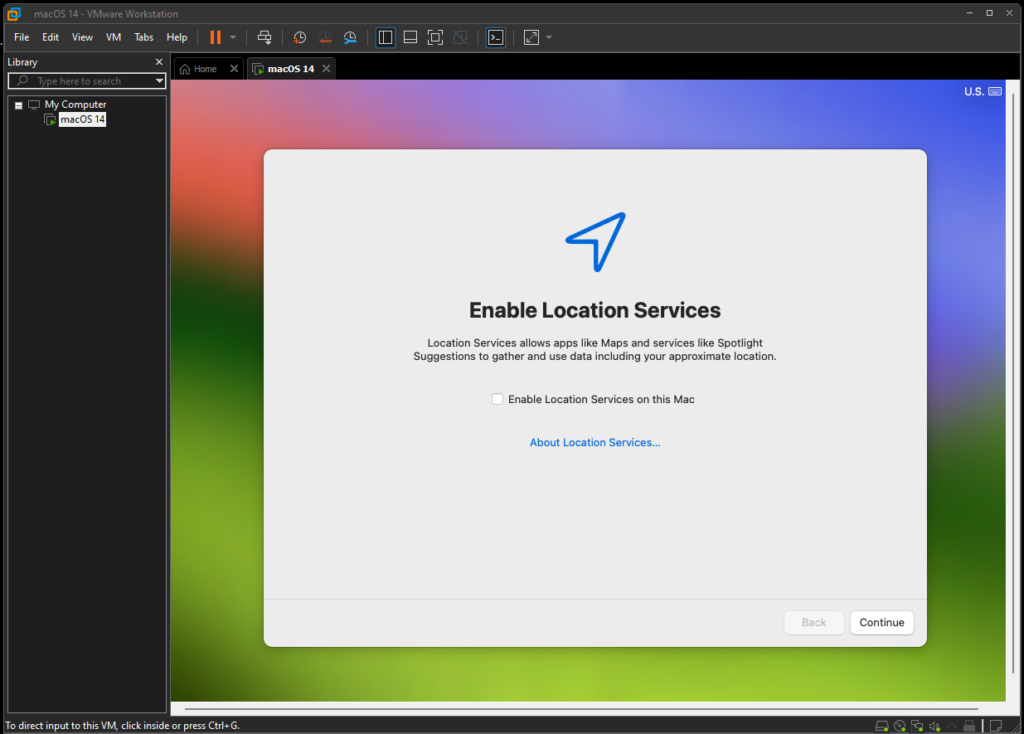
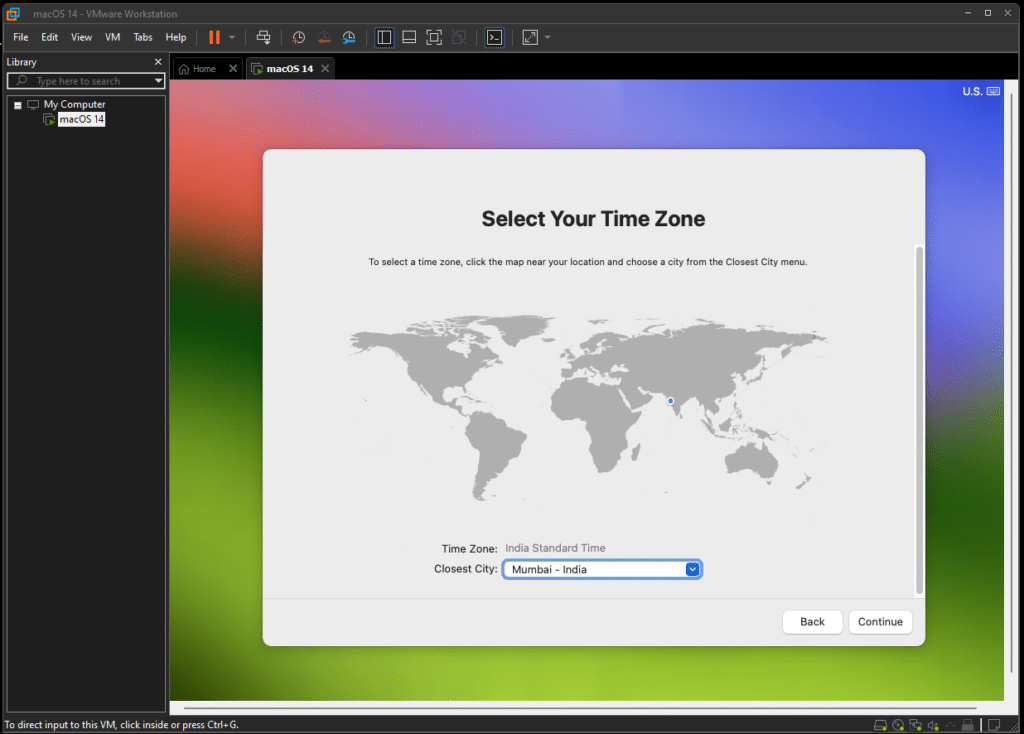
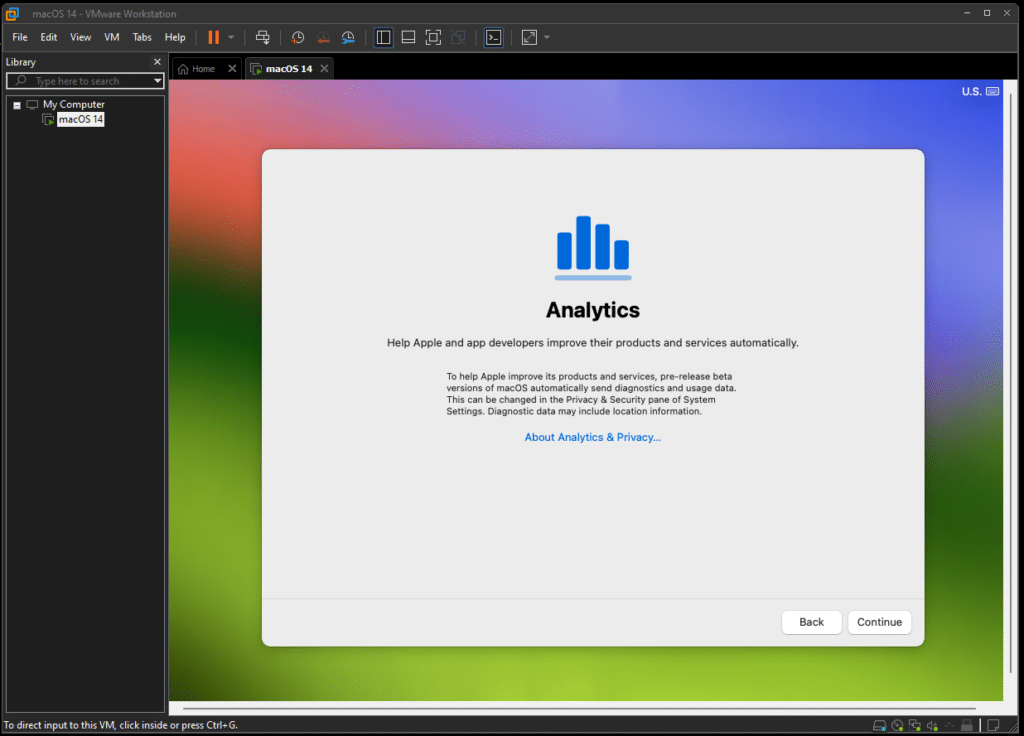
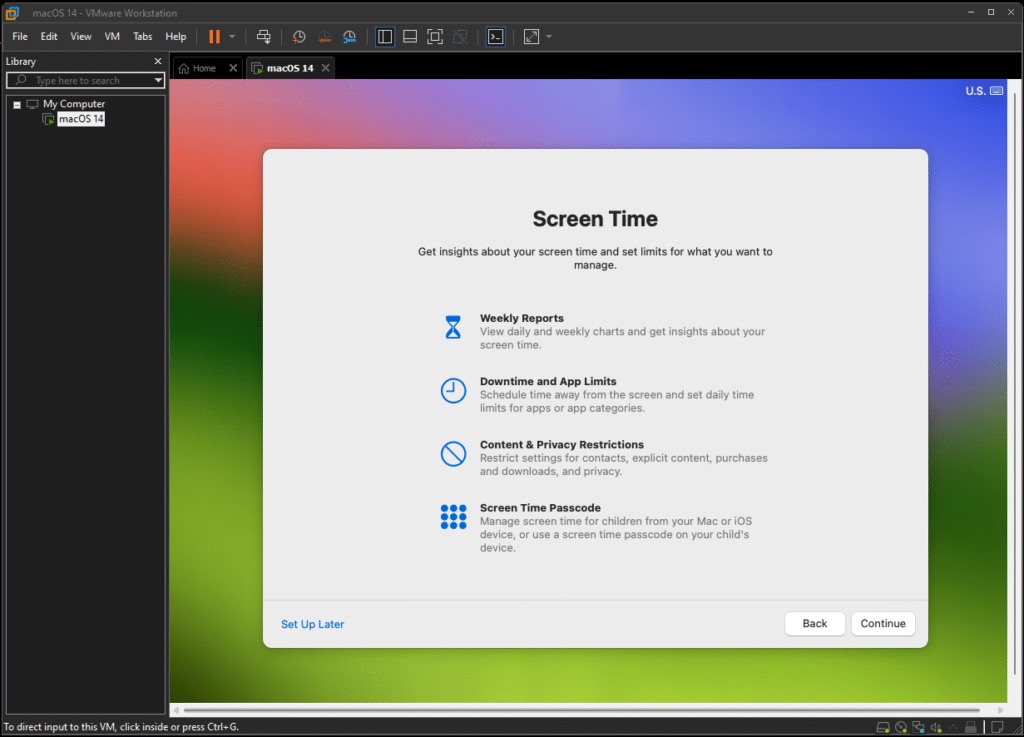
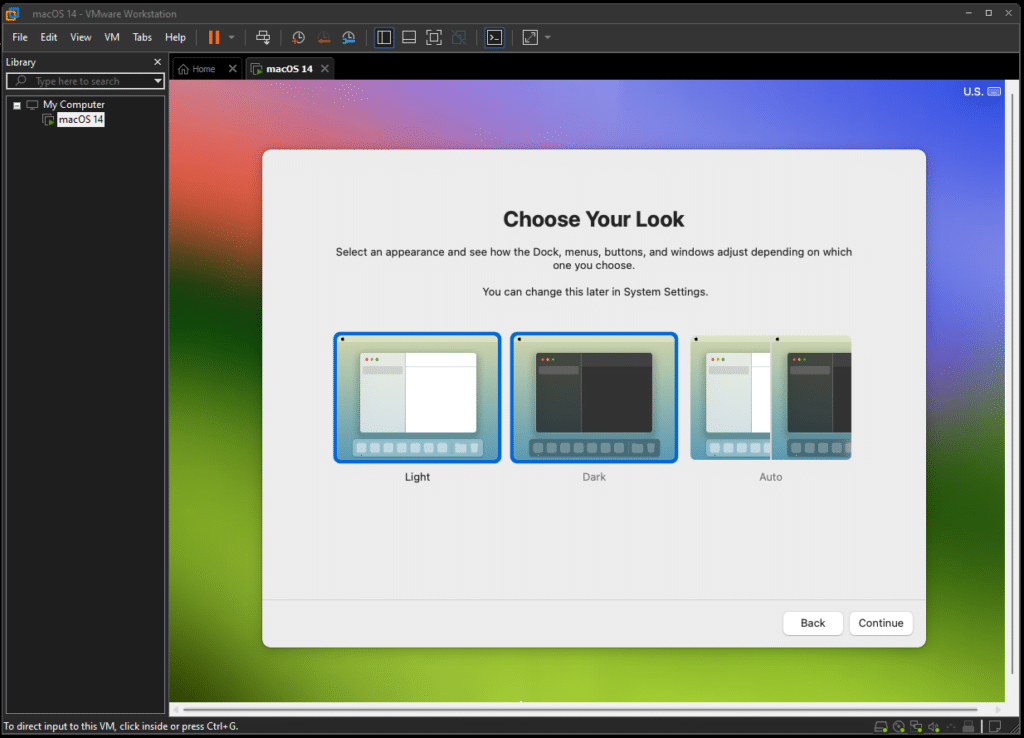
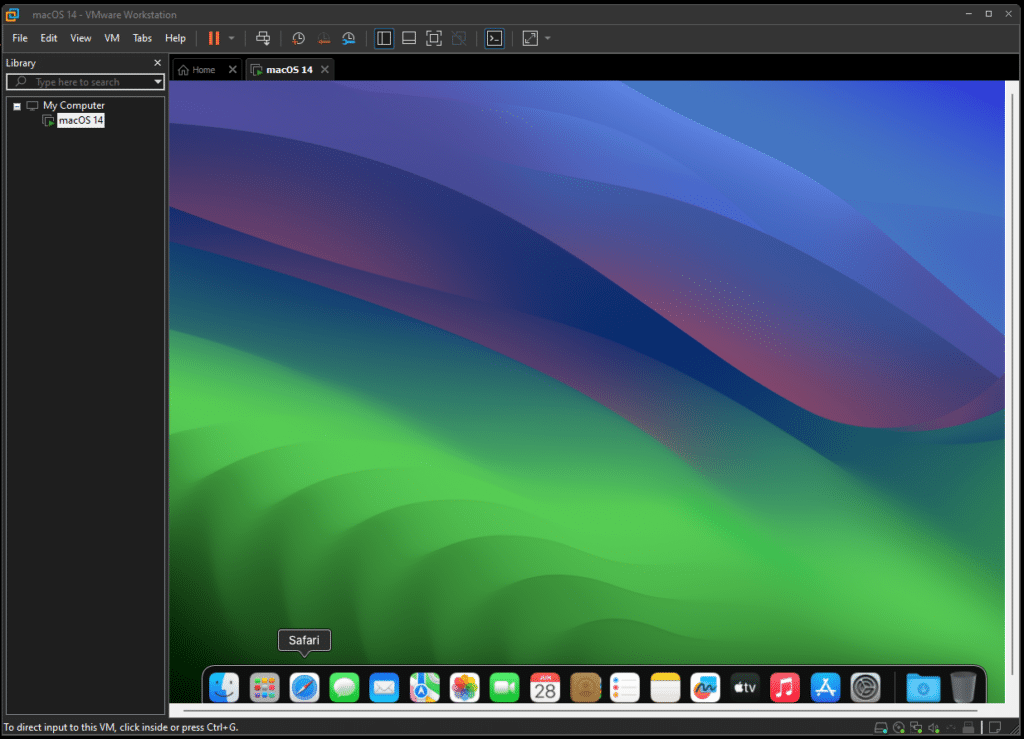
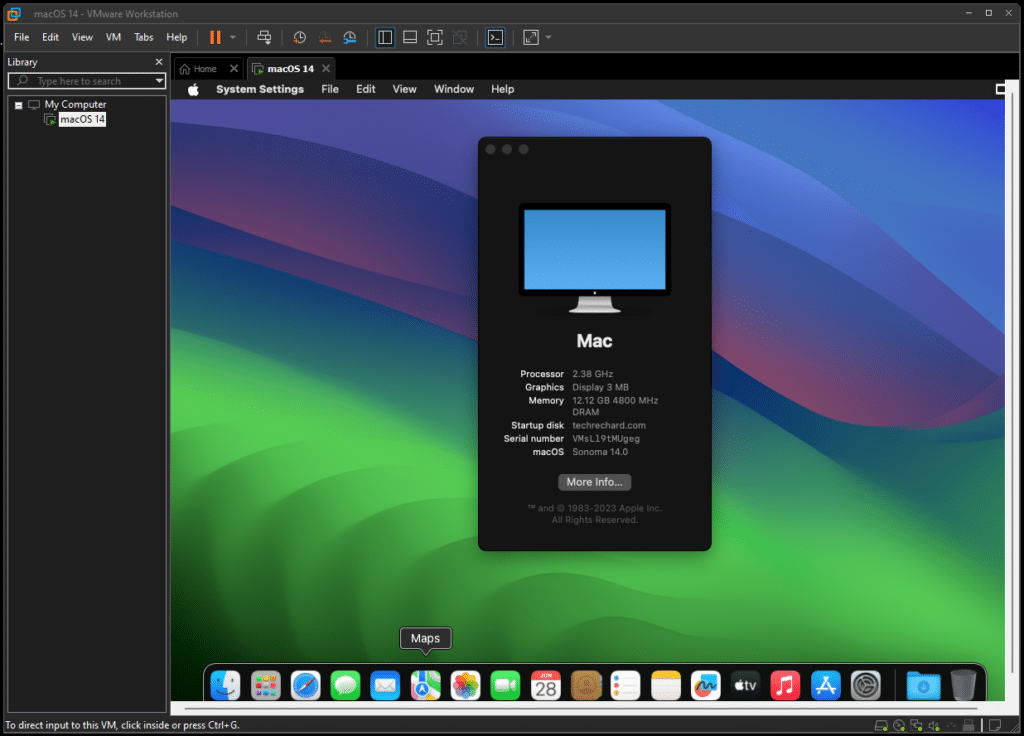
After the process is complete, you can process with the basic setup of macOS Sonoma. You can follow the screenshots below and continue with the installation of macOS Sonoma on VMware.


Video Tutorial:
Conclusion: Install macOS Sonoma on VMWare on Windows
Congratulations! You have successfully completed the installation of macOS Sonoma on VMWare, bringing the power and elegance of Apple’s operating system to your Windows PC. Following the steps outlined in this guide, you now have a fully functional macOS Sonoma virtual machine running smoothly on your Windows system.
With macOS Sonoma on VMWare, you can explore the user-friendly interface, take advantage of the exclusive features, and even test macOS applications without needing a physical Mac. This virtualized setup provides a convenient and accessible way to experience the Mac ecosystem, whether you’re a developer or simply curious about the Mac experience.
Remember to keep your macOS Sonoma virtual machine updated with the latest security patches and updates Apple provides to ensure a secure and optimized experience. It’s also important to note that running macOS on non-Apple hardware is not officially supported, so use this setup only for personal experimentation and learning purposes.
Now that you have macOS Sonoma running on VMWare, you can delve into the world of macOS, explore a wide range of applications, and enjoy the seamless performance of Apple’s operating system.
Enjoy your journey into the world of macOS Sonoma on your Windows PC, and don’t hesitate to refer back to this guide or explore additional resources as you dive deeper into the capabilities of the Mac operating system.
For more macOS Sonoma Guides, use this link.