
Table of Contents
In this article, we will learn how to install macOS Sonoma on a Virtual Machine on MAC using UTM.
If you wish to experiment with the macOS Sonoma without directly installing it on your Mac, running it on a virtual machine is a great solution. This guide will walk you through the steps to set up and install the macOS Sonoma in a virtual machine using the free UTM software.
If you are on a Windows PC, here are a few guides on how to follow and install macOS Sonoma on your PC.
- How To Install macOS Sonoma on VMWare on Windows PC
- How to install macOS Sonoma on Virtualbox on Windows PC
For this method, you will require an Apple Silicon Mac with a minimum of 60GB disk space and 16GB RAM. You will also need the Sonoma IPSW file provided by Apple.
What You’ll Need
- Apple Silicon Mac has at least 60GB of disk space and 16GB of RAM.
- Sonoma IPSW file from Apple. (Link provided below)
- Free UTM app. (Link provided below)
Setting Up the Virtual Machine
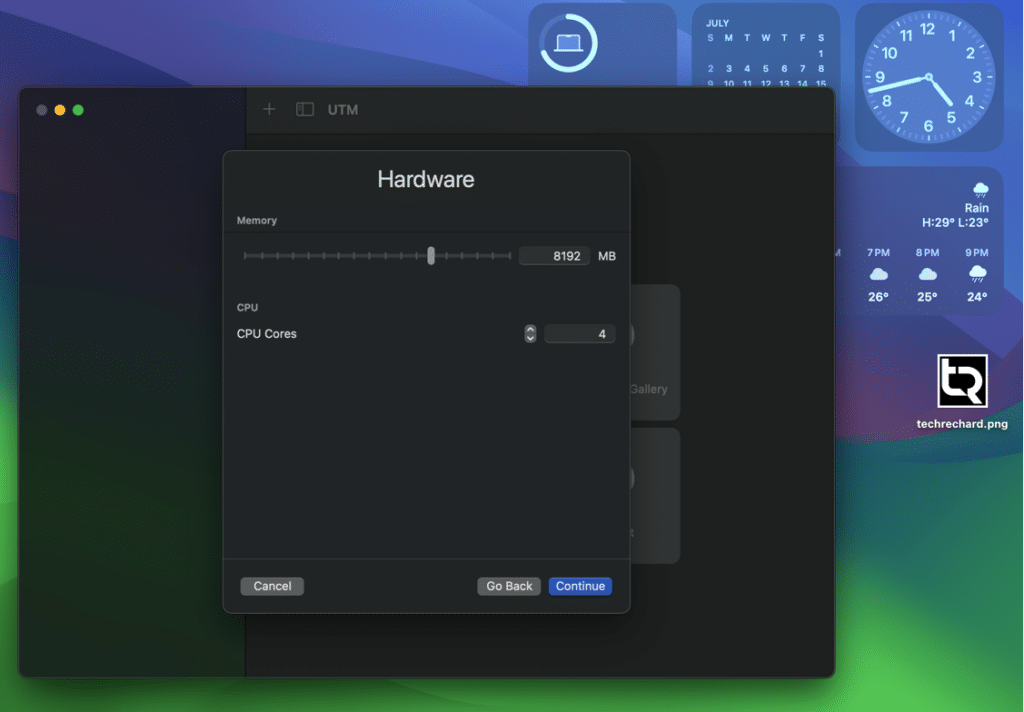
We will set up a VM with 4 CPU cores, 8GB RAM, and a 64GB drive. If desired, you can adjust these settings.
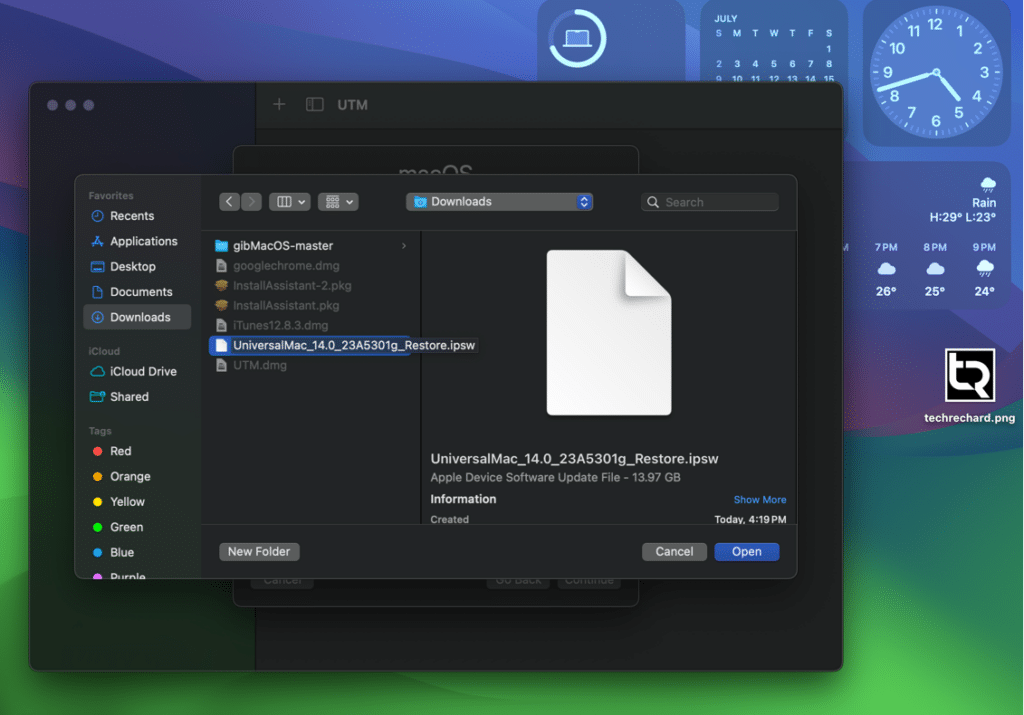
- Download the UniversalMac_14.0_23A5301g_Restore.ipsw file (the Sonoma 4 IPSW) directly from apple.com. You can download other versions from here.
- Download UTM for Mac from the official website for free, and copy it to your /Applications folder to install it.

Install macOS Sonoma on Virtual Machine on MAC using UTM
1. Launch UTM on your Mac.

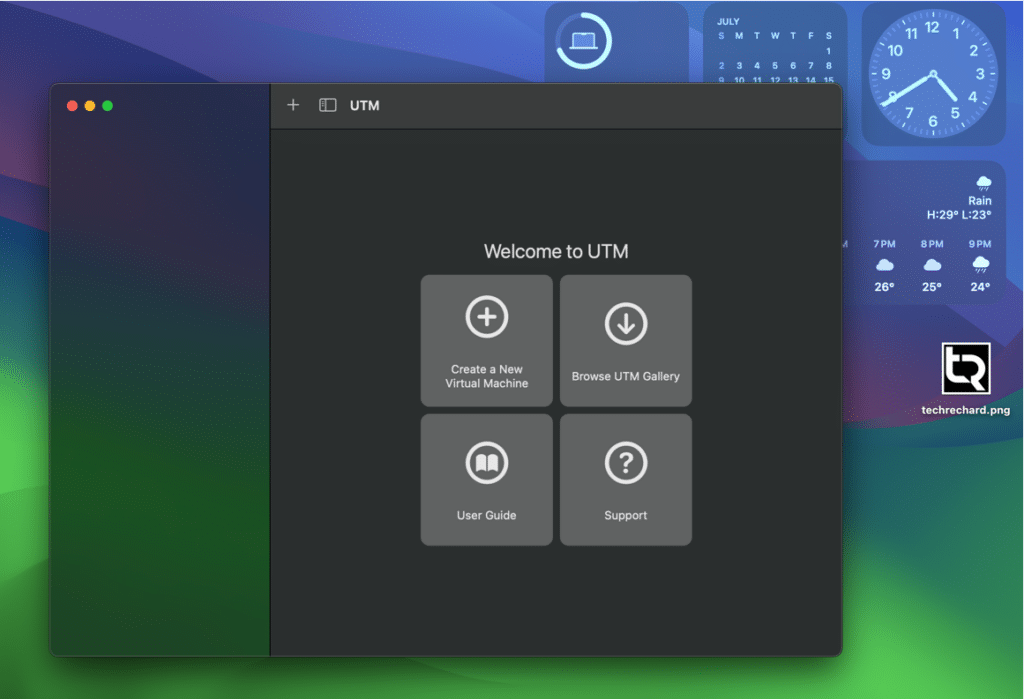
2. Select “Create a New Virtual Machine.”

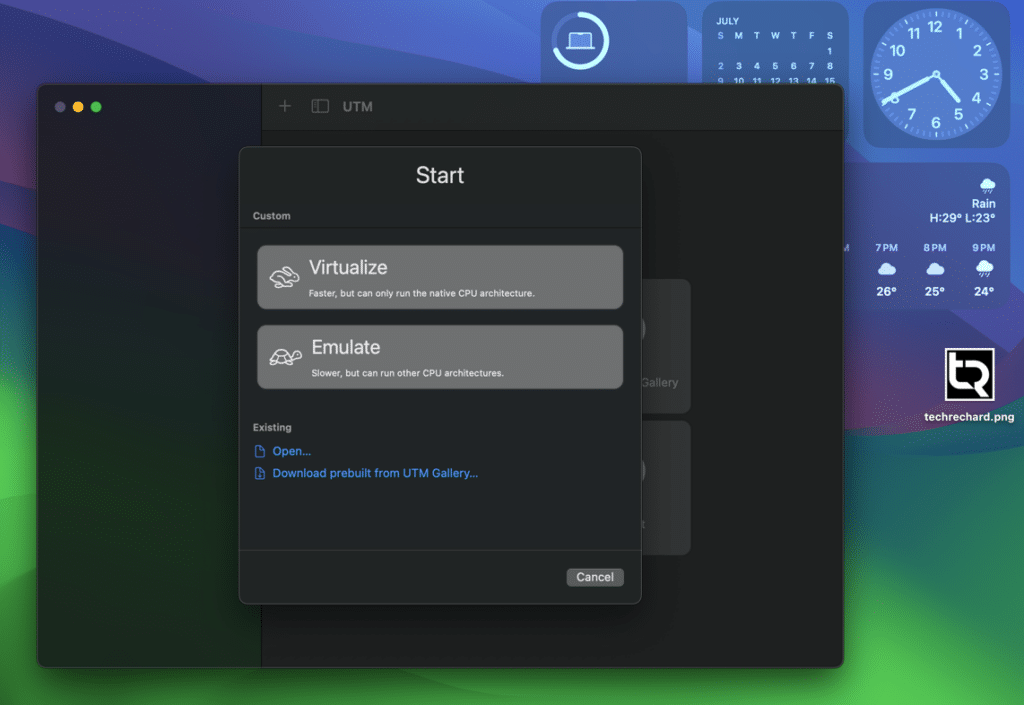
3. Choose “Virtualize.”


4. Select “macOS 12+.”

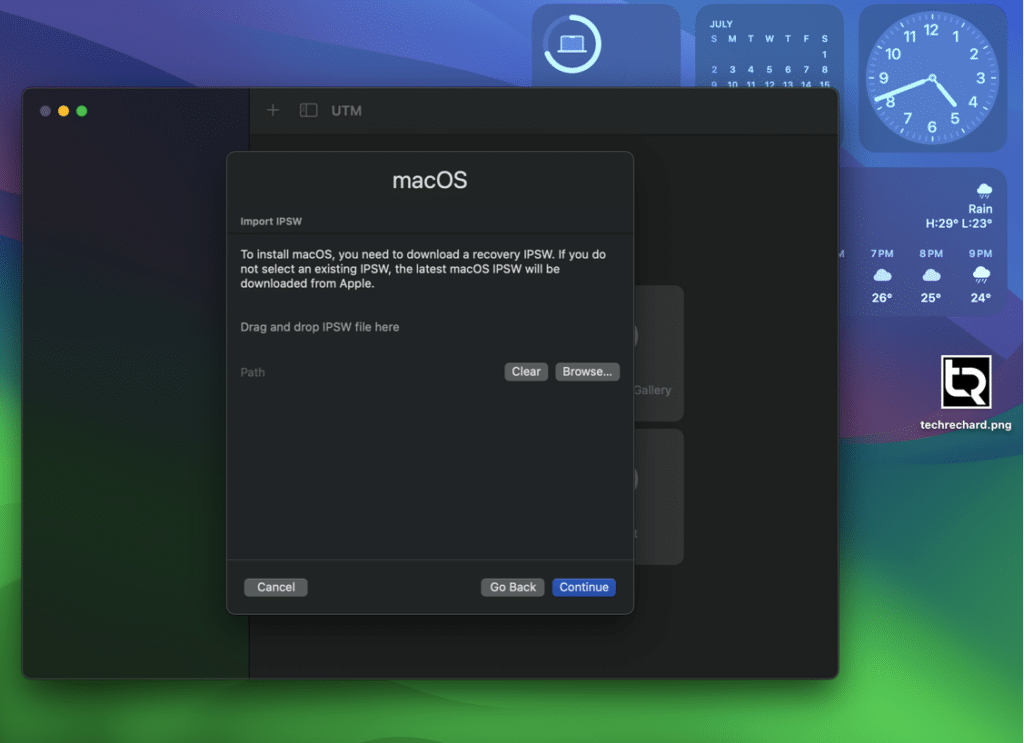
5. On the IPSW selection screen, click “Browse” and choose Restore.ipsw image you downloaded earlier, then click “Open.”

6. Allocate the hardware for the virtual machine. Assigning at least 8GB RAM, 4 CPU cores, and a minimum of 64GB disk space is recommended. Click “Continue” after each selection.

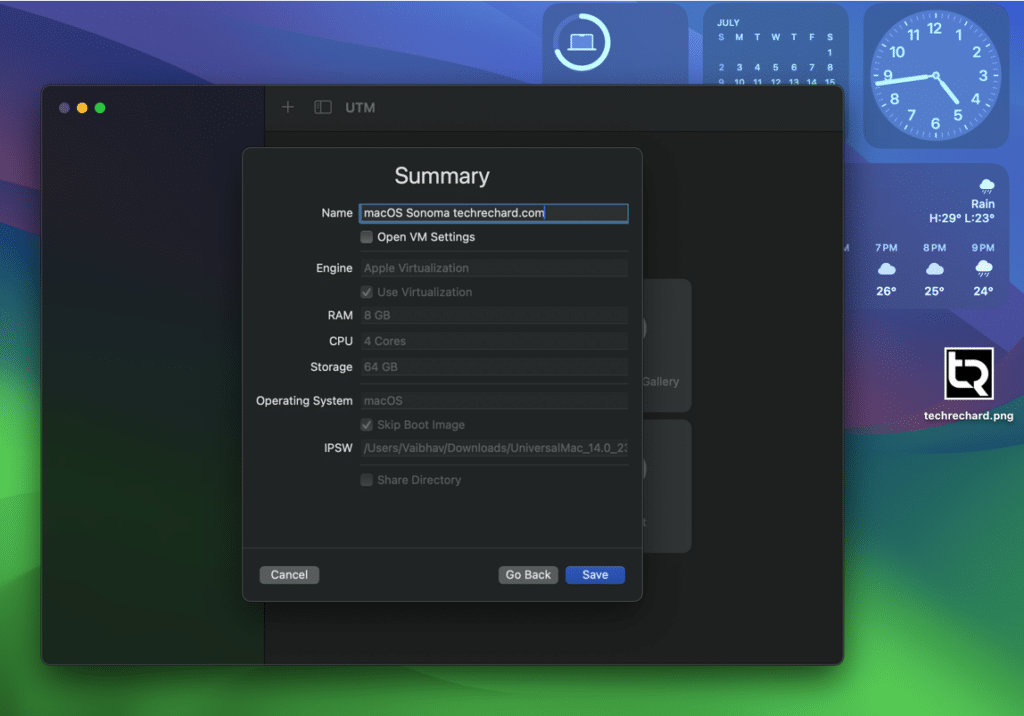
7. Name the virtual machine appropriately, such as “macOS Sonoma techrechard.com,” and click “Save.”

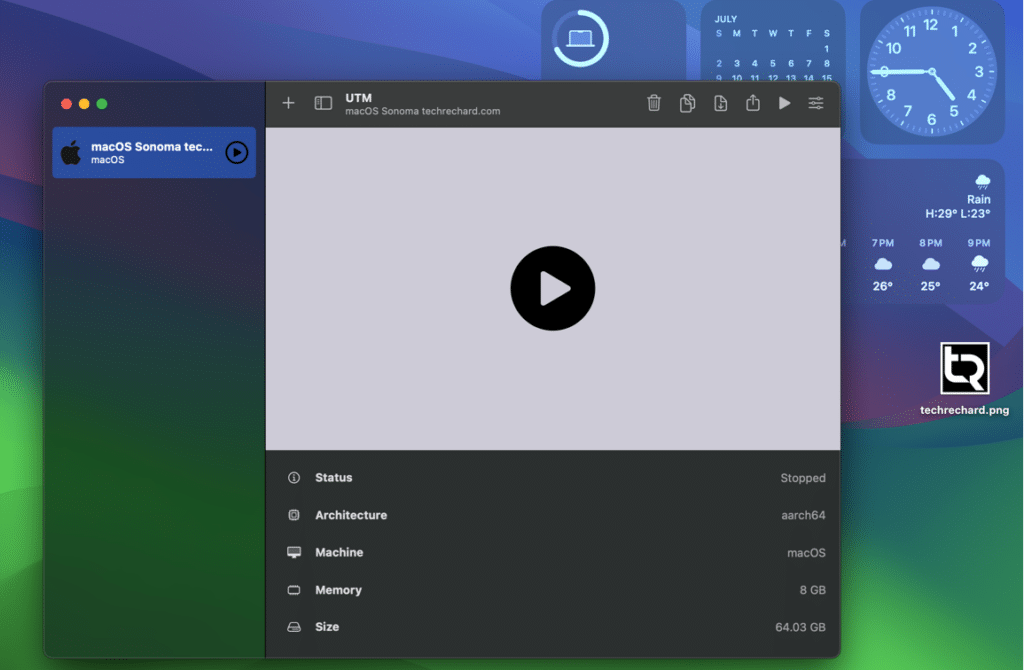
8. You will see the macOS Sonoma techrechard.com on the main UTM screen. Click the large play button to boot the VM.

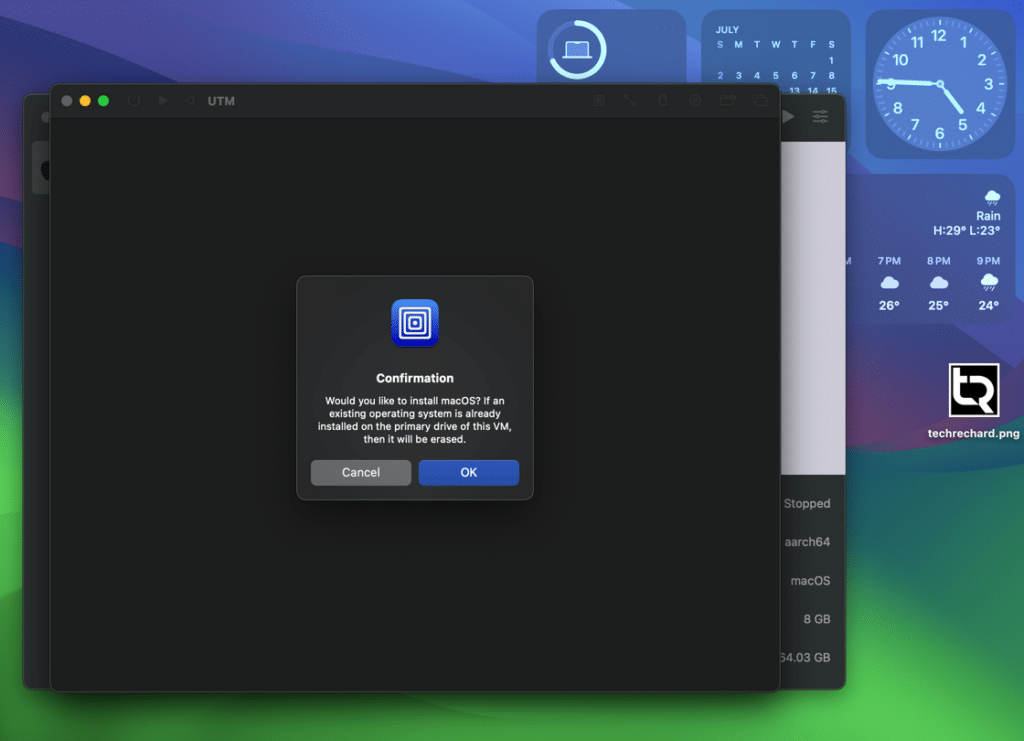
9. Confirm your intention to use the IPSW file to install macOS Sonoma on virtual machine using UTM on MAC.

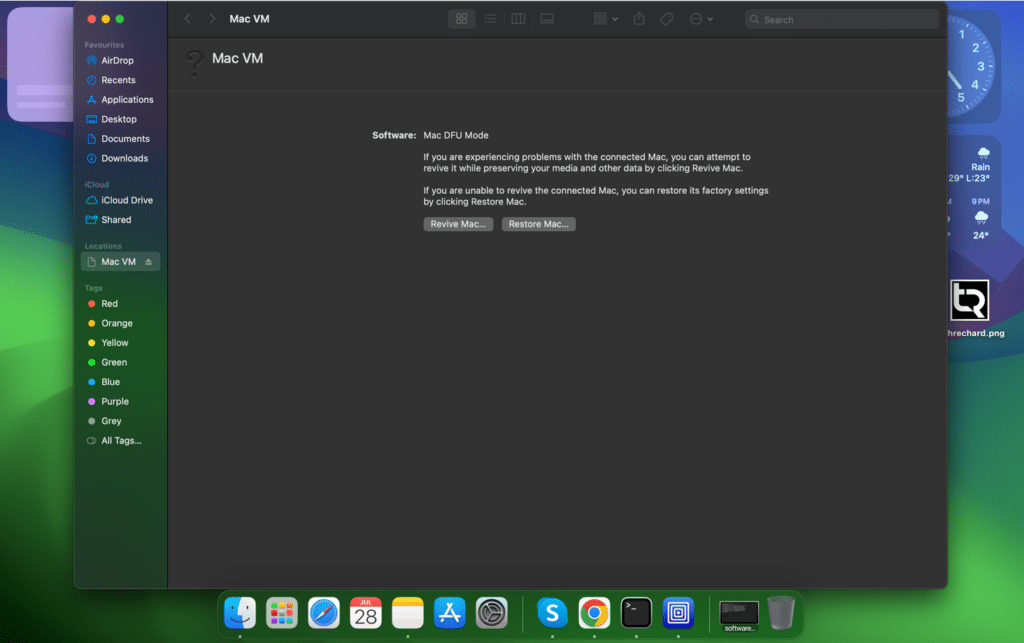
10. Ignore the Finder prompt saying a Mac has been detected in DFU mode; it simply recognizes the VM to restore the IPSW.

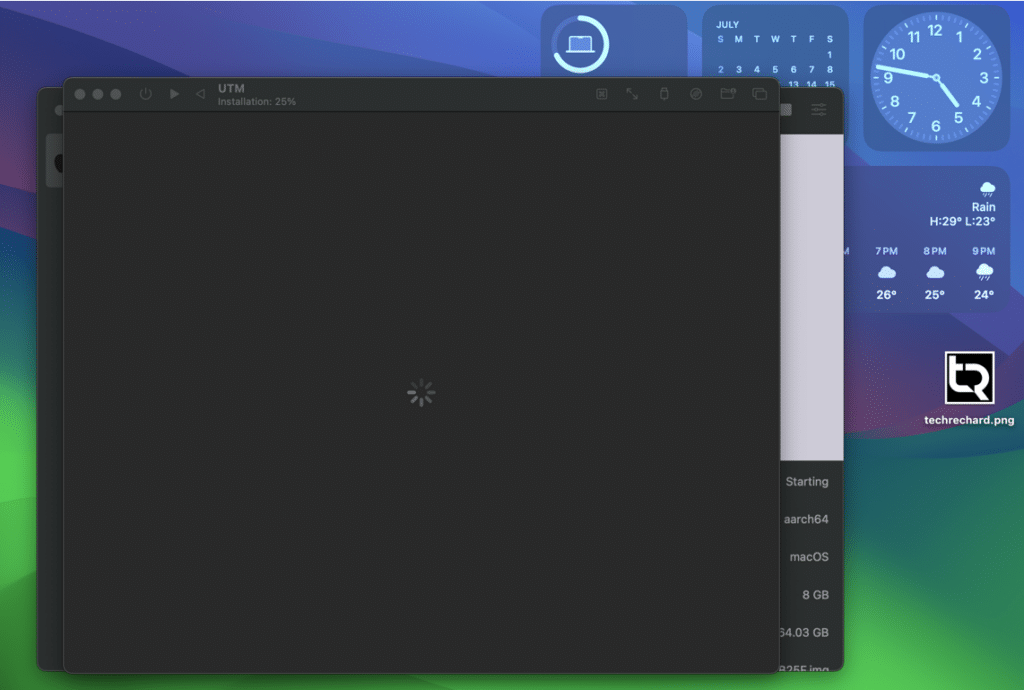
11. Allow UTM to install macOS Sonoma in the virtual machine by restoring from the provided IPSW. This process may take some time, and at times it may appear like nothing is happening, but a progress indicator will be visible in the window title bar of UTM.

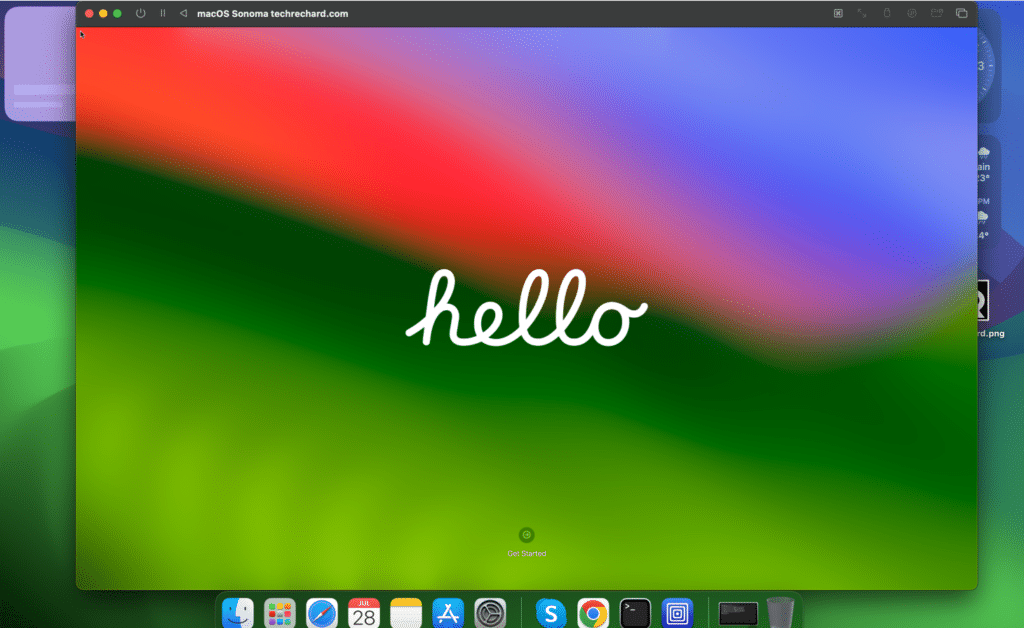
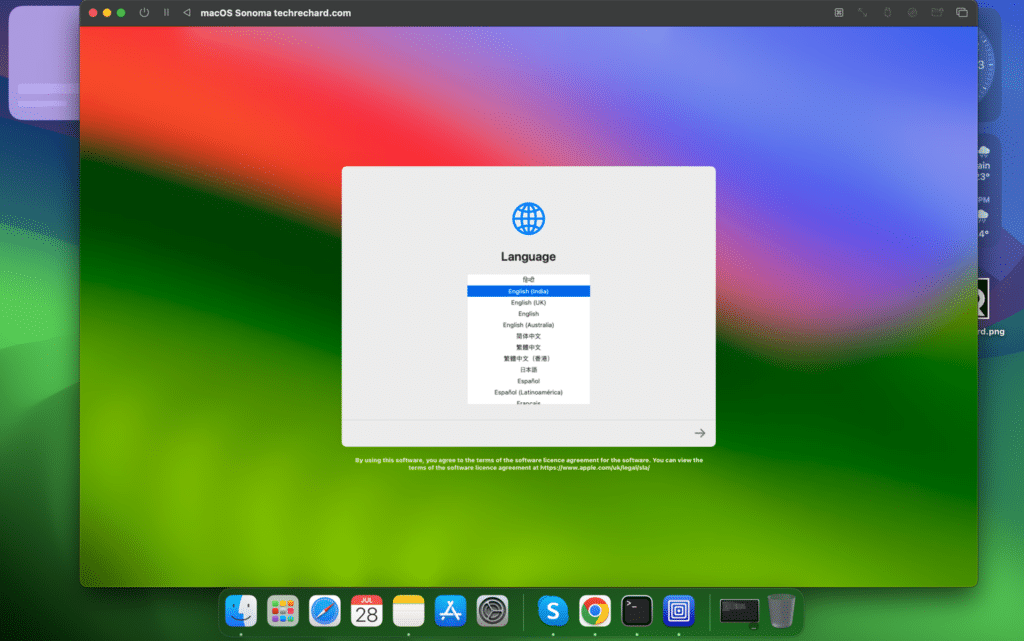
12. Once the macOS Sonoma is restored to the VM, it will boot directly into the “Hello” welcome screen. You can now set up macOS Sonoma in the virtual machine as if it were a new Mac.

13. Select your language.

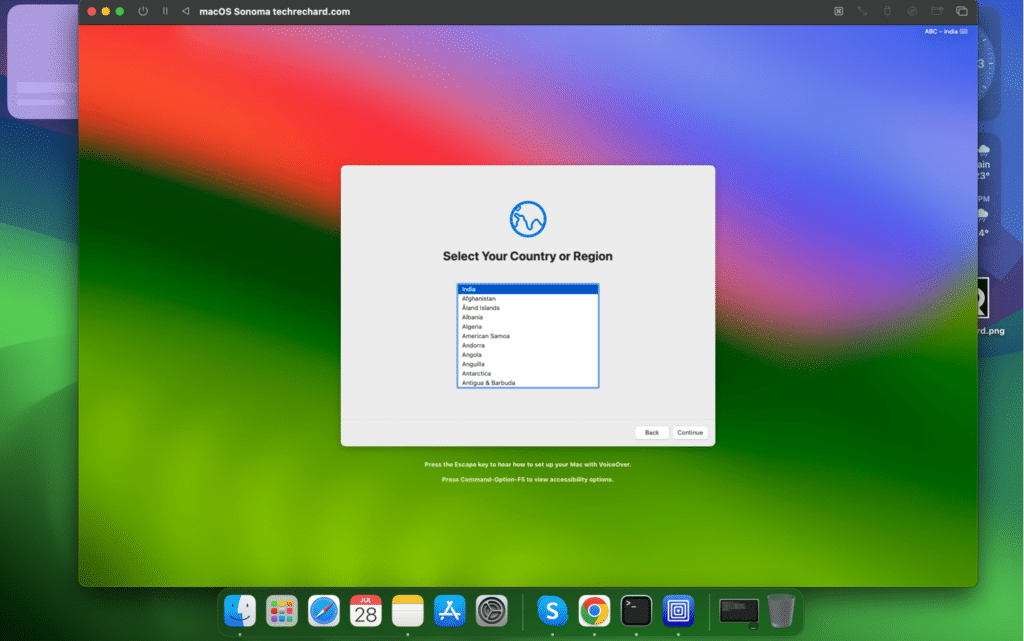
14. Select your Country or Region.
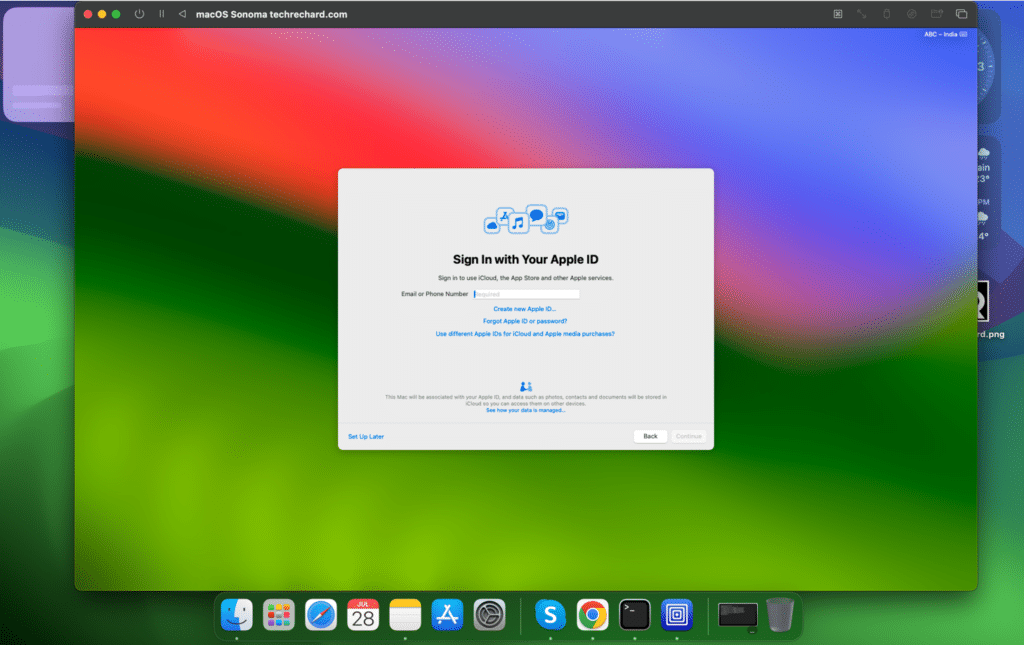
15. Continue with the default selections, and then you can sign in with your Apple ID.

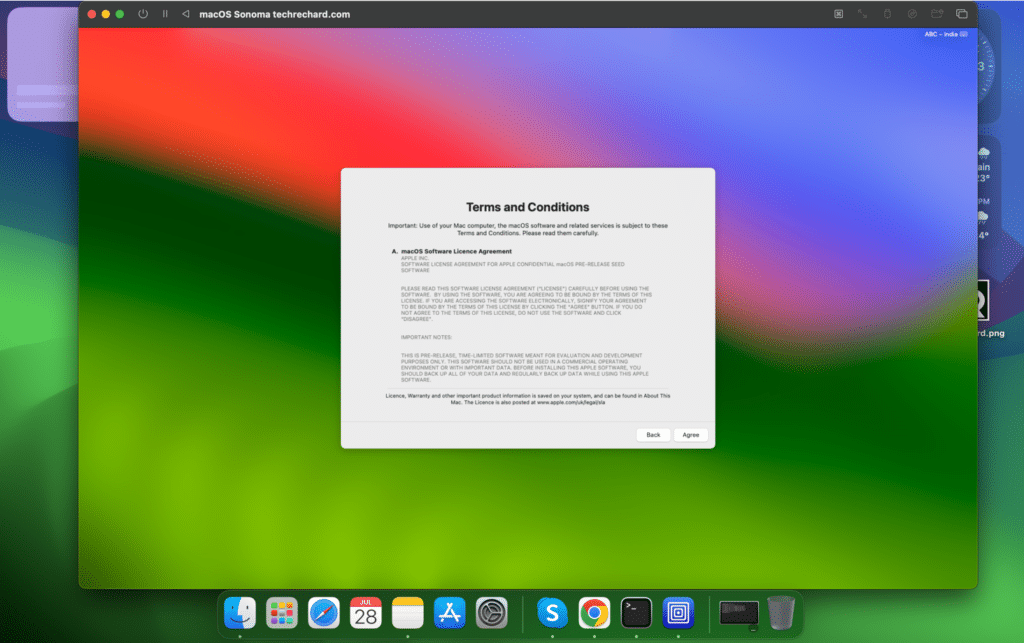
16. Accept the terms and conditions.
17. Create your account by typing in your Full Name, Account Password, and Hint.


18. Select your time zone by clicking on the map shown.

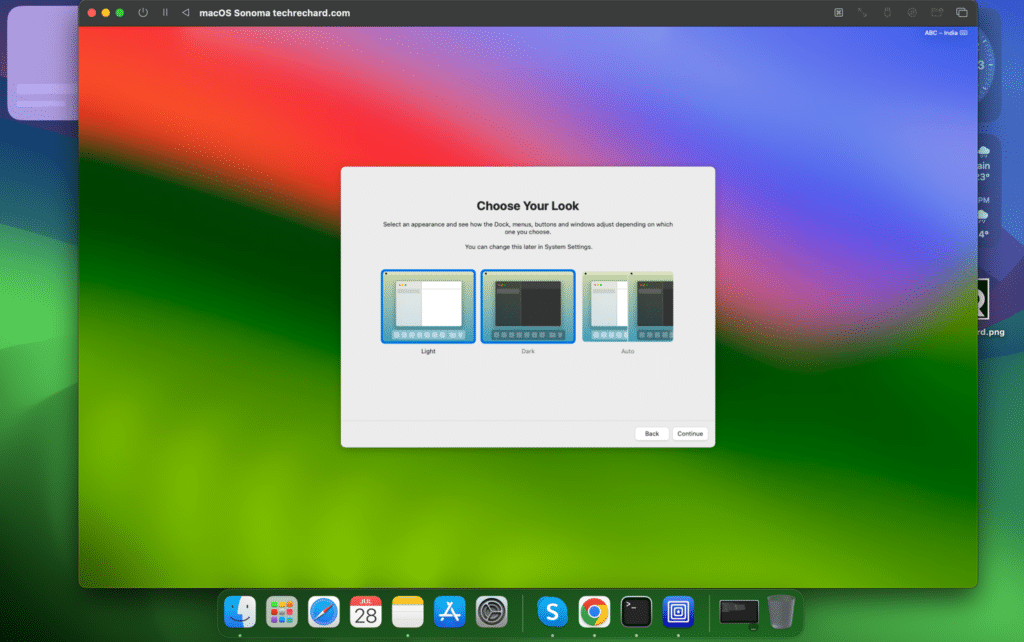
19. Continue with the default selections, and then select your theme. (Light, Dark, or Auto).

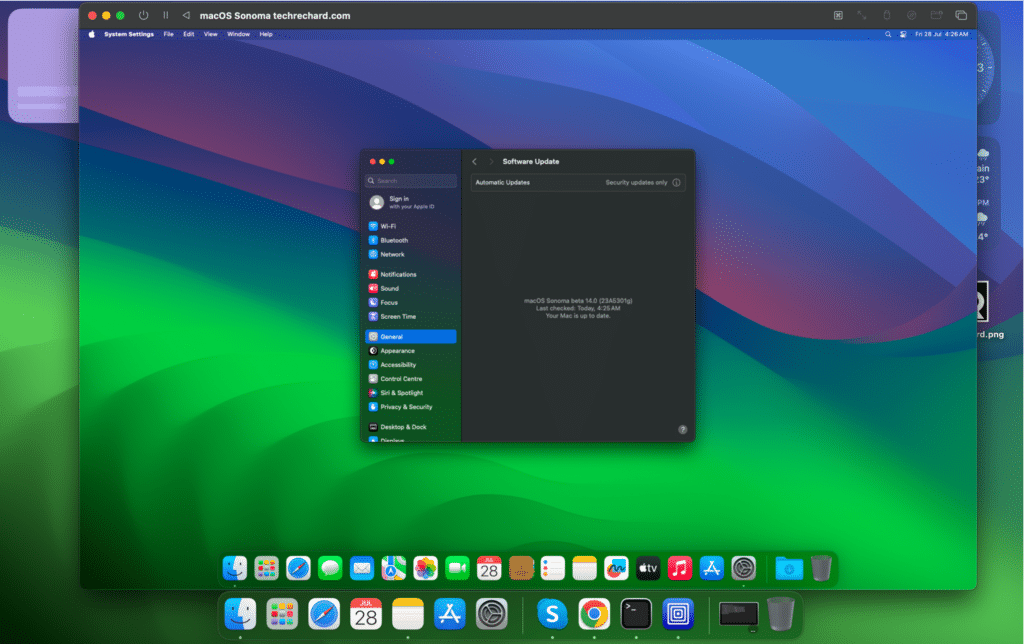
Congratulations! You are now running the macOS Sonoma in a UTM virtual machine.
Like any other VM, the macOS Sonoma is fully functional and has internet access. You can update macOS Sonoma within the VM just as any further macOS update by navigating to System Settings > General > Software Update.
Complete Video Tutorial
Final Thoughts
Virtual machines provide a convenient way to run and test various operating systems without interfering with your primary OS. Virtual machines offer a world of possibilities, whether running macOS, Windows 11, or Linux.
If you are on a Windows PC, here are a few guides on how to follow and install macOS Sonoma on your PC.
- How To Install macOS Sonoma on VMWare on Windows PC
- How to install macOS Sonoma on Virtualbox on Windows PC
Feel free to share your experiences and thoughts on installing and running macOS Sonoma in a virtual machine using UTM, Viable, Parallels, VMware, Virtualbox, or other solutions in the comments!