

Table of Contents
In this article, we will learn how to install Windows 10 on macOS 11 Big Sur. This guide will be a step-by-step process, so do not miss a single step.
What might Windows 10 be used for on your Mac? First of all, for software that is not available on macOS. Of course, some just like the Microsoft operating system’s look and functionality, but there are not so many of them in Apple computer users’ ranks.
A proprietary platform called Boot Camp is used to install Windows 10 on macOS 11 Big Sur. It allows you to add this operating system to your computer and switch between it and macOS. So, today we will install Windows 10 on macOS 11 Big Sur using BootCamp.
Note: it’s hard to say how to use Boot Camp on the new Mac running the M1 chipset. It is based on ARM, which is not compatible with the basic versions of Windows 10. Moreover, there is almost no software for a special Microsoft system based on this architecture.
You can also read:
How to manage widgets on macOS Big Sur?
How to Speed Up macOS Big Sur? 7 Easy Methods
How to share folders on VirtualBox & Vmware? (Windows-MAC) Step by Step Guide
What do you need to install Windows 10 on macOS 11 Big Sur?

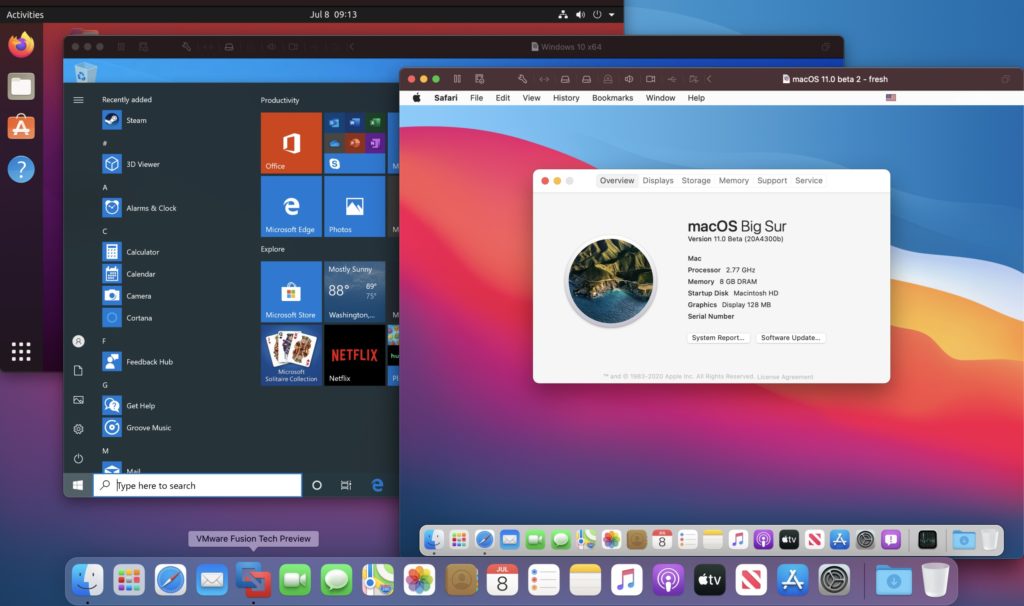
1. Supported Mac to install Windows 10 on macOS 11 Big Sur.
- 2012 and newer: MacBook Air, MacBook Pro, Mac mini, iMac;
- 2013 and newer: Mac Pro;
- 2015 and newer: MacBook;
- 2017 and newer: iMac Pro.
If you want to use Windows 10 with macOS 11 Big Sur, you need these Apple computers:
- 2013 and newer: MacBook Air, MacBook Pro, Mac Pro;
- 2014 and newer: Mac mini, iMac;
- 2015 and newer: MacBook;
- 2017 and newer: iMac Pro.

2. Flash on 16GB or more.
- 2013 and newer: Mac Pro;
- 2015 and newer: MacBook, MacBook Pro, iMac;
- 2017 and newer: MacBook Air, iMac Pro.

3. The latest update to macOS. This is important in closing security gaps – they are released even for somewhat outdated Macs.
4. At least 64GB of free space. If you have 128GB of RAM or more, the boot should have as much space as possible.
Apple generally insists that Boot Camp is a predominantly Mac with 256GB or more. Only in this case will you be able to use at least 128GB of memory for the Windows operating system’s regular operation.
You can also read:
How to Install macOS Big Sur on VMware on Windows? 8 Step Guide
How to Install macOS Big Sur on VirtualBox on Windows? 8 Step Guide
5. ISO is the only thing you need to do to use the full image, not the operating system update. The 64-bit Windows 10 Home or Windows 10 Pro option. Think about the key for yourself, and the necessary file will be downloaded for free on the official website of Microsoft.
How to install Windows 10 on Mac on macOS 11 Big Sur?
Step 1. Open the Boot Camp Assistant app.
Step 2. Check out the welcome information and click on the “Continue” button.
If you’re using a MacBook of any model, connect it to power with a cable.
If you’re using a Mac with a T2 chip, Boot Camp Assistant will advise you to decide on a secure download: once Windows 10 is installed, its settings won’t change. About this, there is an article on apple’s official website.
Step 3. Select the disk image (it will be determined automatically if you’ve recently downloaded it) and identify the space used for Windows 10.

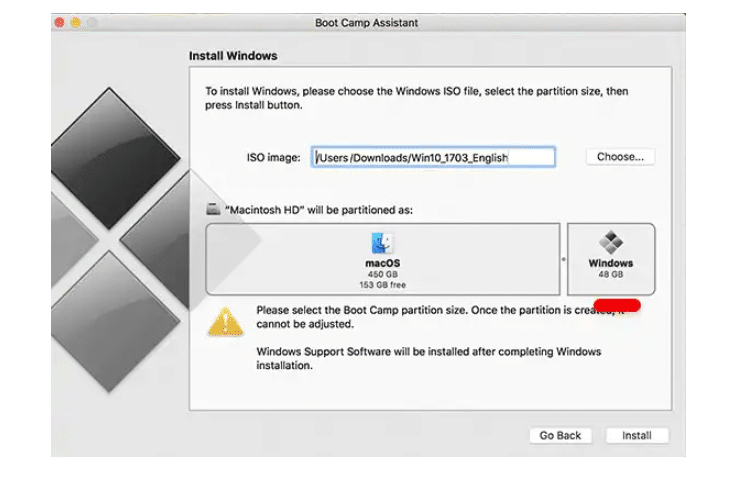
The standard, “Assistant Boot Camp,” offers 42GB, which is too little for the system to work correctly. As I wrote above, the minimum volume is 64GB. However, there may be problems with the automatic update: optimally, 128GB or more.
I usually use 100GB for Windows 10. There have been no problems with updates yet.
You can also read: How to Create macOS Big Sur Bootable Installer for Clean Installation: 2 Easy Steps (MAC only)
You won’t be able to change the drive amount after the installation. You’ll have to remove Windows 10 from your Mac and re-install it. So think ten times how much space you’ll need to use the system, and only then start the installation.
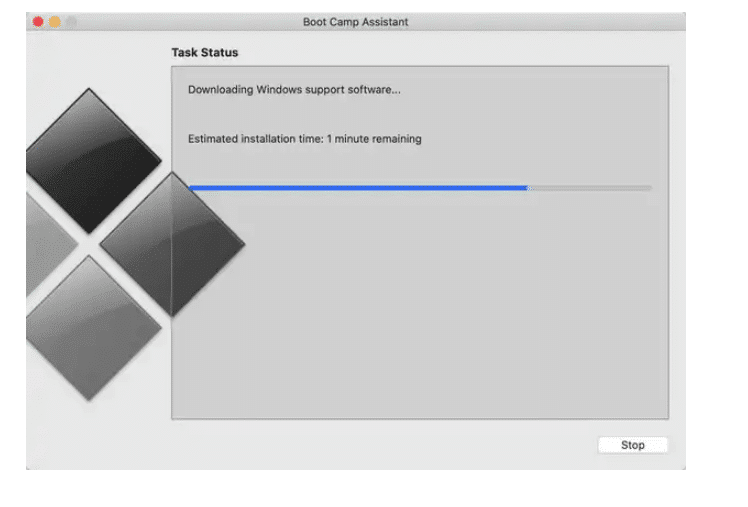
Step 4. Click on the “Install” button and expect further commands from the Boot Camp Assistant app.

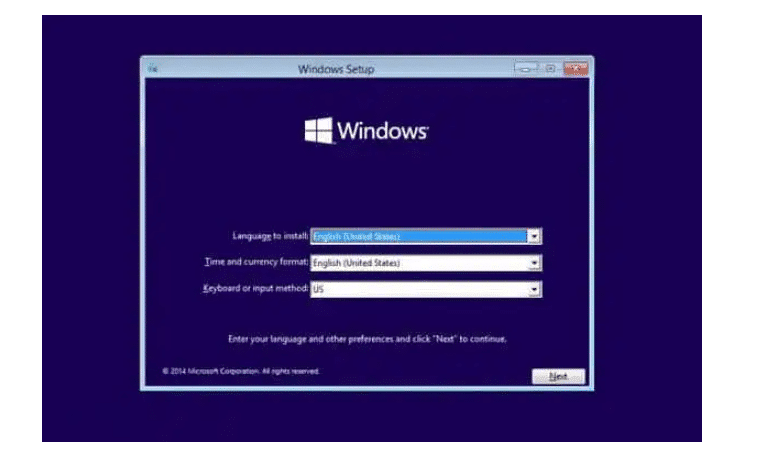
Step 5. Identify the installation language.

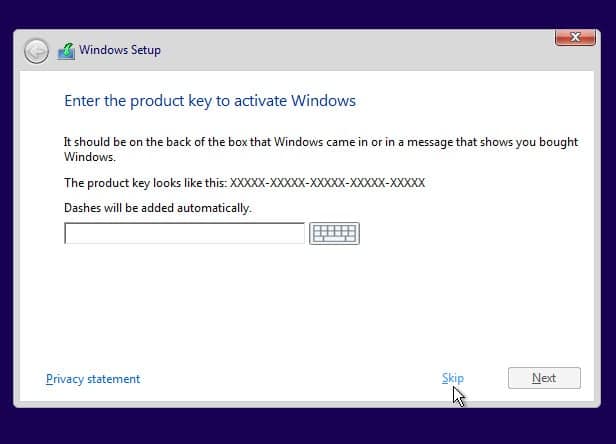
Step 6. Enter the license code or set it aside for later.

Step 7. Choose the type of system you want to install.
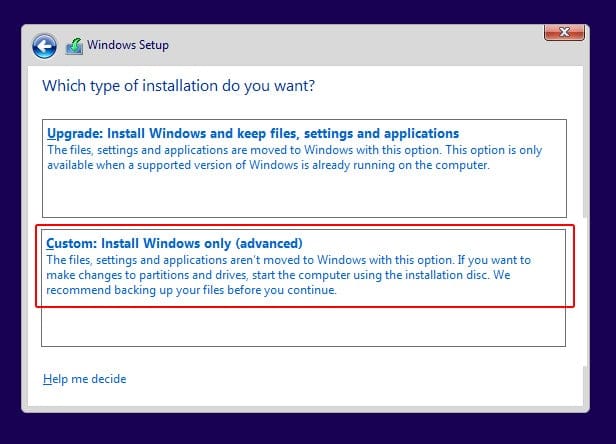
To get all the features and minimize restrictions, it’s best to use Windows 10 Pro.
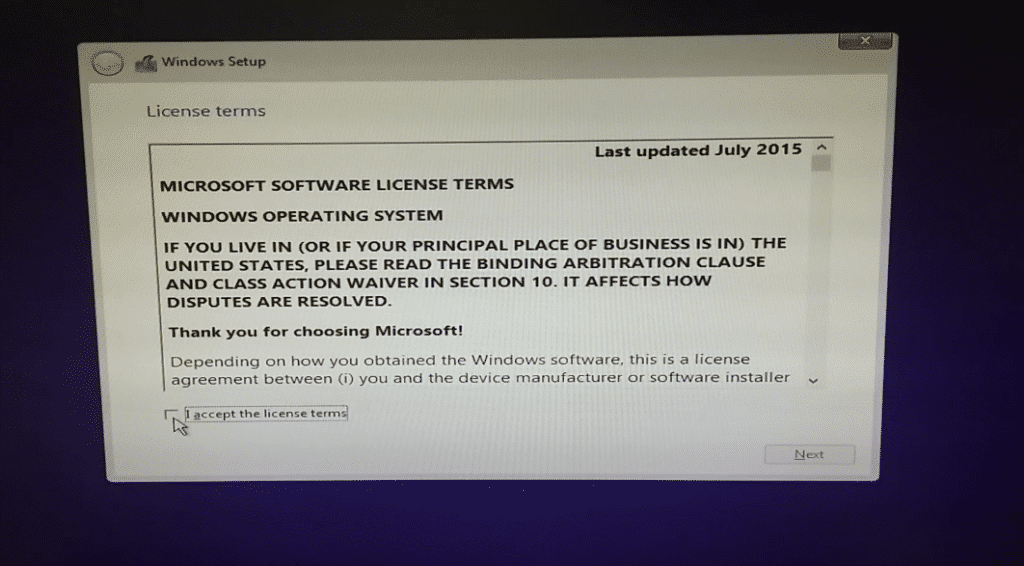
Step 8. Check out the licensing terms and click Next.


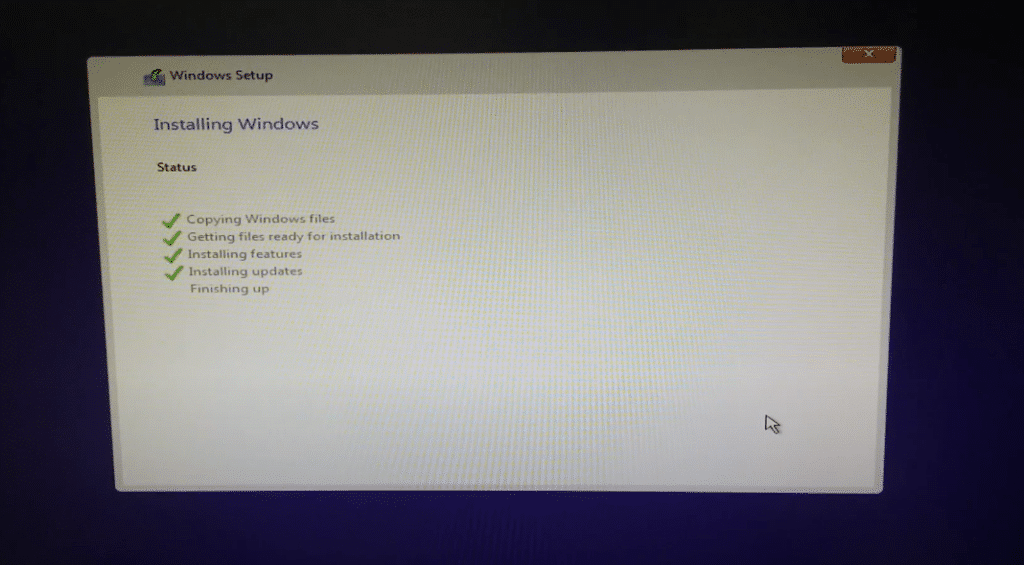
Step 9. Identify regional parameters.

Step 10. Connect to the Wi-Fi network.
Step 11. Add an account and create a PIN for authentication in Windows 10.

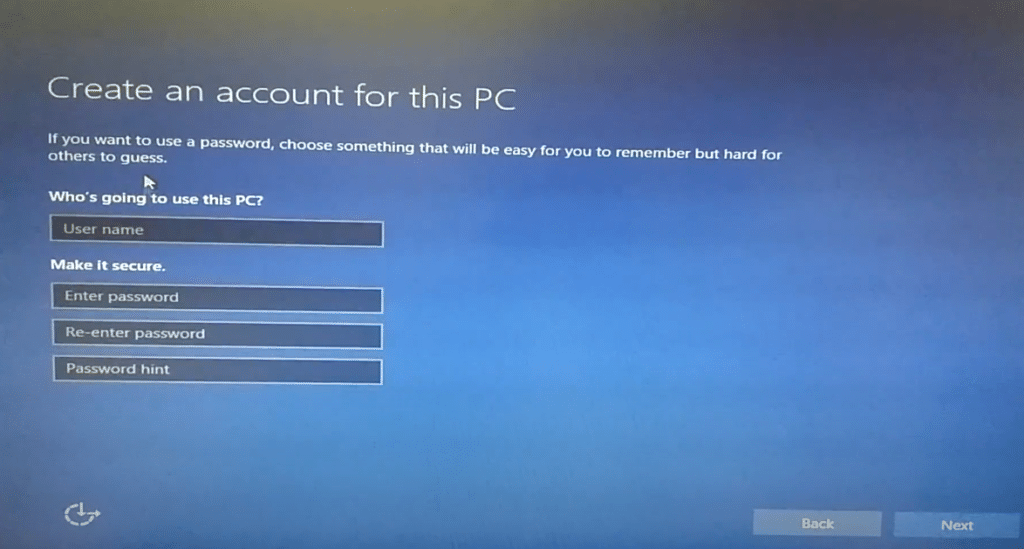
Step 12. Set your privacy settings and complete the original Windows 10 setup.

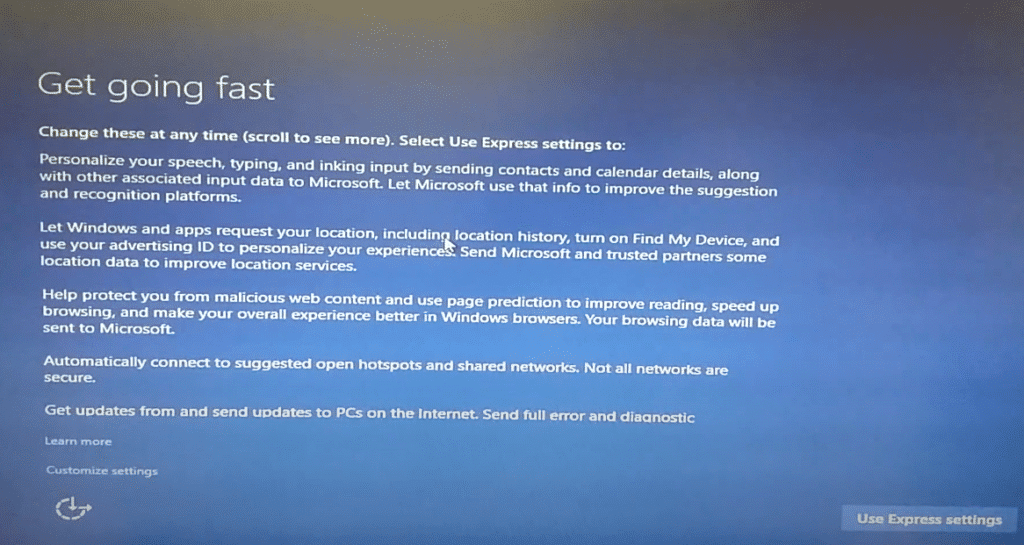
Step 13. Set the driver to work The Boot Camp correctly – this app should already be open.

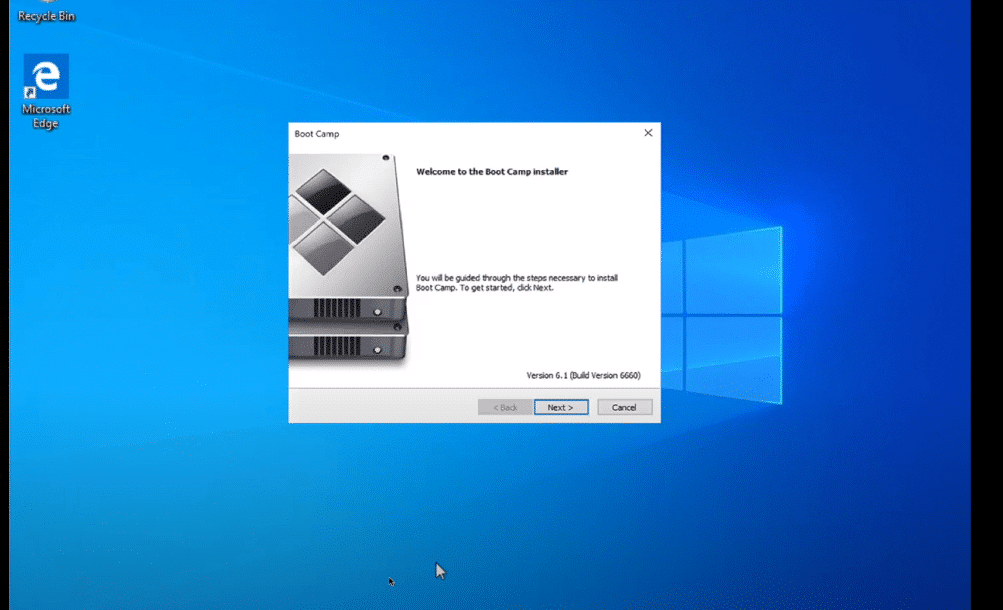
Step 14. Enjoy using Windows 10 – installing is unlikely to take more than half an hour.
When you reboot in macOS 11 Big Sur, remove the Windows 10 distribution used to install. It is no longer needed but takes up about 6GB of storage space. This fact must be watched more closely because the other system takes a lot.
How to switch between macOS 11 Big Sur and Windows 10?
Step 1. Reboot your system.
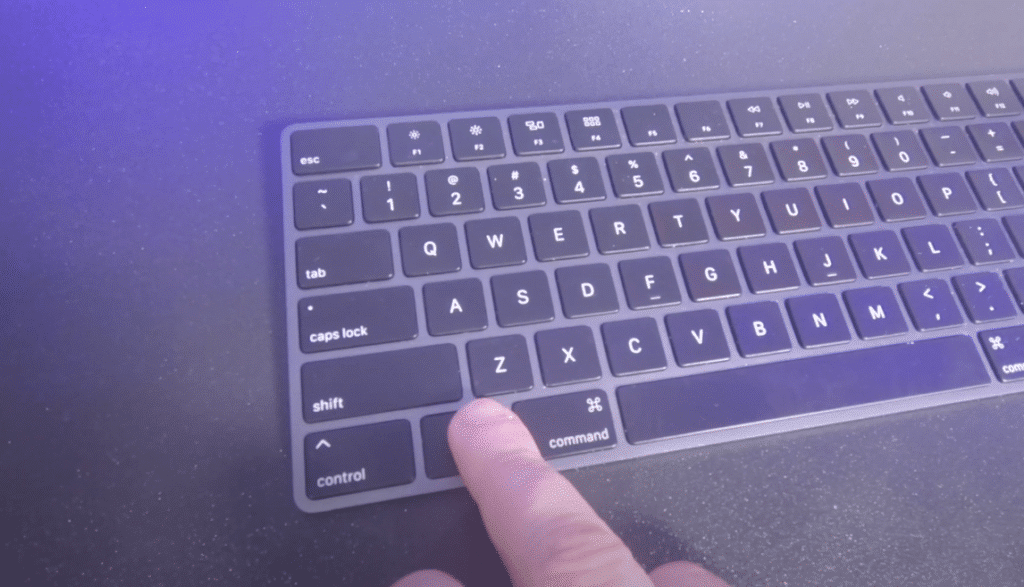
Step 2. Press the Option (⌥) key and hold it until the system selection menu is activated.

Step 3. Choose the system you want to run.

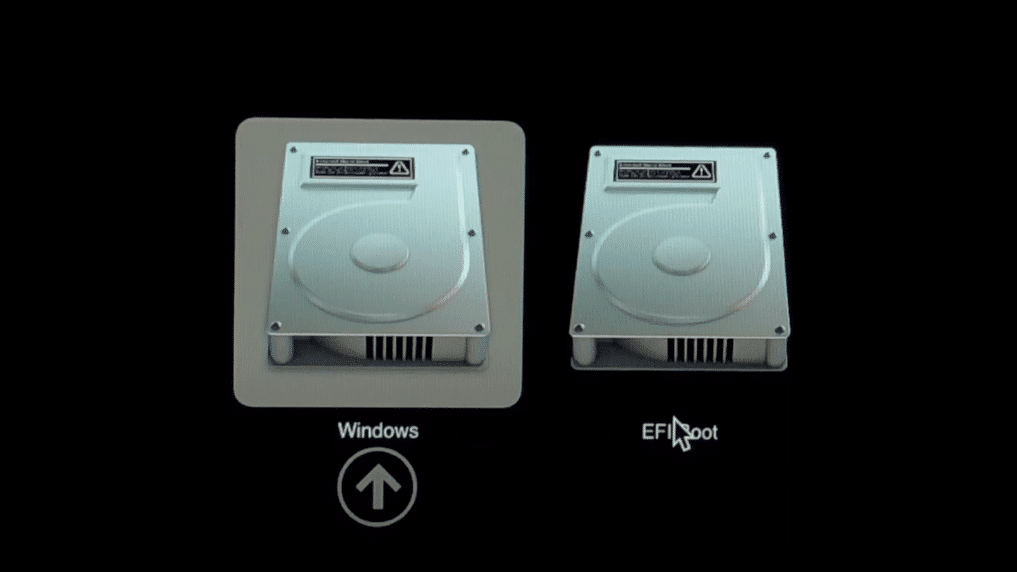
You can also do the same from under the macOS with the “System Settings” menu. Select a disk for further use and click on the “Restart” button.

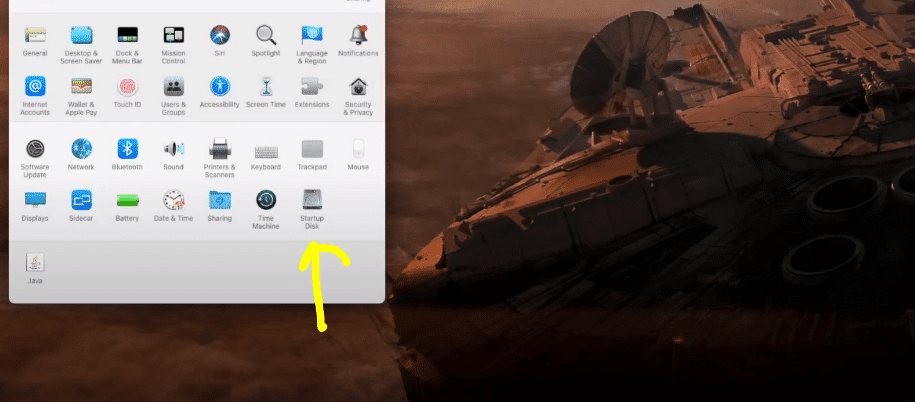

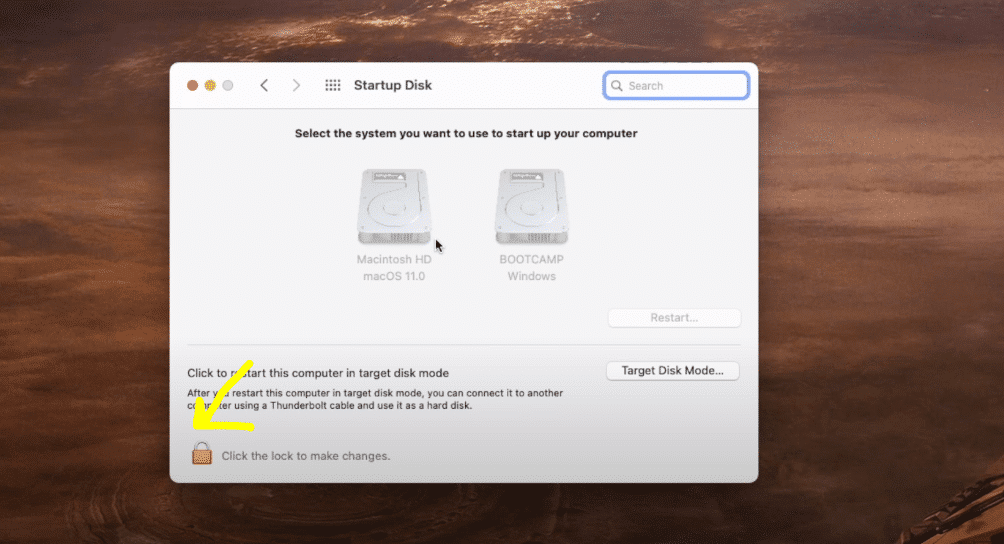
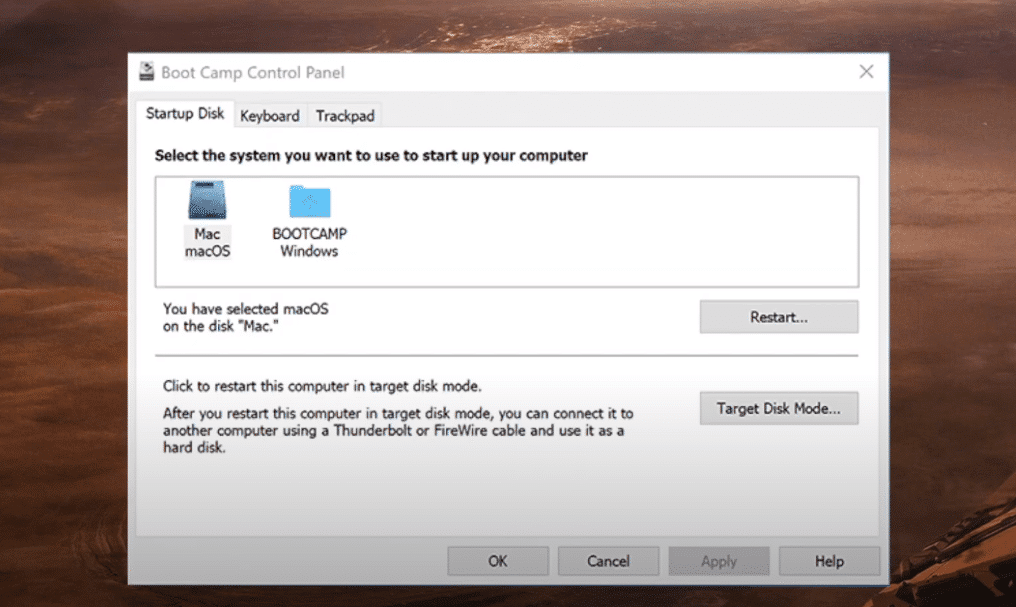
This can be done on the Windows side as well.
How to share folders on VirtualBox & Vmware? (Windows-MAC) Step by Step Guide

Common Issues of Boot Camp Windows 10 Install
1. We need a flash drive.
If you have an old Mac, as I’ve already written about, you’ll also need a flash drive to install Windows 10. “Boot Camp Assistant” will tell you when to insert it into your computer. You can check it out after the launch of the new operating system and the drivers for it.
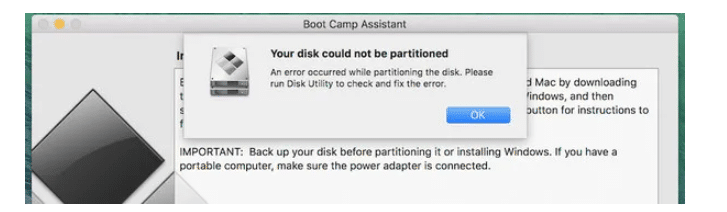
2. Your disk could not be partitioned:
While formatting your drive, ensure your partition is set to MS-DOS (FAT). The default file system for macOS is either HFS+ or APFS. If you get this error, please format the Windows partition to MS-DOS (FAT)

3. The Boot Camp installer does not start.
If you don’t automatically install additional drivers after the first windows of Windows 10, go to OSXRESERVED, unwrap the BootCamp folder, and use the Setup file.exe. This is necessary to install Windows 10 on macOS 11 Big Sur ideally.
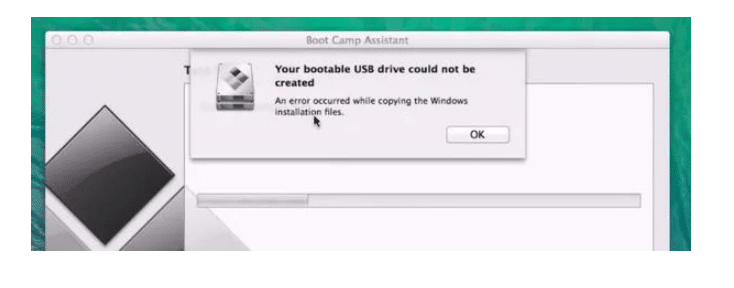
4. An error occurred while copying Windows 10 installation files.
This issue can arise mainly due to 2 reasons-
The Windows 10 Installer ISO that you created is corrupt. So, it would be best to recreate the Windows 10 Installer ISO to install Windows 10 on macOS 11 Big Sur.
The Windows 10 Installer ISO file is more significant than 5GB. The FAT file system can only hold a single file of less than 4GB. So, you need to download an old version of Windows from the Microsoft official website and later update your Windows after the installation of Windows 10 on macOS 11 Big Sur is complete.

5. An additional monitor is connected.
If you use an auxiliary screen, it can be black during the immediate installation of Windows 10. There is nothing wrong with this; after the procedure, it will work 100% correctly.
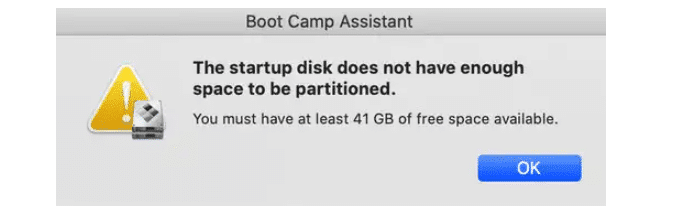
6. Not enough disk space.
Your windows installation will need around 41 GB of disk space, so you need to ensure you have enough disk space before you start installing Windows 10 on macOS 11 Big Sur. This is a common problem with MACs with 128 GB of SSD drive. Alternatively, you must add a new drive to your MAC and repeat this process.

.
7. Share files between Virtual Machines
Here is a complete guide- How to share folders on VirtualBox & Vmware? (Windows-MAC) Step by Step Guide
How to remove Windows 10 via macOS 11 Big Sur?
After this process of how to install Windows 10 on macOS 11 Big Sur. If you wish to remove Windows 10 from your MAC. You need to follow the below guidelines.
Step 1. Open the Boot Camp Assistant app.
Step 2. Check out the welcome information and click on the “Continue” button.
Step 3. Click the “Restore” button to remove the Windows section and return all space to use macOS 11 Big Sur.
Removing the section goes without a trace, and the space released from it can be used for any of its needs after a few minutes. However, if the free space in the vault stresses you, it’s best to try installing Windows 10 on a removable drive.
Conclusion: How to install Windows 10 on macOS 11 Big Sur
This is the easiest way to install Windows 10 on macOS 11 Big Sur. There are many other alternatives that you can use to install Windows 10 on macOS 11 Big Sur. But I will suggest you go with Boot Camp. If you face any problems with this method, comment down below.