

Table of Contents
Individuals typically rely on USB flash drives to store and transfer files between computers. Additionally, they can utilize their iOS device (iPhone) as a USB stick by connecting it to a Mac or Windows PC using a cable.
This guide will demonstrate efficient ways to utilize your iPhone or iPad as a flash drive for storing and transferring files. We’ll explore both wired and wireless methods for achieving this.
Within iOS, there exist apps with the potential to store files accessible via Finder on a Mac or iTunes on a Windows PC (and on a Mac running macOS Mojave or older).
By leveraging such apps, you can store any file on your iPhone, including those incompatible with iOS. This ensures secure storage for files of various formats like Word, PDF, ZIP, DMG, APK, MP3, MP4, MKV, AVI, Photoshop files, Sketch files, and more.
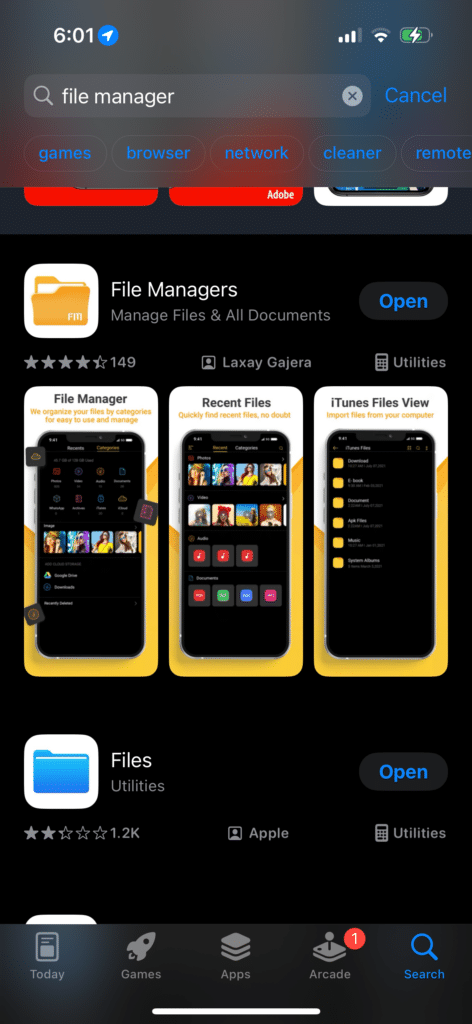
Before moving on to the next steps, it’s essential to install one of these apps. Each of the following apps enables file storage.
- VLC (it’s a video player app, but you can store any files in it)
- Secure FileManager (allows you to set a password to start the application)
- Files Go
- Total
- Documents
- iFiles
How to Use an iPhone or iPad as a USB Stick on a Computer:
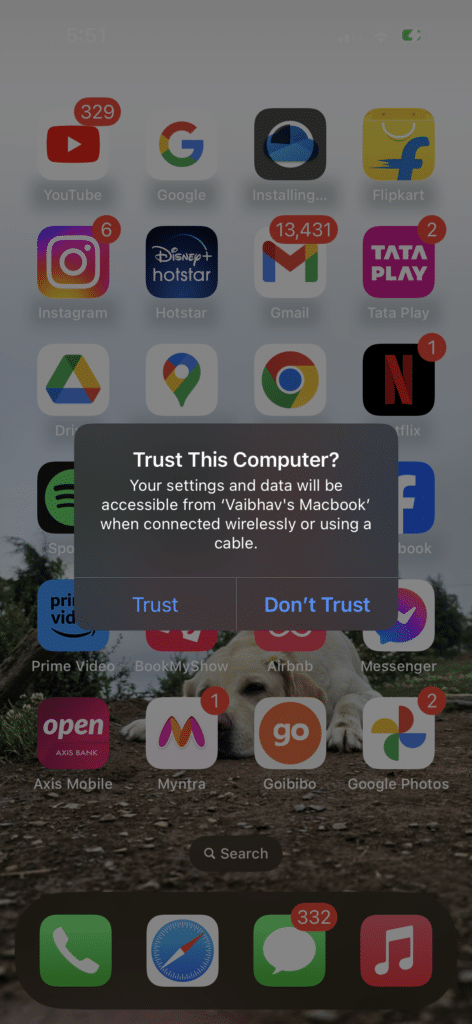
Step 1: Link your iPhone or iPad to your Mac or PC using a cable connection. Should a prompt appear on your computer requesting permission for the connection, click on “Allow.”


Step 2: Launch Finder on your Mac. Alternatively, if you’re on a Windows PC or an older Mac, open iTunes.
Step 3: Locate your iPhone or iPad in the Finder by selecting its name from the left sidebar. In iTunes, click on the iPhone or iPad icon in the top menu bar. If you don’t see it, ensure your device is correctly connected via cable. You might also try using a different USB port on your computer.


Step 4: If it’s your initial connection of an iOS device to this computer, you might encounter a “Trust” button. Click “Trust” on your computer, then on your iPhone or iPad, and input its passcode. By doing so, you’re granting trust between your iOS device and the corresponding Mac or PC, enabling communication between them.

Step 5: Return to the Finder or iTunes and navigate to the “Files” section.
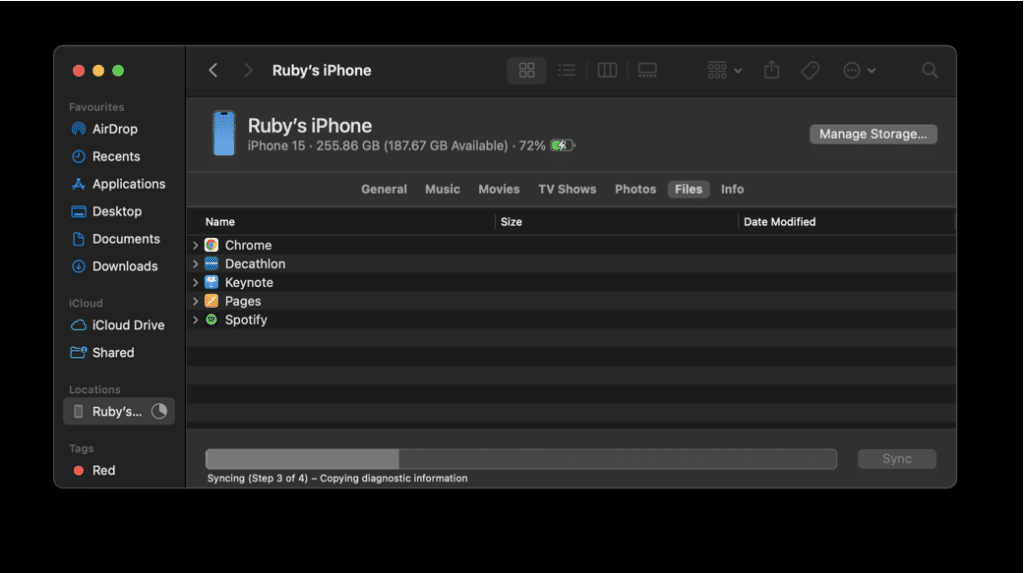
Step 6: You’ll find the app you installed earlier here. Simultaneously, open the folder containing the files you wish to save on your iPhone or iPad.
Step 7: Drag and drop the desired files or folders from your computer’s folder into the app within the “Files” section of Finder or iTunes.

Step 8: Following that, ensure that the iPhone is safely ejectable by clicking on the small eject icon.
Congratulations! You have effectively transferred files from your Mac or PC to your iPhone or iPad.
Where to Find Saved Files on iPhone:
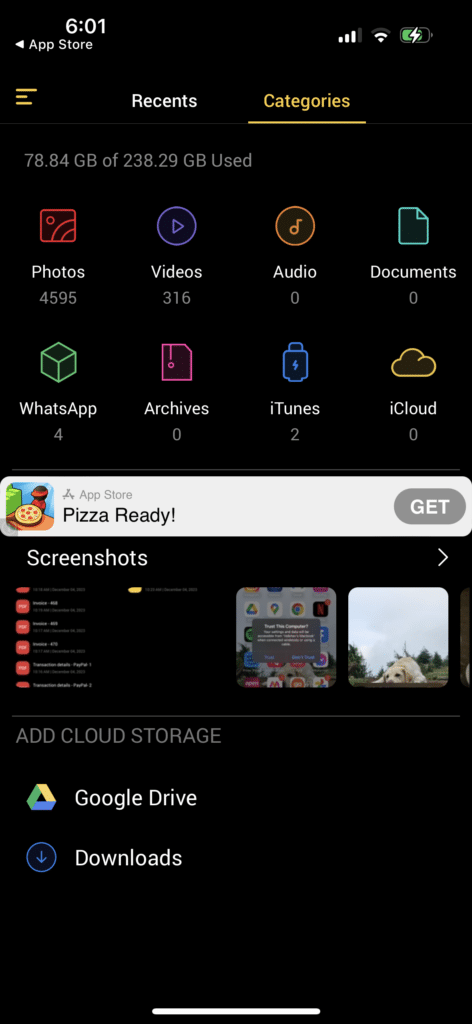
Step 1: Open the app on your iPhone or iPad where you copied the files in step 7. In my case, it’s File Manager.
Step 2: Inside the app, locate your files. If not immediately visible, check for folders named iTunes, Files, File Sharing, Computer, or similar. (In my case, it’s iTunes Files).
Step 3: If the iPhone app where you saved these files can open them, you can work with the saved files on your iPhone or iPad. For instance, if you transfer a PDF file to the Documents app, it will be accessible. Similarly, files like MKV, MP4, or AVI saved in the VLC app can be played.
Step 4: Even if the app cannot directly open the file, it will remain stored within it.

How to Transfer Files from iPhone or iPad to Computer:
To access these files on your Mac or PC later, follow steps 1 through 6, outlined at the beginning of the instructions. If it’s the same computer, you won’t need to click “Trust” again. However, for a different computer, you’ll need to repeat the process.
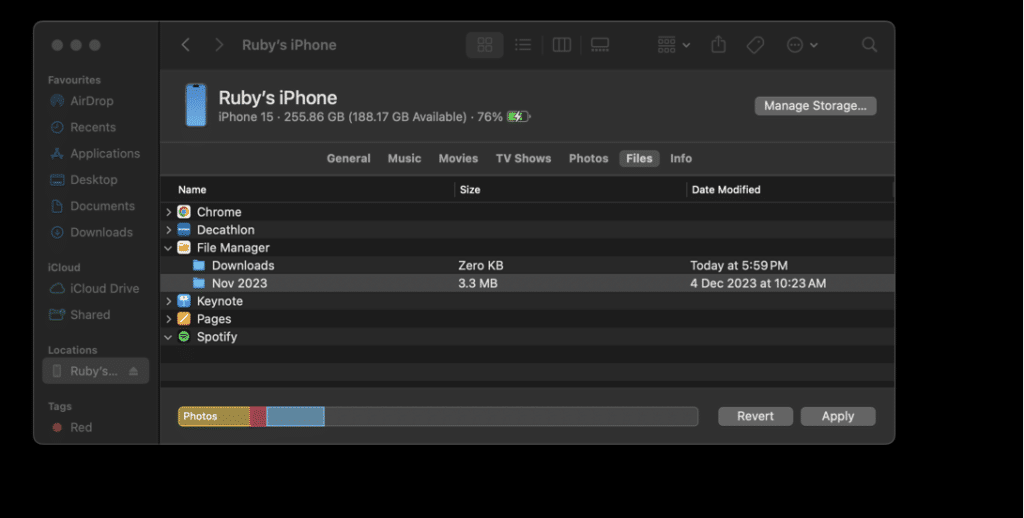
Now, navigate to the “Files” section within the Finder or iTunes and click the arrow next to the app to expand it. Here, you’ll find all the saved files.
Drag and drop a file from the Finder or iTunes window to your computer’s desktop or a desired folder.
How to Upload Files on iPhone and iPad Without Connecting to a PC:
In the previous steps, you learned how to transfer files between your computer and iPhone using a Lightning or USB-C cable.
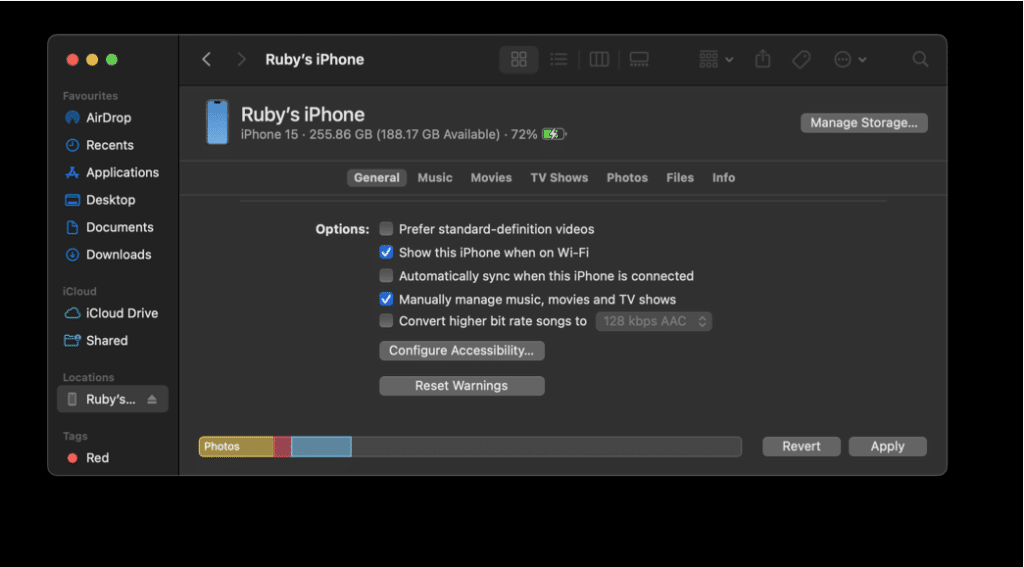
You can also enable wireless access after successfully connecting your iPhone to your computer. Once configured, your iPhone or iPad will appear in the Finder or iTunes when both devices are on the same Wi-Fi network. Here’s how to set it up on a Mac:
Step 1: Connect your iPhone or iPad to your computer and follow the steps mentioned earlier to establish trust between your devices.
Step 2: Now, select your iPhone or iPad in the Finder.
Step 3: Scroll down to the General section and check the box next to “Show this iPhone when on Wi-Fi.“
Step 4: Click Apply or Sync to confirm the changes.

Your iPhone will be visible in the Finder or iTunes when both the iPhone and Mac are connected to the same Wi-Fi network and your iOS device is unlocked. Now, you can transfer files between devices without the need for a cable.
Important Note: Ensure that your iPhone or iPad screen remains active and unlocked during wireless transfers, as the transfer may fail otherwise. For instance, transferring a 3GB movie file from your computer to your iPhone may take a few minutes. If your iPhone locks during the transfer, you’ll need to restart the process.
Remove Files from Your iPhone:
From iPhone:
Open the app where the files are located. Then, select and delete the unwanted files.
Additionally, uninstalling an app that stores files will automatically remove all associated files. For instance, if you uninstall the Documents app, all files and folders stored within it will be deleted.
From Computer:
Follow steps 1-6 outlined above. Click the arrow next to the app. Choose the file, right-click on it, and select Delete.
Conclusion
In conclusion, managing files between your iPhone, iPad, and computer can be done efficiently using a combination of wired and wireless methods. Whether transferring files via cable connection or enabling wireless access, the process offers flexibility and convenience.
Additionally, removing unwanted files from your device is straightforward, whether directly from your iPhone or through your computer. By following these steps, you can easily organize and maintain your digital files across all your devices, ensuring a streamlined and clutter-free experience.