

Table of Contents
In this article, we will discuss how to reset Windows 11 PC settings while saving personal files. If your PC isn’t working properly, slowly, or has problems with apps, Windows 11 has a factory reset feature that can solve these and many other existing problems.
In Windows 11, reset your PC quickly saves your device while saving your personal files and reinstalls the OS using a locally available image or downloads a new image from the cloud. Using any of these options will not delete your files, but you should know if programs and apps will be removed. The settings you made manually will be reset to the default state, which may be part of the problems.

In this tutorial, you’ll learn How to Reset Windows 11 PC Settings while Saving Personal Files if your device has problems of all kinds with apps or system configuration issues.
- Reset Windows 11 by saving files with local reinstallation
- Reset Windows 11 by saving files downloaded from the cloud
- Reset Windows 11 by saving personal files if system doesn’t boot
Method 1: Reset Windows 11 with a local reinstallation while saving your personal files
To reset Windows 11 while saving files using a local reinstall, follow these steps:
Step 1: Open the Settings app in Windows 11.
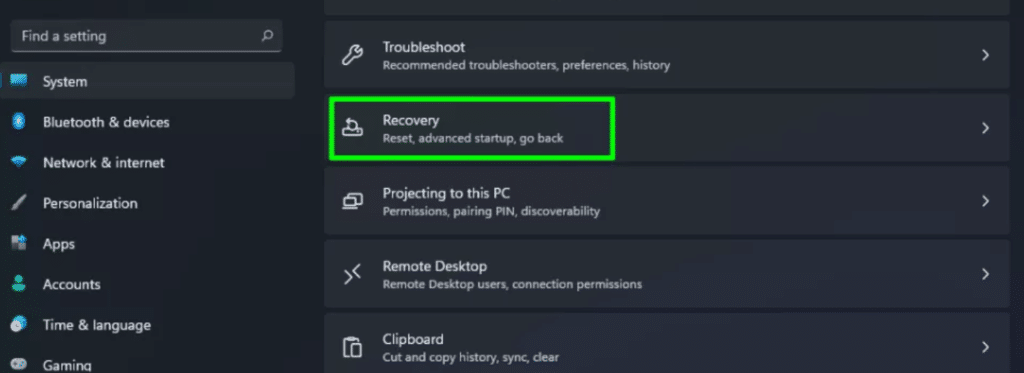
Step 2: Go to the “System” section.
Step 3: On the right, click on the “Recovery” tab.

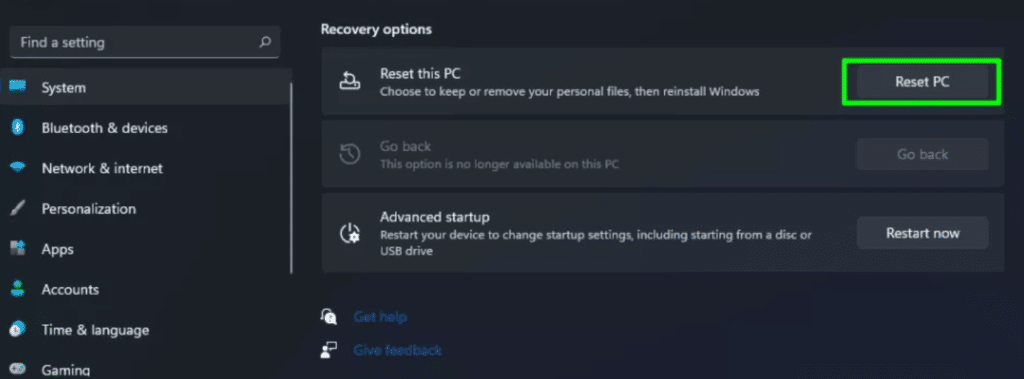
Step 4: In the “Recovery Options” section of the “Reset Your PC” preferences, click the “Reset PC” button.

Note: If due to incorrect operation of the operating system you can not open the application “Settings,” run the following command in the “Windows Terminal” and continue the reset of Windows 11 from step 5.
systemreset --factoryreset
Step 5: In the next window, select the “Save My Files” option.

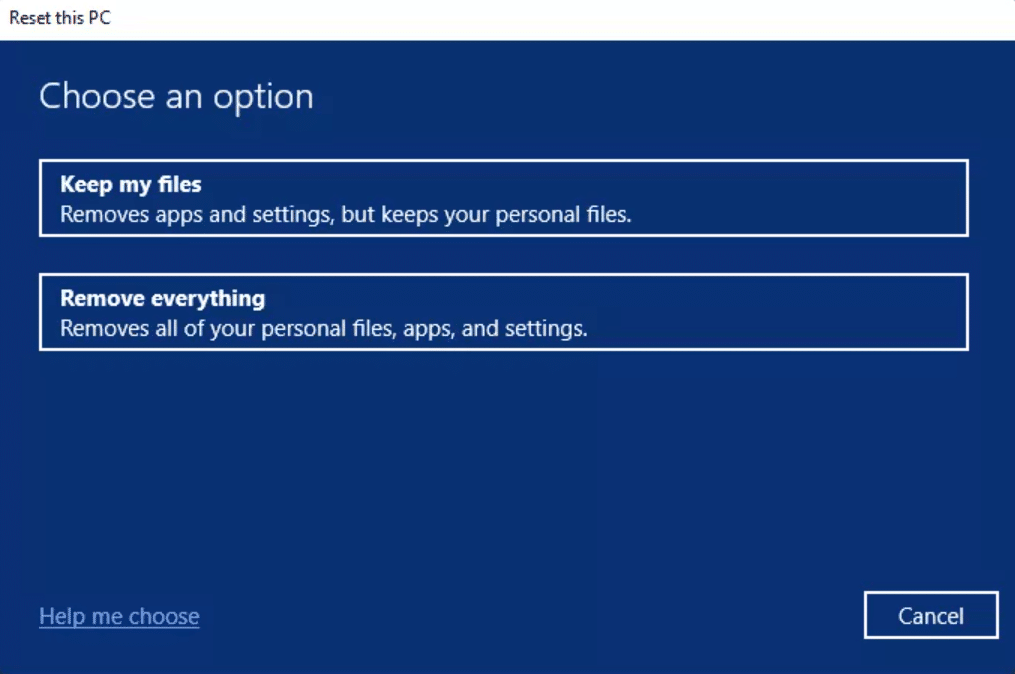
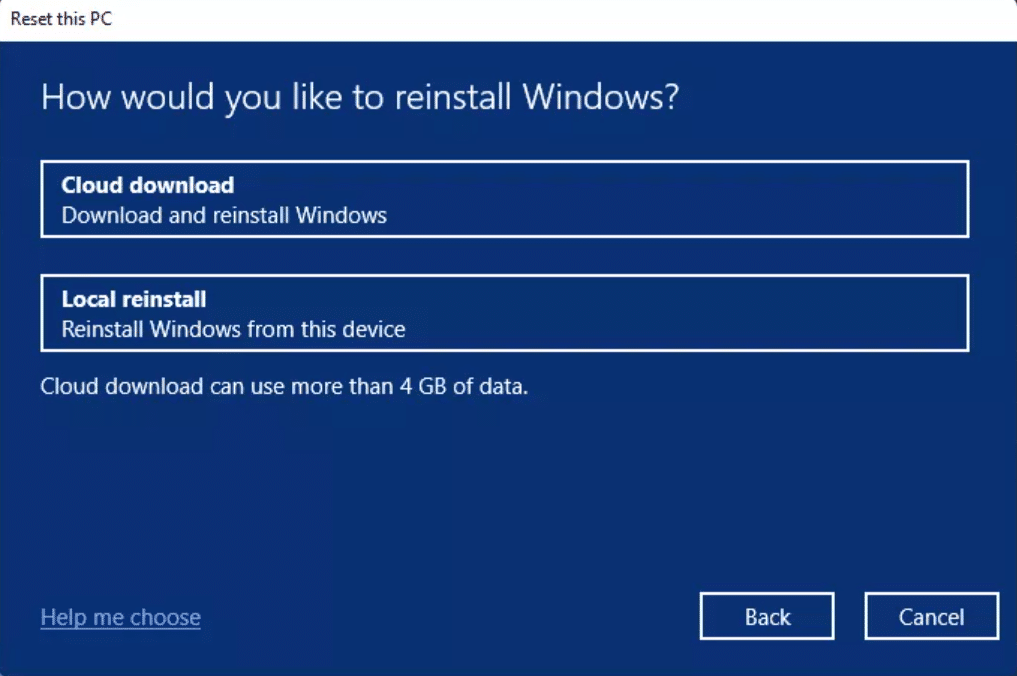
Step 6: Select the “Local Reinstall” option to reinstall Windows 11 using a local image without losing files.

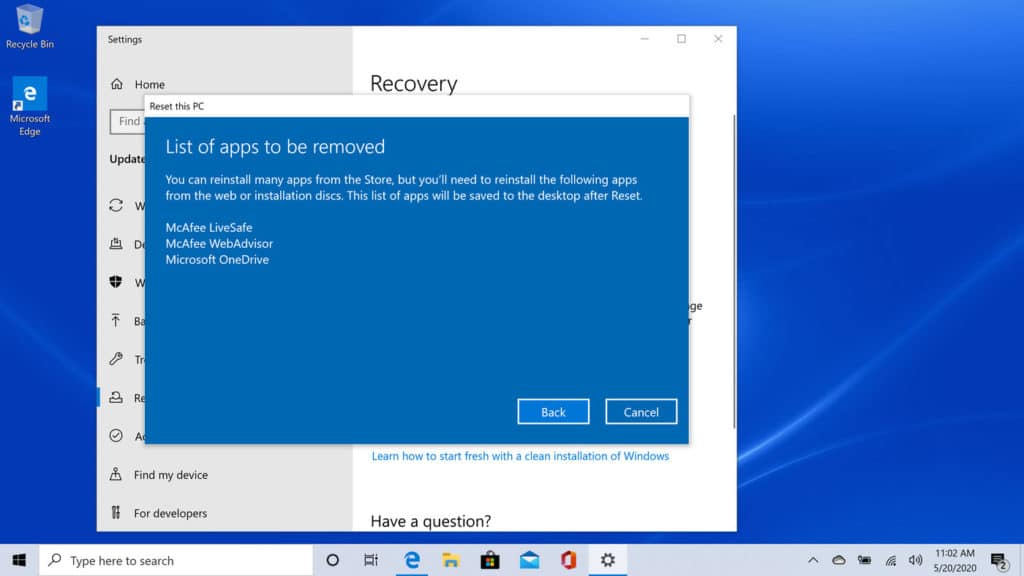
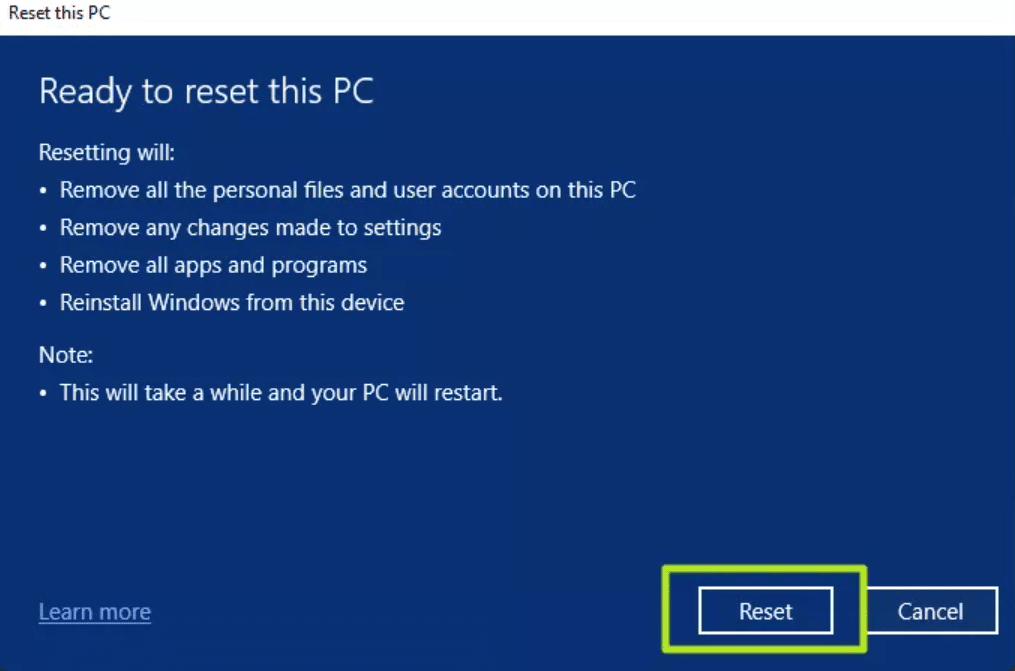
In the next window, you will find information about what will be done at the time of the permutation:

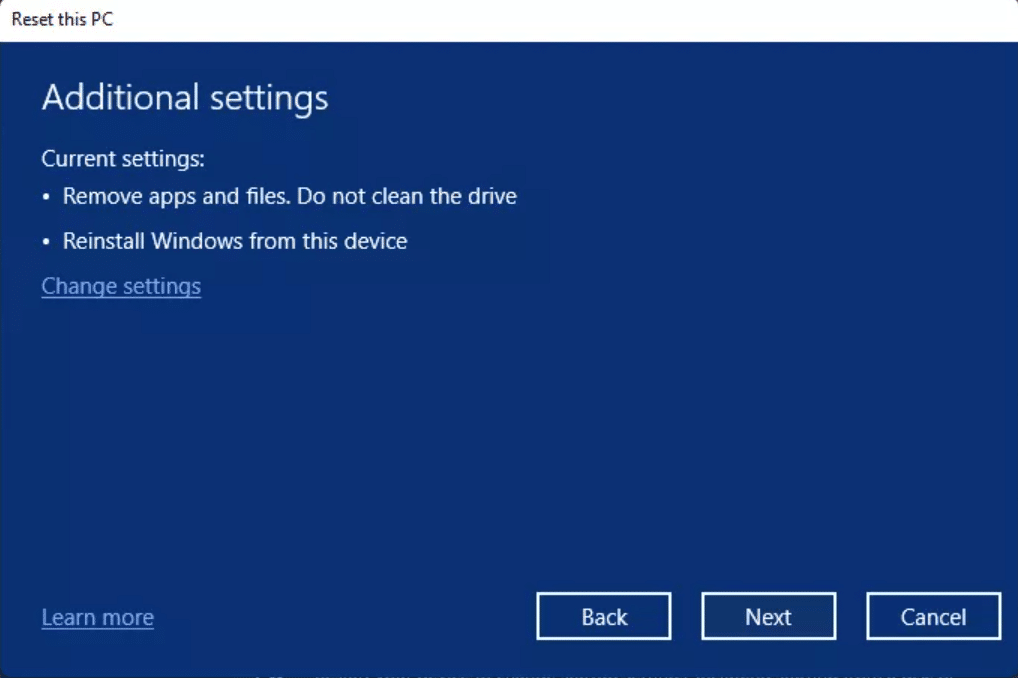
- All settings will be reset to the default state
- Personal files will be saved
- Removed all programs and applications
- Reinstalled operating system
Step 7: Click the “Next” button.

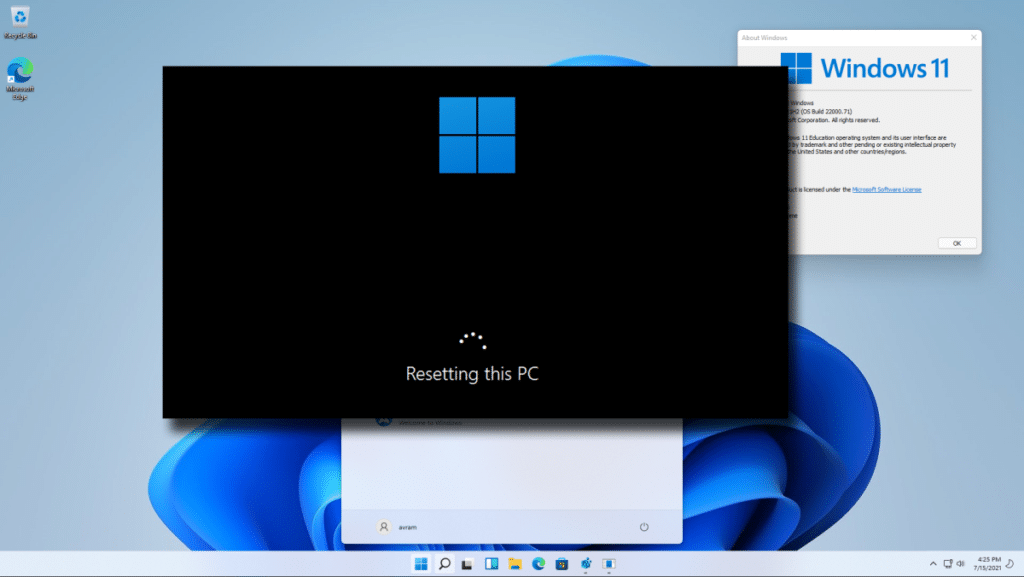
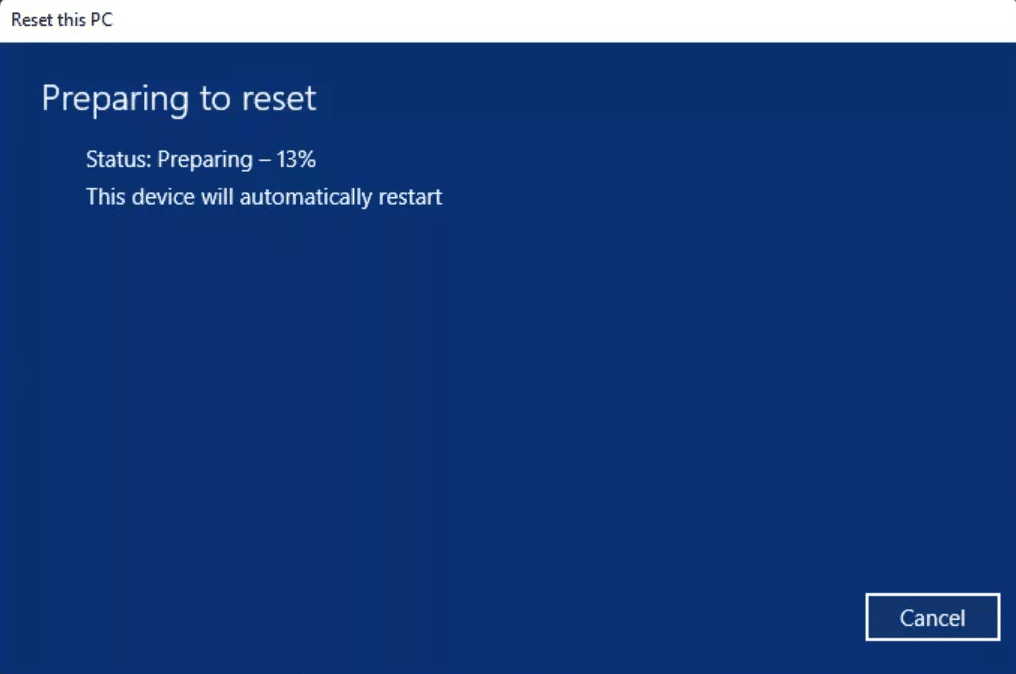
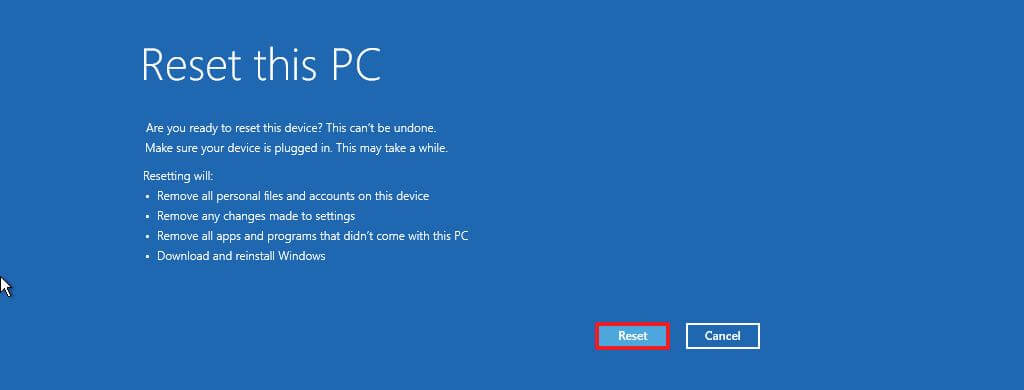
Step 8: Click the “Reset” button to start the process.

After you complete these steps, Windows 11 will be reinstalled, saving all your files using a locally available image. However, this process will reset all settings to factory defaults and remove all applications and programs installed in the current installation.

Method 2: Reset Windows 11 with boot from the cloud while saving files
To reset Windows 11 by saving files using “download from the cloud,” follow these steps:
Step 1: Open the Settings app in Windows 11.
Step 2: Go to System.
Step 3: On the right, find and open the “Recovery” section.
Step 4: In the “Recovery Options” section of the “Reset Your PC” preferences, click the “Reset PC” button.
Note: If you are unable to open the Settings app due to operating system errors, run the following command in Windows Terminal and continue resetting Windows 11 from step 5.
systemreset
Step 5: In the next window, select the “Save My Files” option.
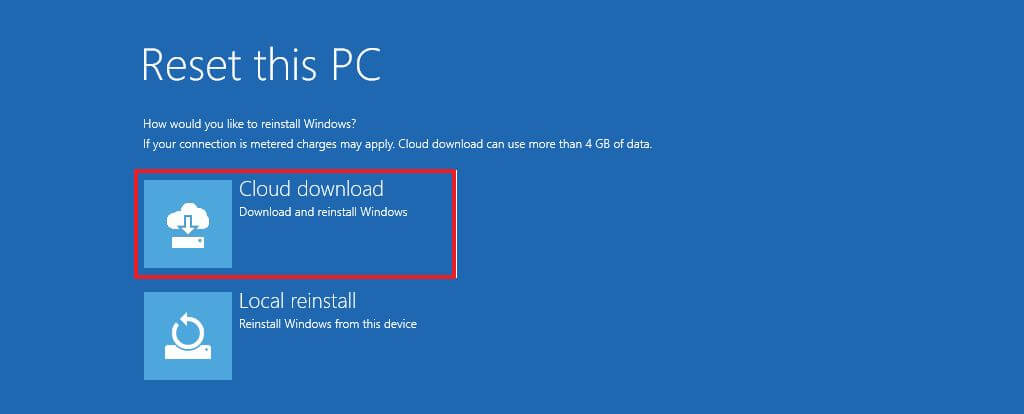
Step 6: Select the “Cloud Download” option to reinstall Windows 11 without losing files.
Step 7: Click the “Next” button.
In the following dialog box, you will find information about what will be done at the time of the permutation:
- All settings will be reset to the default state
- Personal files will be saved
- Removed all programs and applications
- The image to reinstall will be downloaded from the cloud
Step 8: Click the “Reset” button to start restoring Windows 11 while saving your files.
Once you complete these steps, a fresh Windows 11 image will be downloaded, used for recovery while saving all your files. As with a local reinstallation, this process will reset the OS settings and remove applications and programs.
Method 3: Reset Windows 11 by saving personal files if system doesn’t boot
Both ways to reset Windows 11 discussed above work great if you can boot to your desktop normally. But what to do if the system refuses to boot. So how, in this case, to reset Windows 11 to factory standing?
To reset your computer by reinstalling it locally or booting from the cloud using advanced startup options, follow these steps:
Whenever Windows can’t boot three times in a row, it automatically goes into automatic recovery mode, and you’ll be able to access the recovery environment.
Step 1: To do this, turn on the computer and wait for the (POST) hardware check to be performed when it is turned on. Once that happens, press and hold the power button to turn off the computer. After you complete this procedure three times in a row, Windows 11 will go to additional startup options.
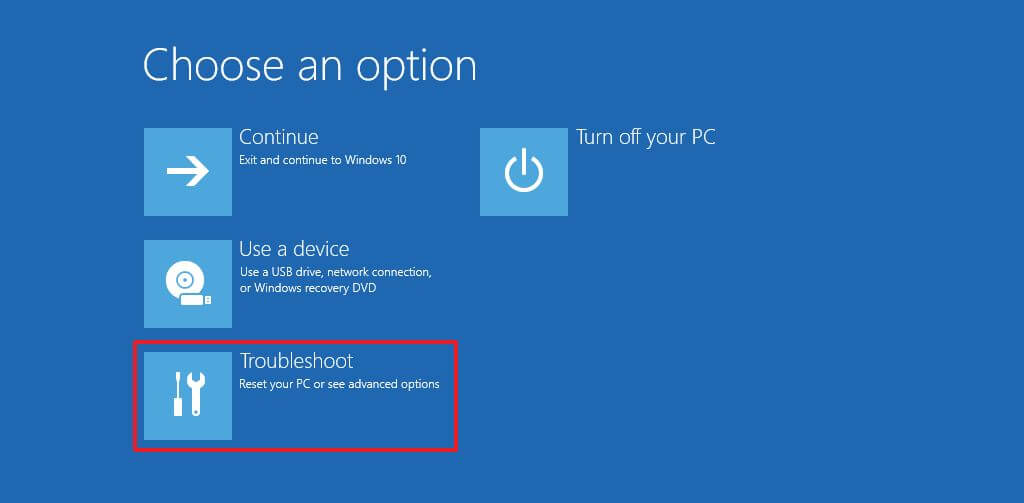
Note: In Windows 11, there are several ways to open advanced startup options.
Step 2: Select “Troubleshoot.”

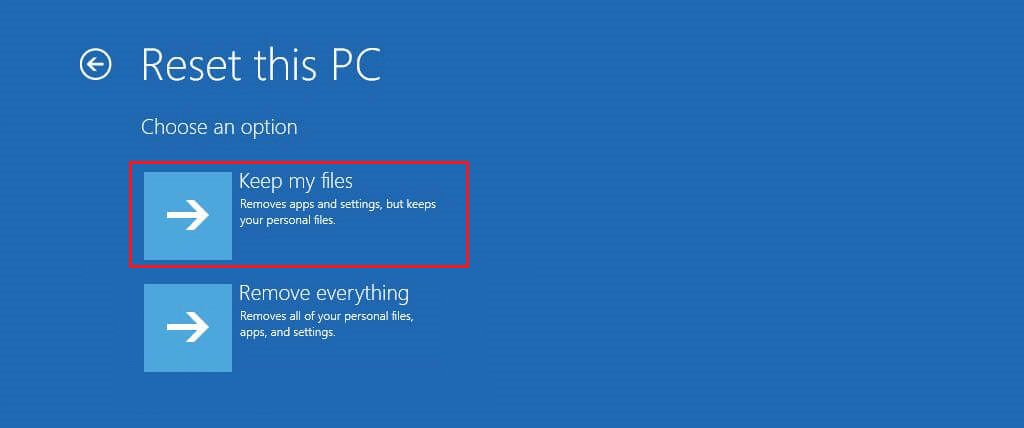
Step 3: Click the “Reset Computer” option.


Step 4: Select “Keep My Files” to reset Windows 11 without losing files.

Step 5: Choose one option – “Download from the cloud” to download a new copy of Windows 11 instead of using a locally available image. (If you prefer to use a local image, select Local Reinstall)

Step 6: Click the “Reset” button.

Once you complete these steps, the feature will reset the device to its default values by installing a new copy of Windows 11 downloaded from Microsoft’s servers but retaining your personal files. After logging in, you will find it somewhere where they were before the Windows reset.
If you fail to proceed, the best possible solution would be to fresh install Windows 11. Here is the guide that you can use- How to Clean Install Windows 11 from Advanced startup options – TechRechard