

Table of Contents
In this article, we will learn how to install Windows 11 on MAC with Parallels Desktop.
As a Mac user, you may have found yourself in a situation where you must use Windows software or applications incompatible with macOS. While this used to be a significant inconvenience, modern technology has made it easier than ever to run Windows on your Mac. One of the most popular options for running Windows on a Mac is using Parallels Desktop. This virtual machine software allows you to seamlessly run Windows 11 on your Mac without rebooting or partitioning your hard drive.
You can also see our guide, where we have installed Windows 11 on MAC using Boot Camp: How to Install Windows 11 on MAC with Boot Camp: Easy Guide
In this article, we will delve into the process of running Windows 11 on your Mac with Parallels Desktop and provide tips and tricks to make the experience smoother and more enjoyable. Whether you need to use Windows for work or personal reasons, Parallels Desktop is a fantastic option that lets you have the best of both worlds.
What is Parallels Desktop?
Parallels Desktop is a popular virtual machine software that enables you to run various operating systems on your Mac, including Windows, Linux, and other versions of macOS. With Parallels Desktop, you can seamlessly use Windows applications alongside your favorite Mac applications and even drag and drop files between the two operating systems.
This article will focus on running Windows 11 on Mac with Parallels Desktop. With the latest version of Windows released in October 2021, users can now enjoy the latest features and improvements on their Macs. Whether you need to run specific Windows applications for work, gaming, or personal reasons, Parallels Desktop offers a simple and efficient solution.
System Requirements
- A Mac with an Intel processor or an Apple Silicon processor
- macOS 11.0 Big Sur or later
- 4 GB of RAM (8 GB recommended)
- 20 GB of free storage
Install Windows 11 on MAC with Parallels Desktop
Running Windows 11 on Mac with Parallels Desktop may initially seem daunting, but it’s pretty straightforward. Before getting started, you will need a few things, including a licensed copy of Windows 11, a recent version of Parallels Desktop, and enough space on your hard drive to allocate to the virtual machine.
Once you have everything ready, you can set up your virtual machine and install Windows 11. From there, you can customize your settings and install any necessary drivers or applications to ensure a smooth experience.
But running Windows 11 on Mac with Parallels Desktop isn’t just about the technical details. It’s also about the benefits and convenience it offers. With Parallels Desktop, you can enjoy the best of both worlds, using your favorite Mac applications and features while accessing Windows applications and software. This means you can work seamlessly between the two operating systems without switching devices or rebooting your computer.
Moreover, Parallels Desktop offers features such as Coherence Mode, which allows you to run Windows applications as if they were native Mac applications. Using drag-and-drop functionality or shared folders, you can quickly transfer files between the two operating systems.
You have a few options if you’re a Mac user and need to run Windows applications. One of the most popular is using virtual machine software like Parallels Desktop. With Parallels Desktop, you can run Windows 11 on Mac without rebooting your computer. Here’s how to do it.
Step 1: Download and Install Parallels Desktop
The first step is to download and install Parallels Desktop on your Mac. You can download the software below:
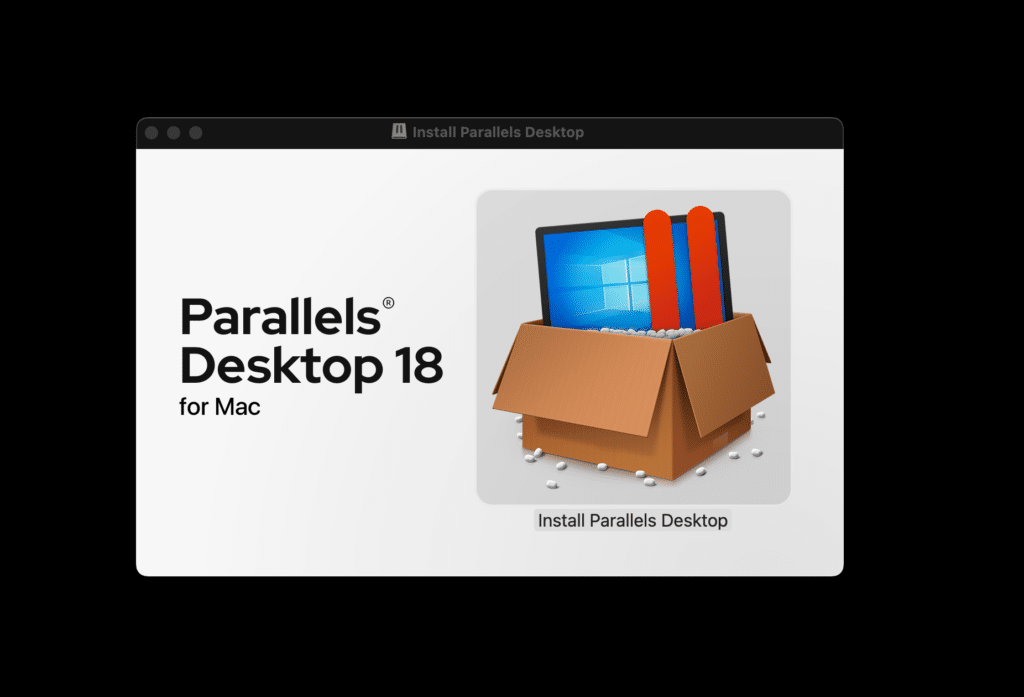
Once downloaded, click on the downloaded file and click Install Parallels Desktop.
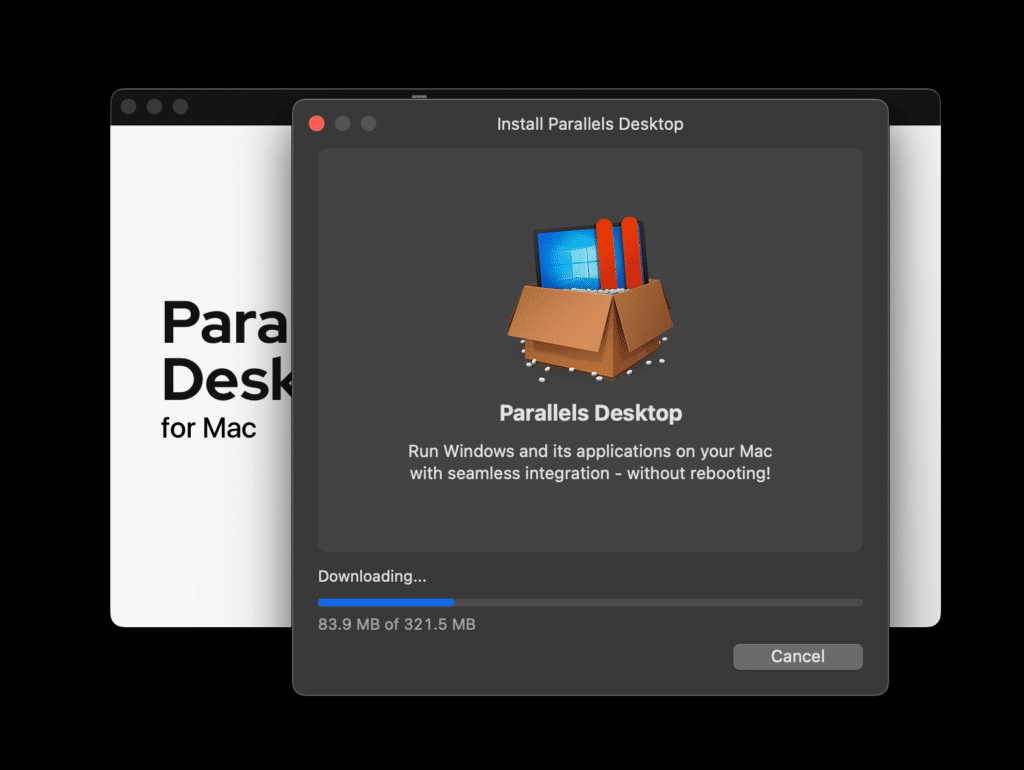
The downloading will now begin, and wait for the process to finish.
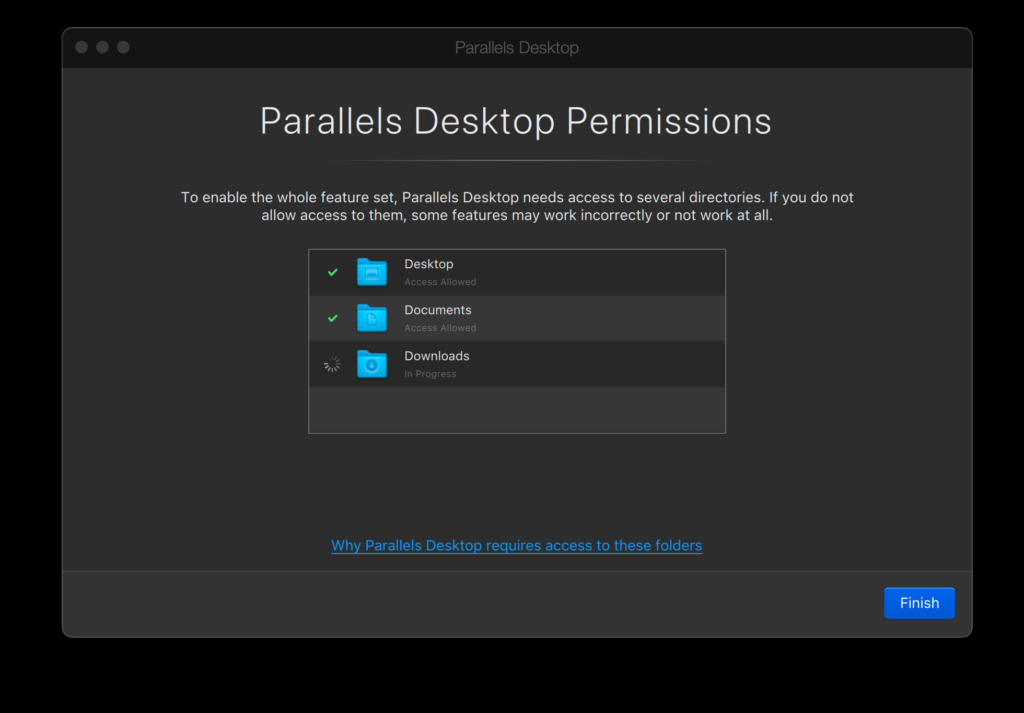
Once downloaded, allow all the file permissions and click Finish.
Step 2: Install Windows 11 on MAC with Parallels Desktop
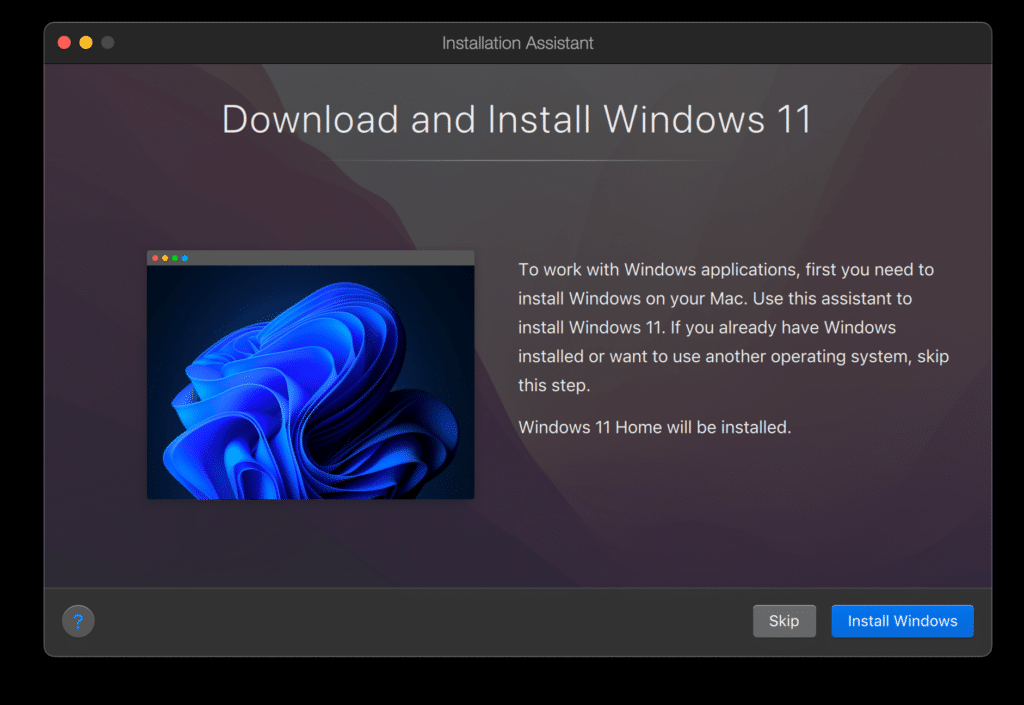
Now you see the following screen where you can Download and Install Windows 11 automatically. Click Install Windows.
Now, the parallels desktop will start downloading Windows 11. This process will take sometime depending upon your internet speed.

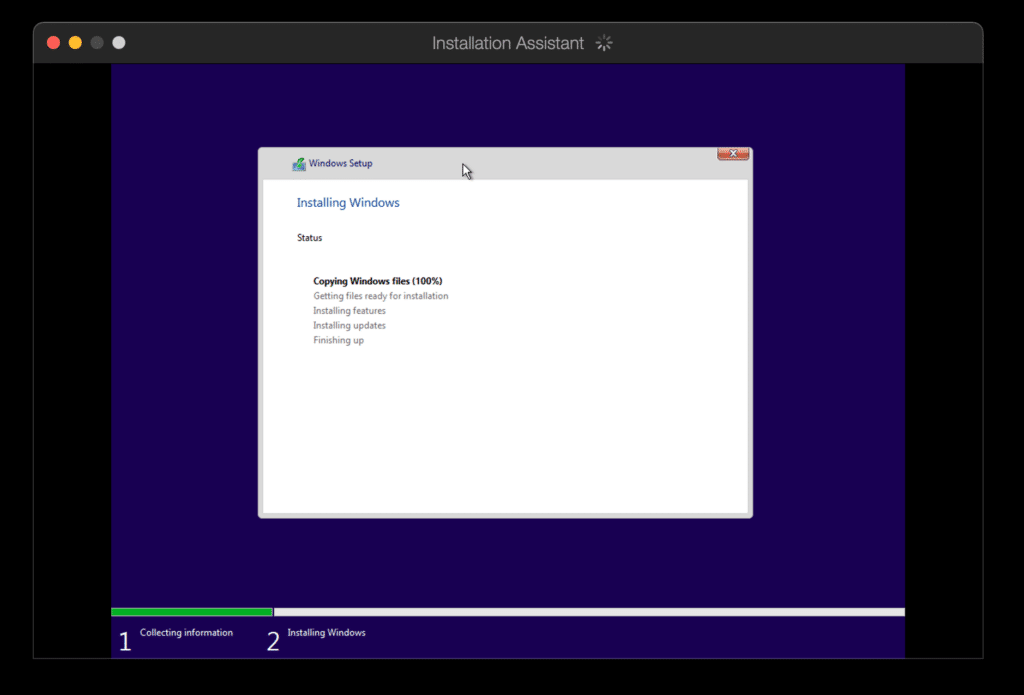
Once download, the parallels desktop will automatically start the installation process.
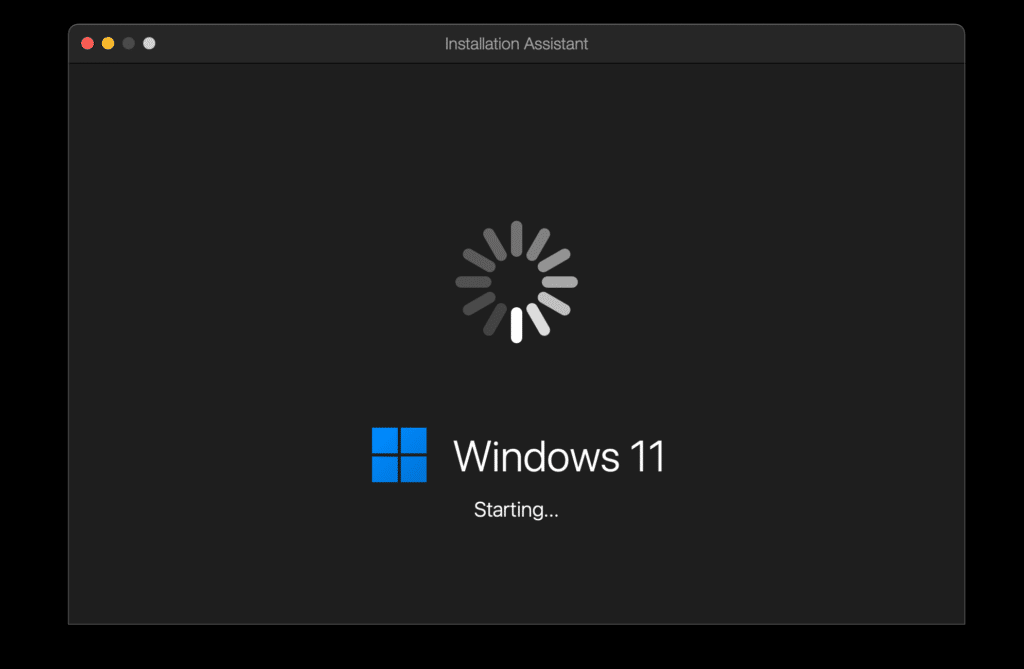
You need to sit back, relax, and wait for the installation to proceed.
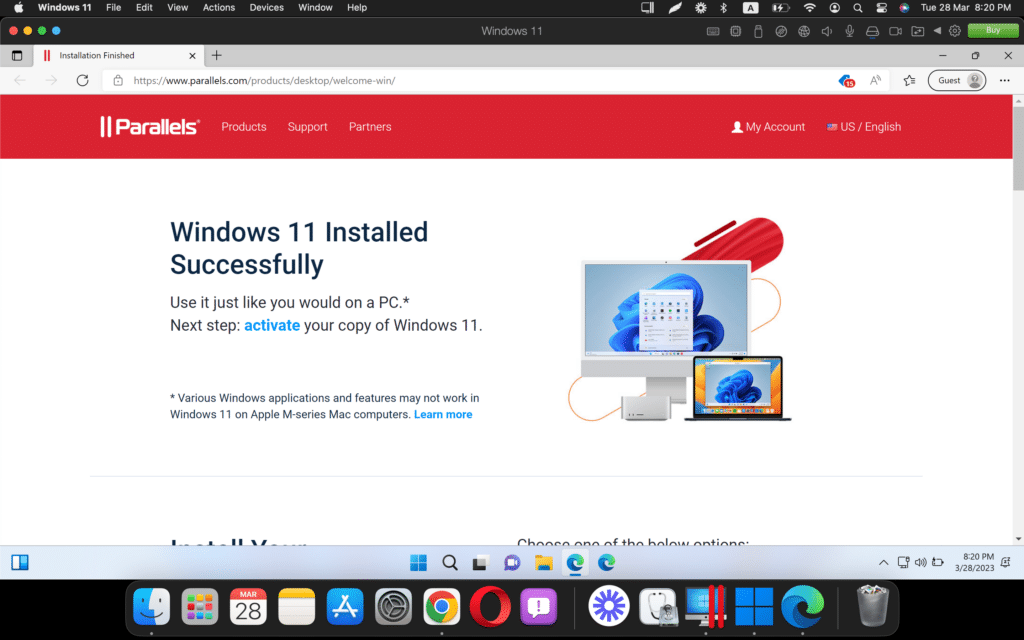
Once the installation is complete, you will see the following window.
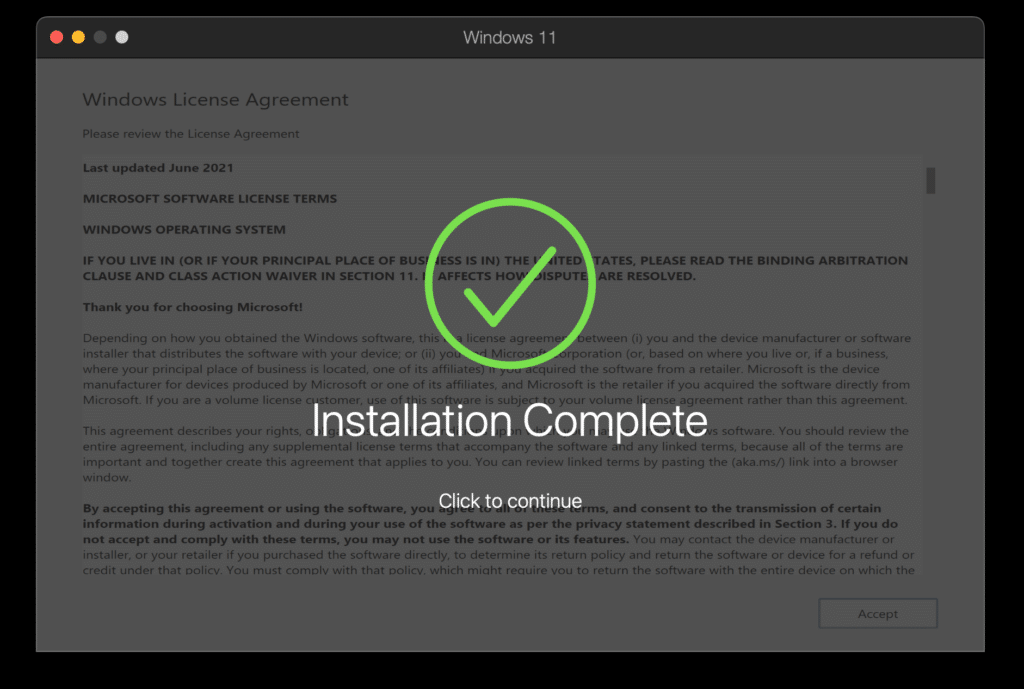
Just click anywhere to continue and sign-up to create a Parallels account.
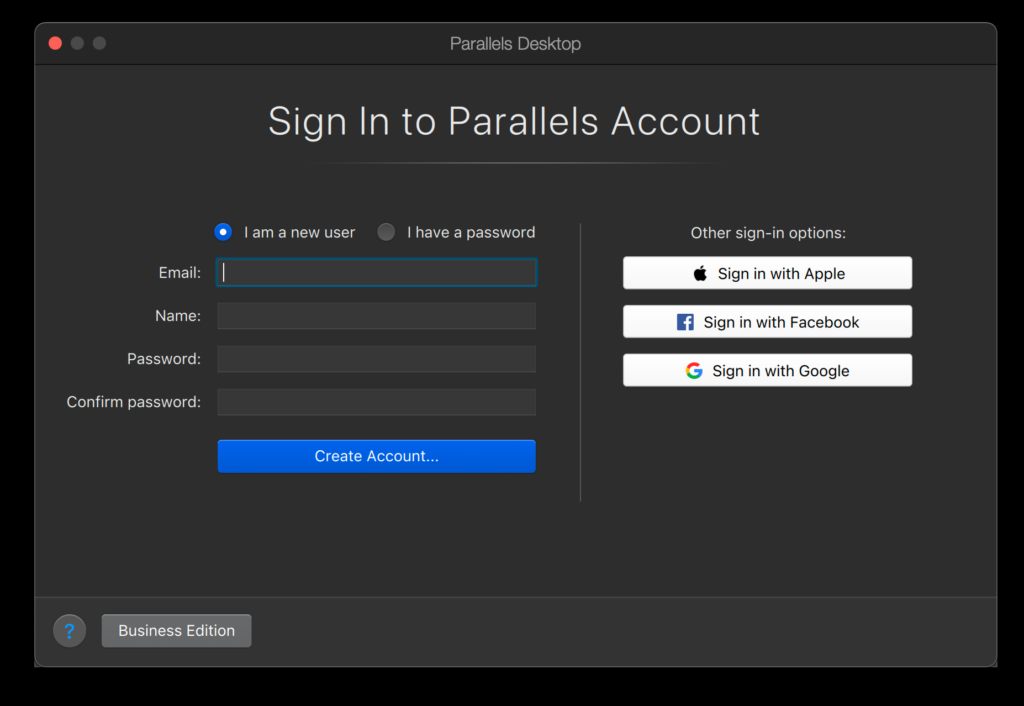
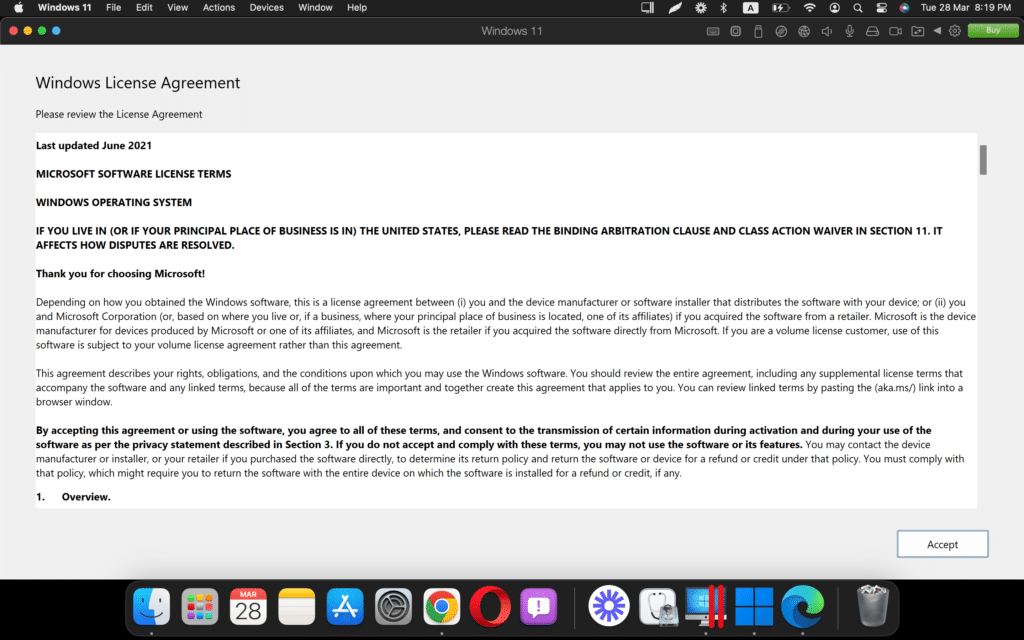
Once the account is logged in, you need to click Accept to accept the terms and conditions of Windows 11.
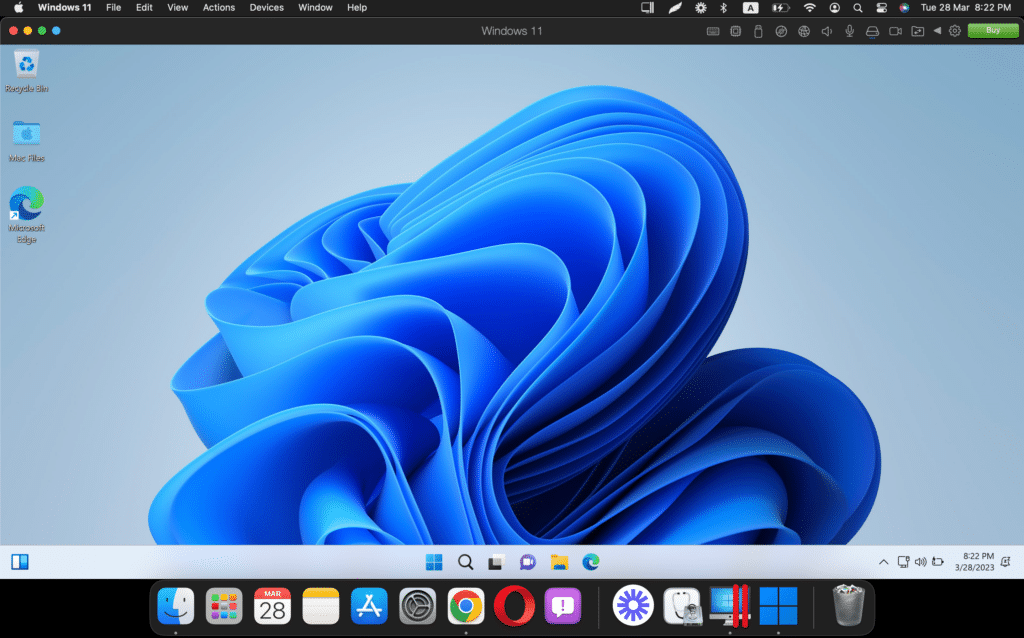
Congratulations! The installation of Windows 11 on MAC with Parallels Desktop is successful.
You can now explore Windows 11 on your MAC.
Here is a complete video tutorial:
You can now activate your Windows 11 with the help of this guide- How to Activate Windows 11 for Free: 3 Methods.
Conclusion
Running Windows 11 on Mac with Parallels Desktop is a great way to access Windows applications without rebooting your computer. With these simple steps, you can quickly set up a virtual machine and use Windows 11 on your Mac.
You can also see our guide, where we have installed Windows 11 on MAC using Boot Camp: How to Install Windows 11 on MAC with Boot Camp: Easy Guide


