

Table of Contents
In this article, will show you how to install MacOS X El Capitan on VMware on Windows PC. If you are looking for a Virtualbox guide you can read this: How to Install MacOS X EL Capitan on VirtualBox on Windows
In this tutorial, you will discover how to test the beta version of VMware Workstation. As you may already be familiar with macOS X El Capitan, we will demonstrate how to install it on either VMware Workstation or VirtualBox virtualization software. Currently, both of these virtualization tools are free for use with the Windows operating system. Therefore, prepare to learn how to install macOS X El Capitan on VMware Workstation virtualization software.

Install VMware Workstation on PC
VMware has made it possible for users to install and test the OS X operating system on both Intel-based and AMD chip computers, through the creation of VMware Workstation. The setup process is straightforward, and anyone can easily install it on their computer with just a few clicks. Once the installation is complete, you can run macOS X El Capitan on it.
Step 1: Download and Install macOS Unlocker for VMWare
To create a new virtual machine for macOS X El Capitan, it’s necessary to set up the unlocker for VMware first. macOS unlocker is a lightweight software that enables macOS to function on VMware Workstation. Depending on which version of VMware Workstation you’re using (11/12/14/15), a specific version of the unlocker is required. You can download the appropriate unlocker version for your VMware Workstation from the link below.
Download macOS Unlocker for VMware Workstation/Player
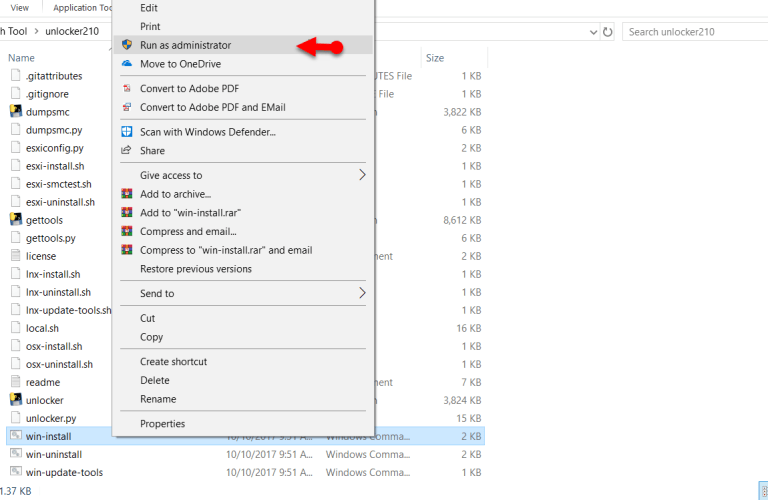
Once the download is complete, extract the compressed unlocker file using Winrar. Next, select the Win-install file, right-click, and choose “Run as Administrator“. This will prompt a black screen to appear, which will wait for a few seconds before copying the instructions to VMware Workstation.

Step 2: Create a New Virtual Machine for macOS X El Capitan
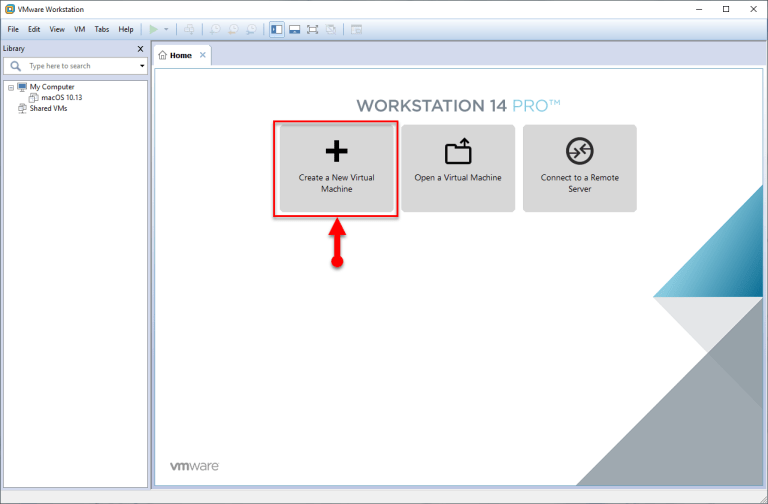
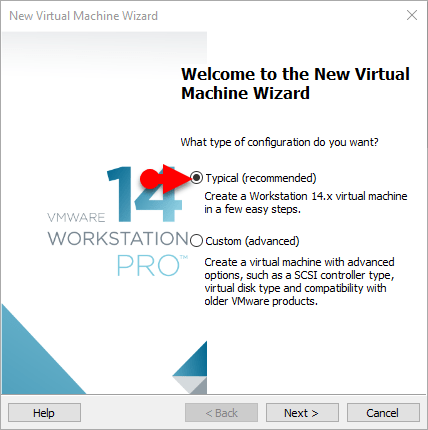
1. After the unlocker setup is complete, open VMware Workstation and click Create a New Virtual Machine.

2. Select Typical (Recommended) and click the Next button again.

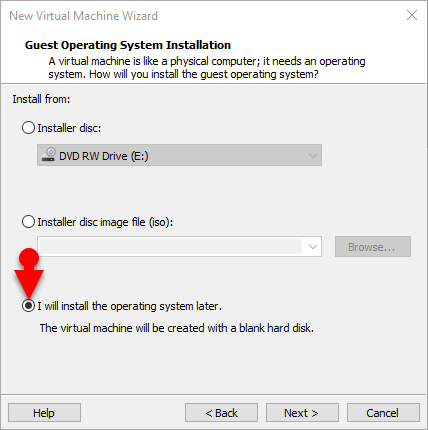
3. In this step, you will select Guest operating system installation. I recommend you choose the third choice. I’ll install the operating system later and click the Next button again.
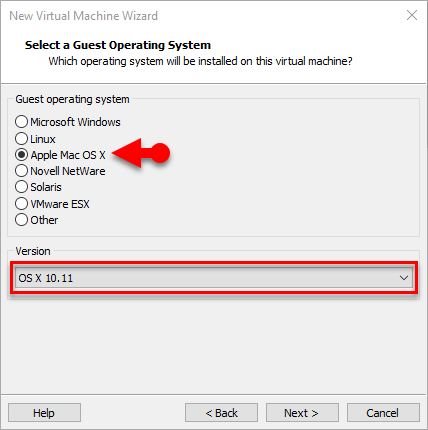
4. Inside this step, you must choose Apple macOS X and version OS X, which you will set up on VMware Workstation, and click Next.
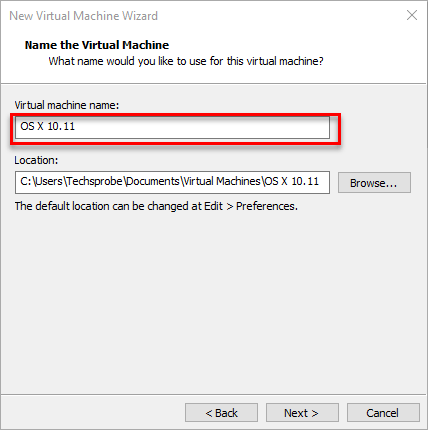
5. Give a name to a virtual machine, mention the location for macOS, and click Next.
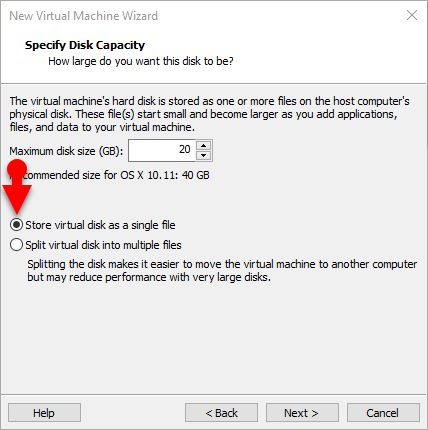
6. Specify Disk capacity and the Maximum disk size (GB), choose the 1st alternative, Store virtual disk as one file, and click Next.
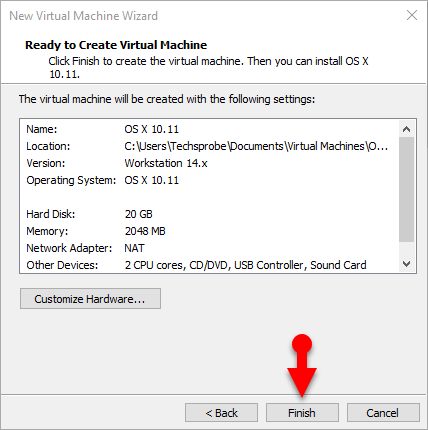
7. Click Finish.
Step 3: Settings for macOS X El Capitan on VMware
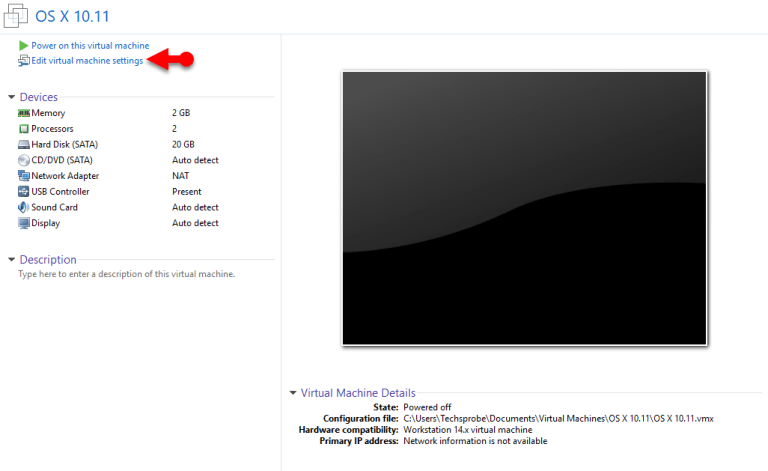
1. Before running macOS X El Capitan installation, you need a few critical settings to perform it on VMware. So, start VMware Workstation and click Edit virtual machine settings.

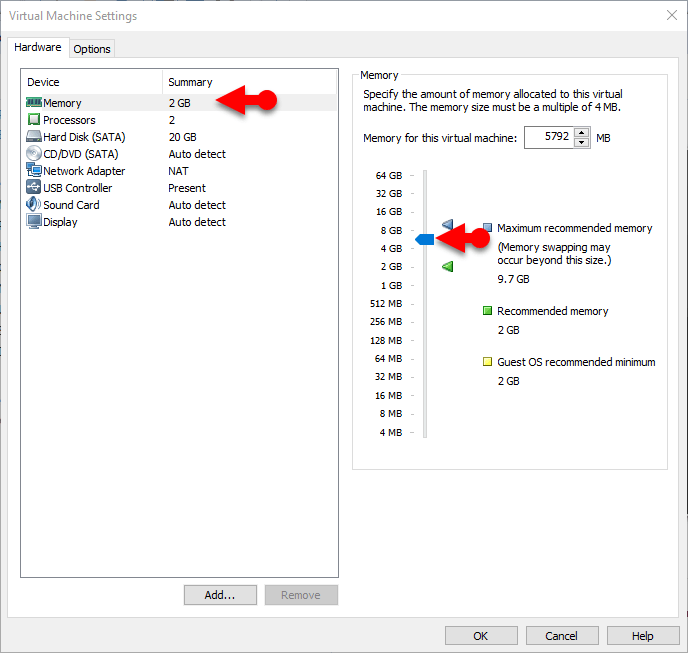
2. Select Memory and increase memory up to 5792.

3. Select Processors and select the number of processors to 2 and the number of cores to 2 and tick Virtualization Intel VT-x/EPT or AMD-V/RVI.

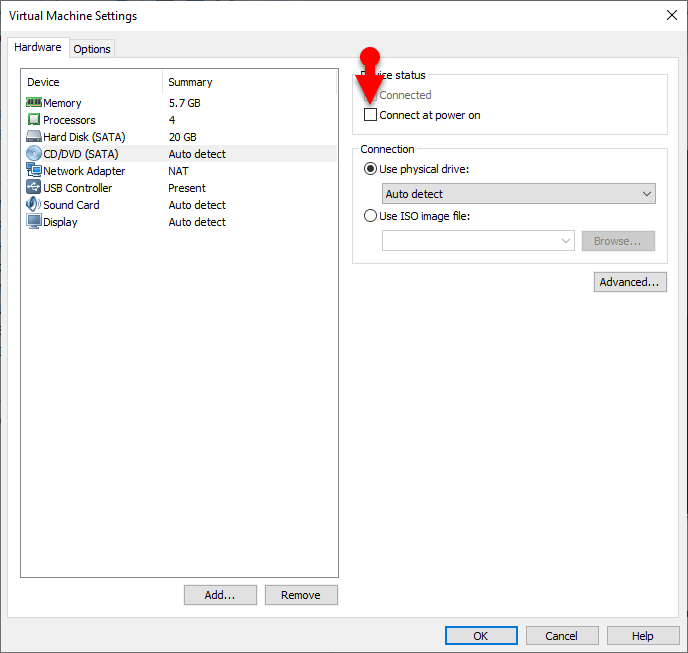
4. Uncheck CD/DVD
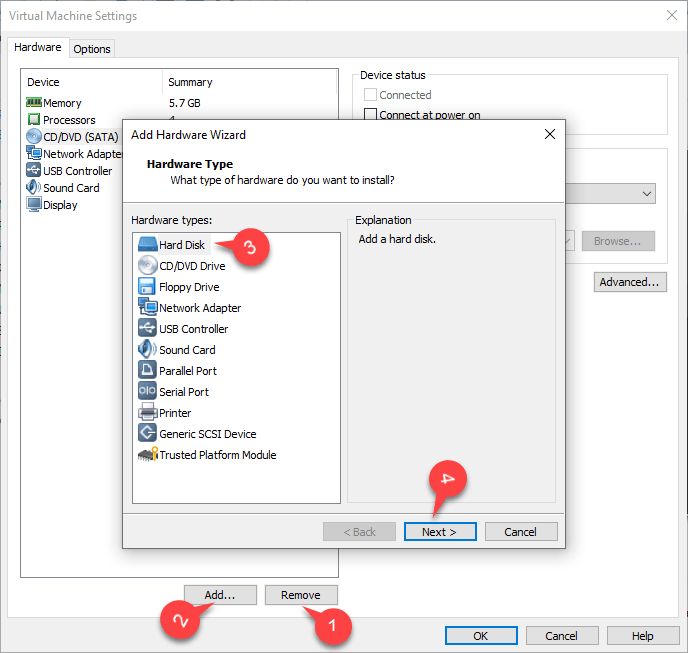
5. Click hard disk and click Next.
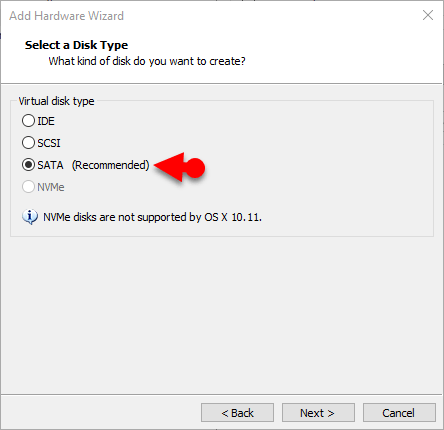
6. Select SATA (Recommended), and click on Next.

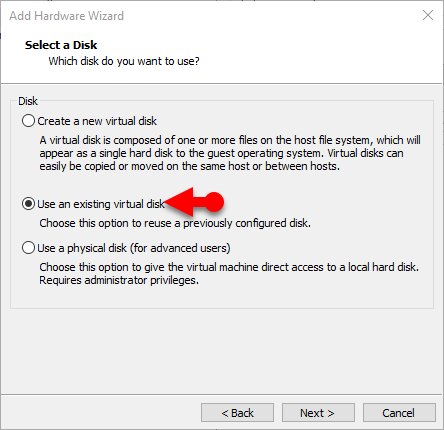
7. Select Use an existing virtual disk and click the Next button again.
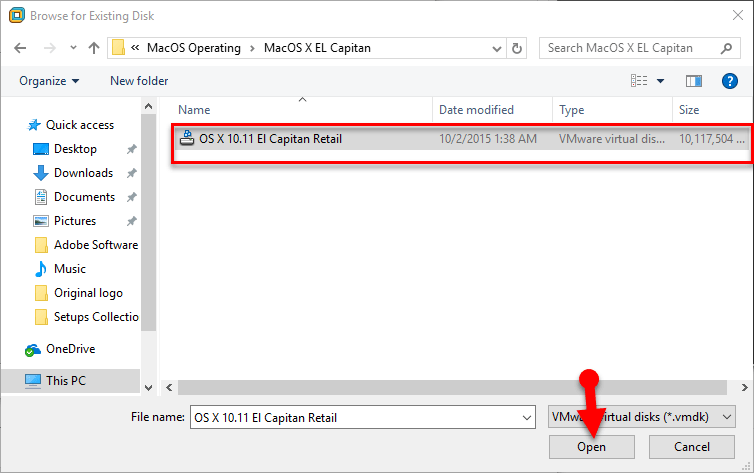
8. Now, select the macOS El Capitan file that you downloaded above. Or, you can download from below.
Download macOS X El Capitan Image

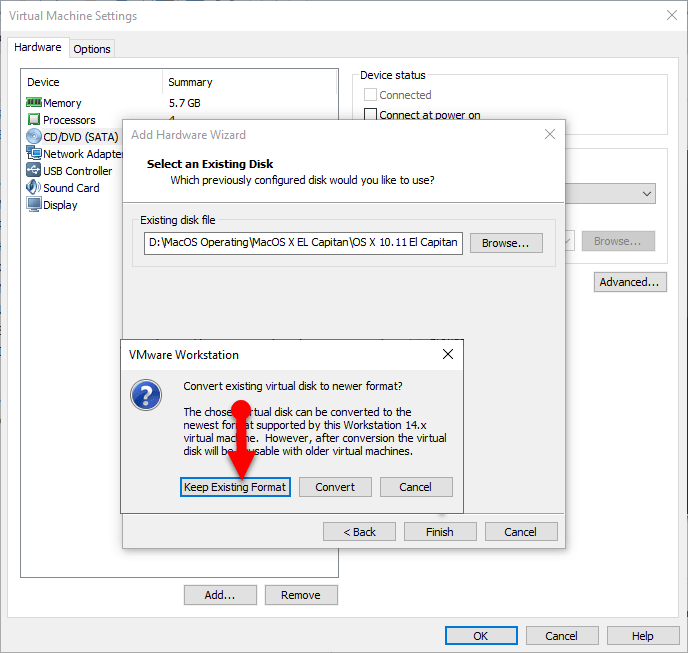
9. Select Keep Existing Format and click Finish.
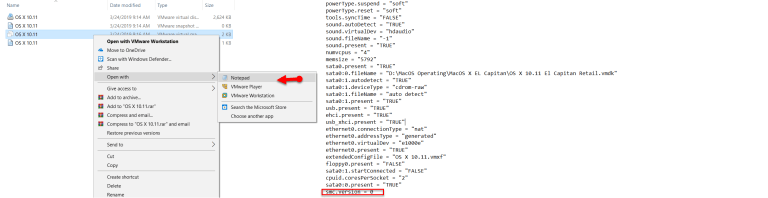
Step 4: Edit VMX code to VMware
10. Now it’s time to edit VMX code on VMware. Go to your documents > macOS El Capitan> OS X 10.11.vmx file. Now, right-click along with Open With Notepad.

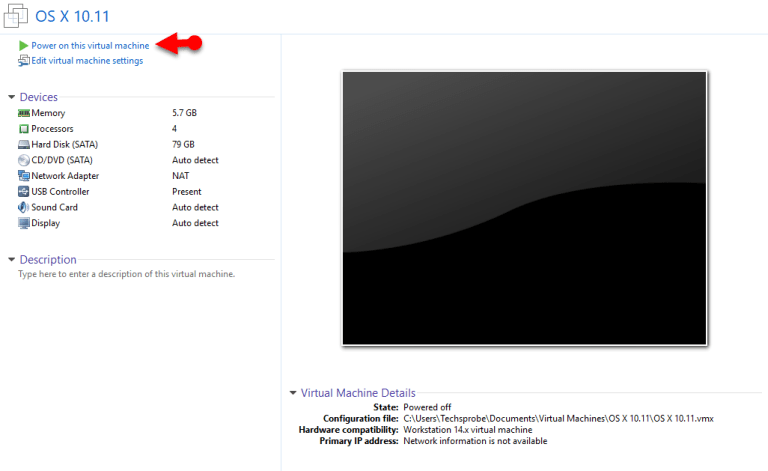
Step 5: Start the installation of macOS X El Capitan
1. After creating a new virtual machine and settings for macOS X El Captian, you’re all set to install macOS X El Capitan on VMware. Thus, click Power on this virtual machine.
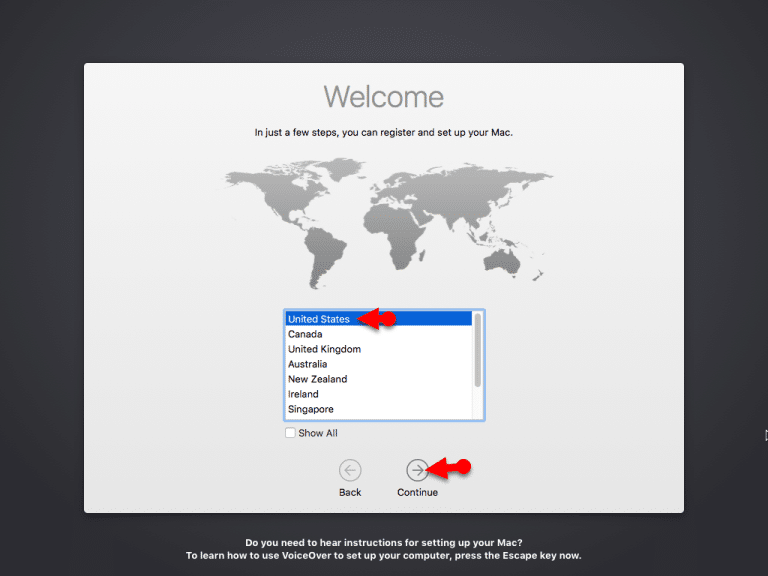
2. On the welcome screen, choose the state where you belong, then click Continue.

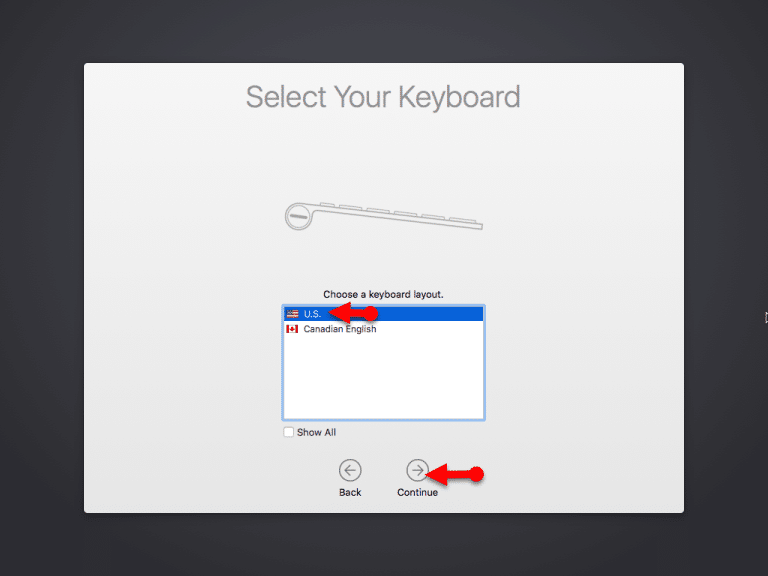
3. Select your keyboard and click on Continue.
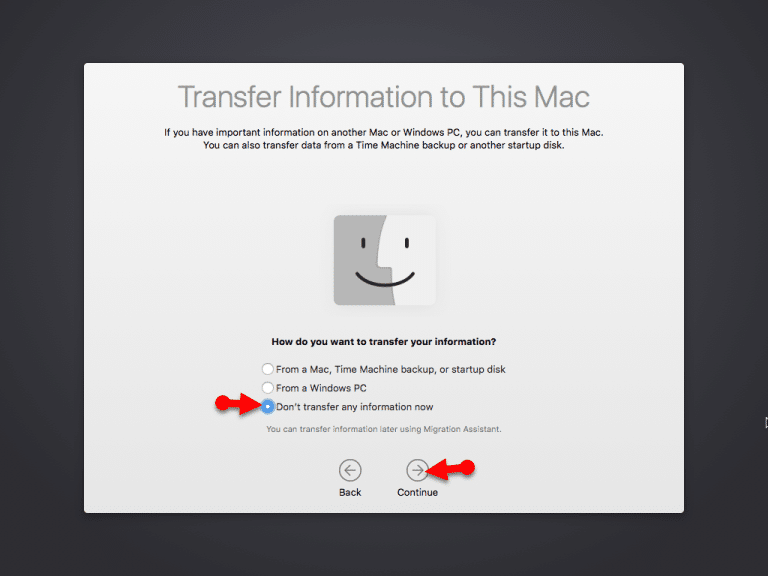
4. Select don’t transfer any information now and click Continue.
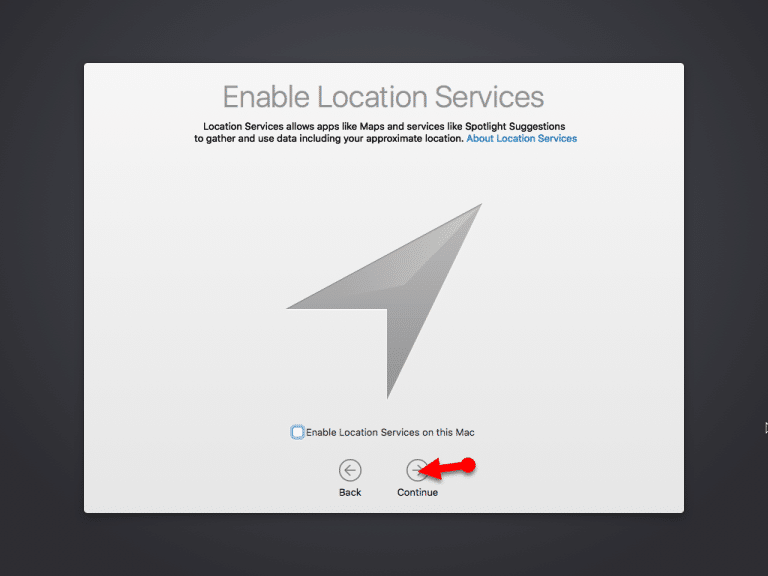
5. Click on Continue.
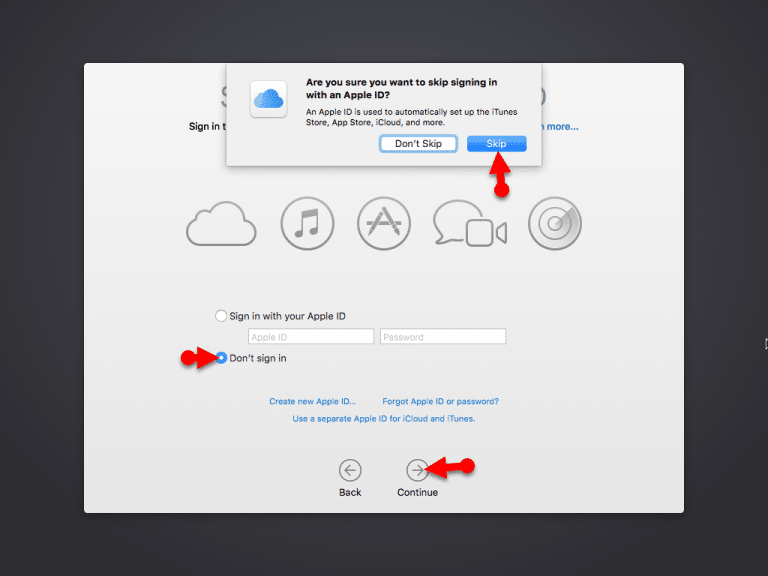
6. In this step, you’ll be asked to Sign in with Apple ID. In case you’ve Apple ID, you can enter that or select Don’t Sign in, click on Continue.
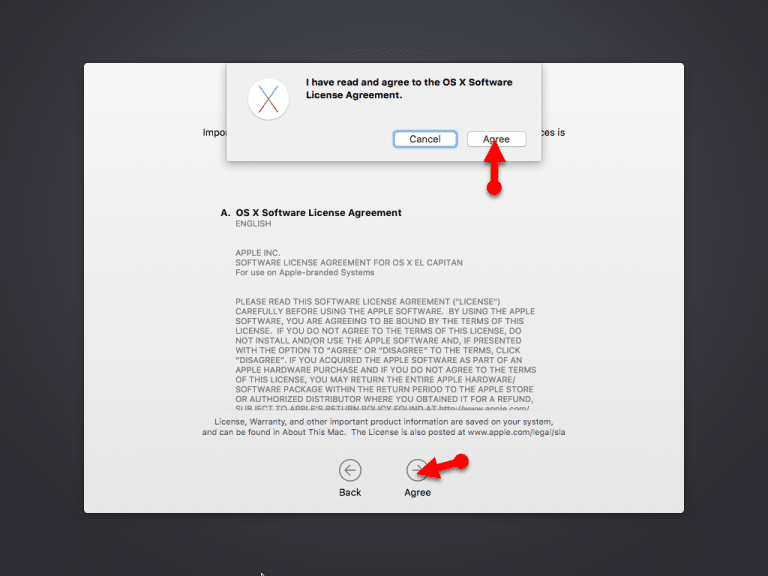
7. Click Agree.
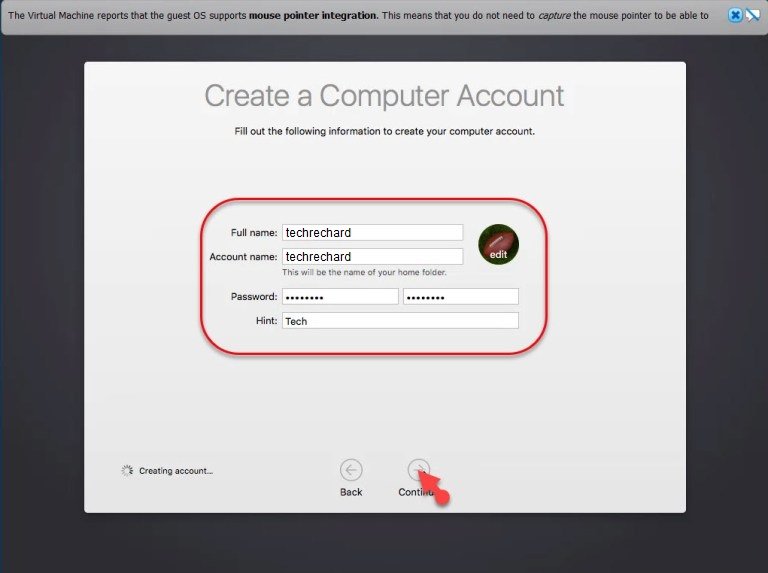
8. Create your user by entering the details and proceed.

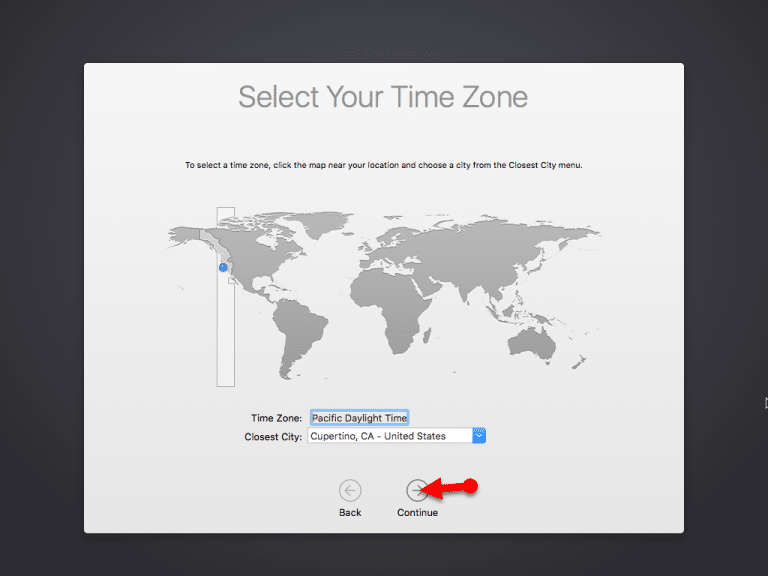
9. Select your time zone and click on Continue.
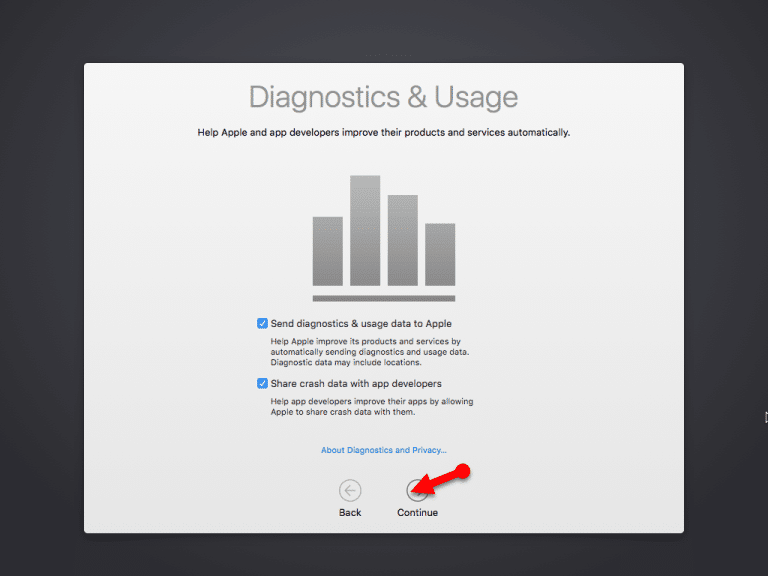
10. In Diagnostics & Usages, click Continue.
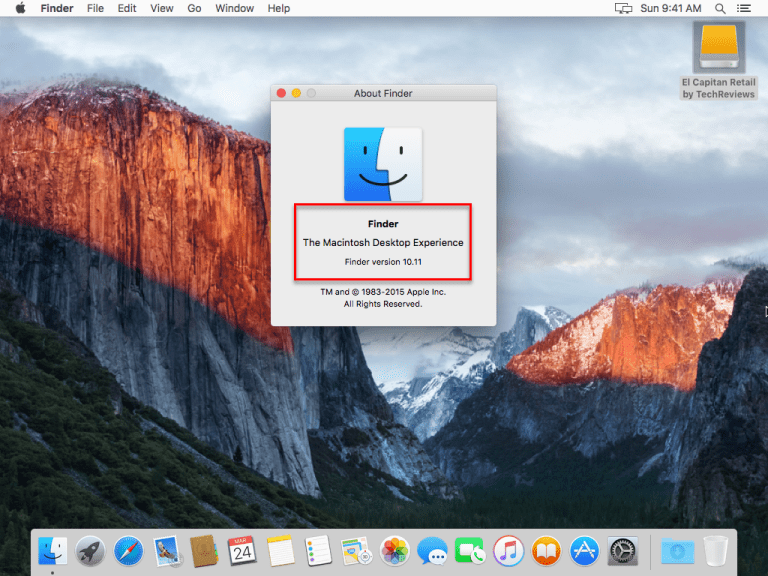
11. Wait for a while until the macOS X El Capitan is set up.

Congrats, you have successfully installed macOS X El Capitan on VMware on Windows.
You can also read: How to share folders on VirtualBox & Vmware? (Windows-MAC) Step by Step Guide
Conclusion: How To Install macOS X EL Capitan On VMware On Windows PC
This is the recommended method for installing macOS X El Capitan on VMware on a Windows PC. Therefore, I trust that your issue has been resolved and you are now able to successfully install macOS X El Capitan on VMware on your Windows PC. If you encounter any problems during the installation process, please don’t hesitate to comment with your queries below. Also, don’t forget to subscribe to our website for the latest articles!