

Table of Contents
With the rise of online threats and privacy concerns, Virtual Private Networks (VPNs) have become increasingly popular. A VPN allows you to establish a secure and encrypted connection to the internet, shielding your online activities from prying eyes and protecting your sensitive information.
If you’re using Windows 11, setting up a VPN is a straightforward process that can be done in just a few steps. In this guide, we’ll walk you through setting up a VPN in Windows 11, including the different types of VPNs available and how to choose the best one for your needs. Whether you want to enhance your online security or access region-locked content, setting up a VPN in Windows 11 is a crucial step towards achieving your online goals.
In this guide, we will learn How to Set up a VPN in Windows 11. If you are looking for MAC, read this guide: How to Set Up a VPN on Mac.
What is a VPN connection?
Before setting up a VPN in Windows 11, it’s essential to understand what a VPN is and how it works. A VPN creates a secure, encrypted tunnel between your device and the internet, allowing you to browse the web anonymously and securely. When you connect to a VPN, your internet traffic is routed through a server in a different country or region, making it appear like you’re accessing the internet from that location. This can be useful for accessing geo-restricted content, such as streaming services, or protecting your privacy when using public Wi-Fi networks.
There are two main types of VPNs: remote-access VPNs and site-to-site VPNs. Remote access VPNs are designed for individual users, allowing them to connect to a company’s private network remotely. On the other hand, site-to-site VPNs are used to connect entire networks, such as two or more branch offices of a company.
This guide will focus on setting up a remote access VPN in Windows 11. Most individuals will use this type of VPN to protect their online activities and access restricted content. We’ll cover the steps to set up a VPN connection in Windows 11, including configuring your VPN settings and connecting to a VPN server.
By the end of this guide, you’ll have a solid understanding of how to set up a VPN in Windows 11 and the benefits and limitations of using a VPN for your online activities.
What can a VPN network be useful for?
A VPN network can be helpful for a variety of purposes, including:
- Privacy and security: A VPN encrypts your internet traffic, making it more difficult for hackers, government agencies, or other third parties to spy on your online activities. It also hides your IP address, making it harder for websites to track your location and online behavior.
- Accessing restricted content: With a VPN, you can bypass geographic restrictions and access content unavailable in your region. This includes streaming services, websites, and social media platforms that may be blocked or censored in your country.
- Safe browsing on public Wi-Fi: Public Wi-Fi networks are often unsecured, so cyber criminals can easily intercept your online activities. Using public Wi-Fi networks, a VPN can protect your data and keep your browsing activities private.
- Remote access: A VPN can allow remote workers to securely access their company’s network from anywhere in the world. This can be especially useful for businesses with employees working from home or traveling frequently.
- Torrenting: Many people use VPNs to protect their privacy while downloading torrents. A VPN can hide your IP address and encrypt your internet traffic, making it harder for copyright holders to track your online activities and potentially take legal action against you.
Overall, a VPN can be a valuable tool for anyone who wants to enhance their online privacy and security, access restricted content, or protect their personal and business data.
VPN for Windows 11
Computer/laptop – are a convenient tool for work, communication on social networks (Instagram, Facebook), watching videos on popular video sites, or surfing the Internet. Suppose you also prefer to use a PC but are worried about the security of your data or do not have access to any resources because of your geographical location. In that case, we offer you to get acquainted with some paid VPN services. If you are looking for FREE alternatives, here is a guide: Top 9 Free VPN Services. But before we find out what their main advantages are.
- First, you are guaranteed a stable connection with high speed, which no free VPN can boast of.
- Secondly, you can independently choose your geolocation, which is sometimes necessary. In free products, this possibility is either absent or the choice of countries is minimal.
- Thirdly, the developers of paid services guarantee their users complete anonymity (no logs) and personal data protection, unlike free analogs. Among these, there are often those who collect and sell user data.
Here are some of our VPN recommendations: allertaprivacy and weneedprivacy.
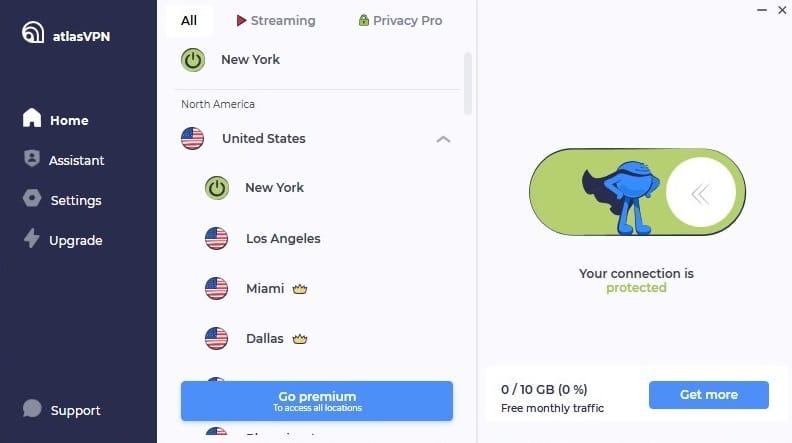
Atlas VPN
Atlas VPN is a service that allows you to get unlimited access to any resources and, at the same time, guarantees the confidentiality of your traffic. VPN supports continuous transmission for streaming media, which means you get access to and stable operation of all streaming services.
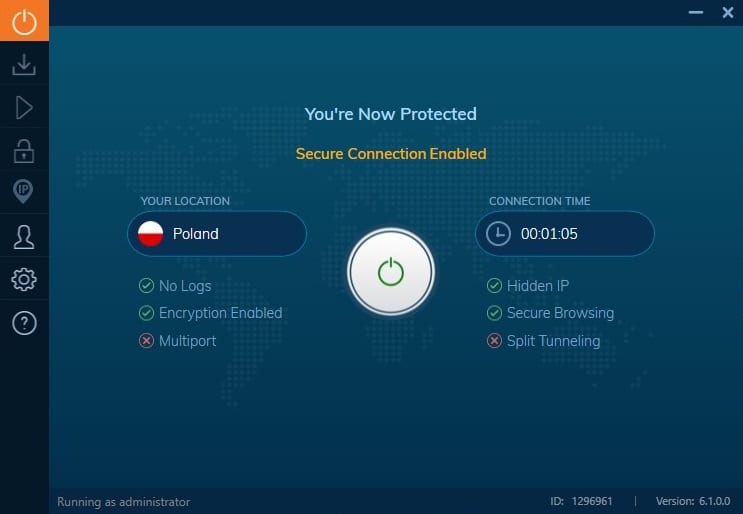
Ivacy VPN
Ivacy VPN is one of the best VPN services that protects you online from data collectors, hackers, and other vulnerabilities. In addition, you can select the purpose of the connection (Secure Download, Streaming, and Unlocking) and the Internet Kill Switch function (immediately stopping the Internet in the event of disconnection). As a means of additional security, using a dedicated IP address is also offered for companies.
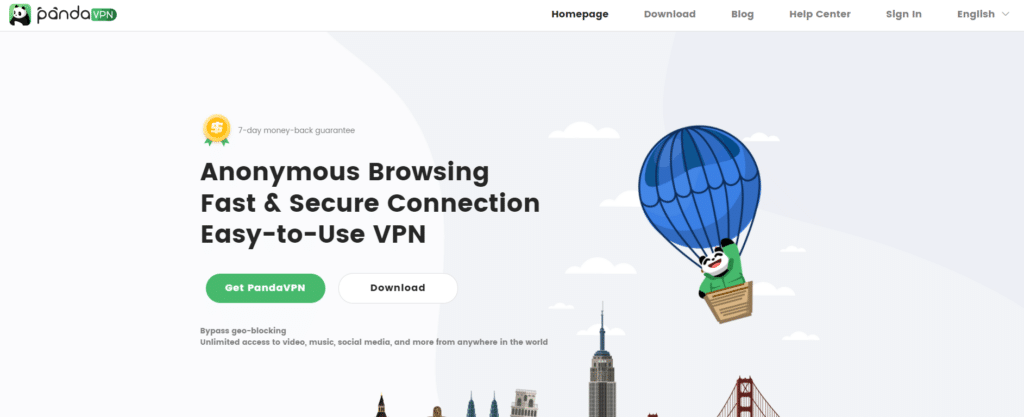
VPN Panda
VPN Panda is a convenient, anonymous VPN with which you will have unlimited access to all world resources. Get a virtual IP address for complete anonymity and data protection. Remove all geographical restrictions and visit any sites.
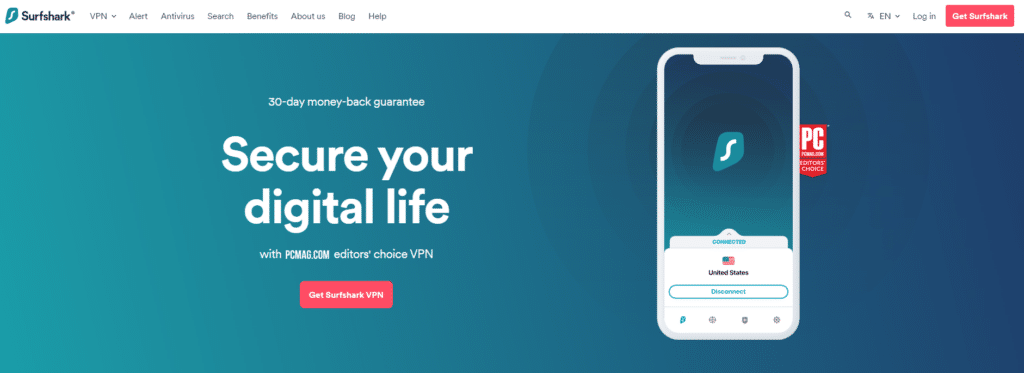
VPN Surfshark
VPN Surfshark is guaranteed to be the best service that provides 100% privacy on the network. It hides your location, includes encryption, and informs you of a data breach. In addition to providing digital freedom, developers give a 30-day payment refund guarantee if, for some reason, you do not like the service.
Comparison of the Above VPN Services
| Atlas VPN | Ivacy VPN | VPN Panda | VPN Surfshark | |
|---|---|---|---|---|
| Interface language | English | English | English, Russian, Turkish, and 8 more languages | English, Russian, German, and 13 more languages |
| Mobile Device Support | iOS, Android, and other significant devices | |||
| Number of devices in a subscription | Unlimited | 10 | Up to 3 | Unlimited |
| Ad Blocker | Yes | No data | No data | Yes |
| Number of servers | More than 750 | More than 3500 | More than 3000 | More than 3200 |
| Additional Features | Tracker blocker, email protection, round-the-clock support | IPv6 leak protection, secure DNS, multiple protocols, DDoS protection | Ultra-fast servers, no buffering, no traffic is limited. There is a mobile version of Panda VPN Pro with a 3-day free trial | Antivirus, scan capability, and email hacking notification |
How to Create and Configure a VPN Connection on Windows 11
Although you can use a FREE VPN on the Opera Browser, here is the guide: How to Enable Free VPN in Opera Browser.
This option for setting up a VPN network is the most reliable and convenient. You can easily further manage your VPN network and change its address.
And so, let’s get started:
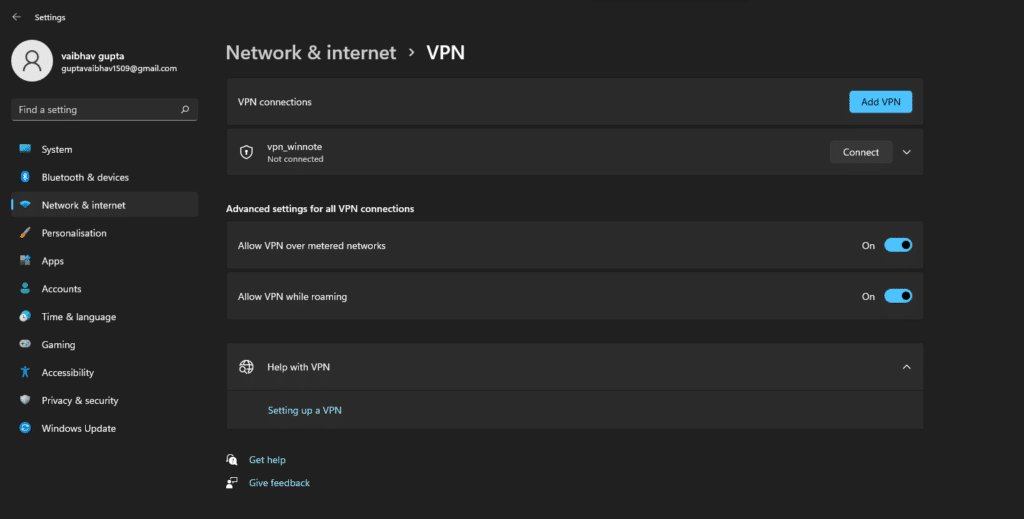
- Open Settings (or use the Win+I hotkeys) from the Start menu and navigate to Network and Internet.
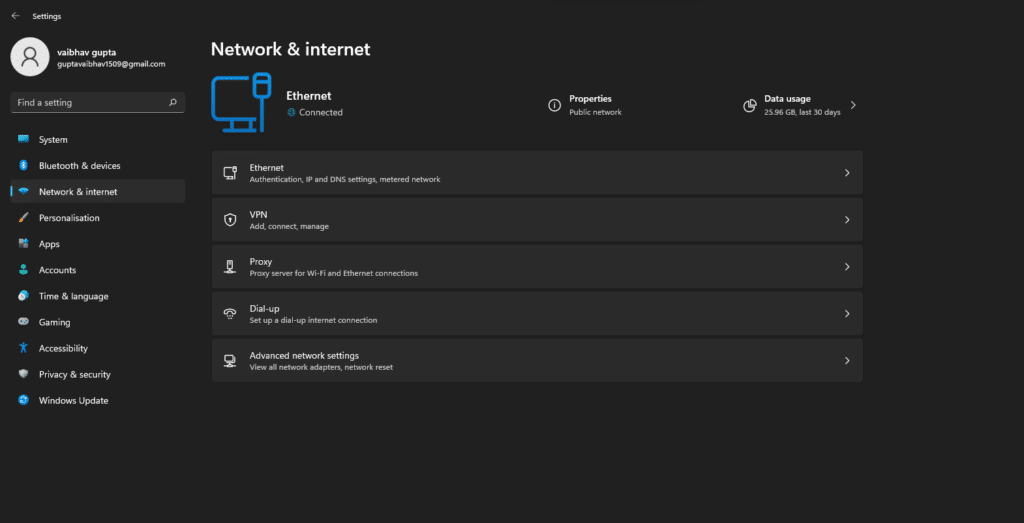
- Open the VPN tab.
- Choose to add a VPN connection.
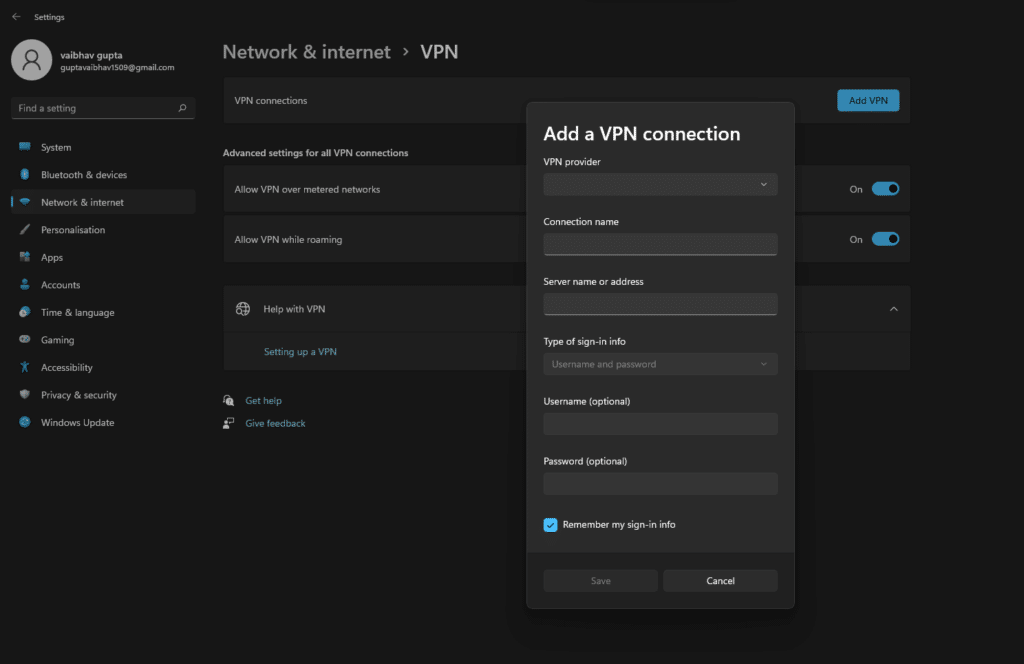
- Fill in the form:
- VPN Service Provider – Windows (Built-in)
- Connection name – vpn_winnote (you can specify any network name, but always in Latin letters).
- Server name or address – (You will need to find a suitable address for the server yourself in the search, on request open VPN servers)
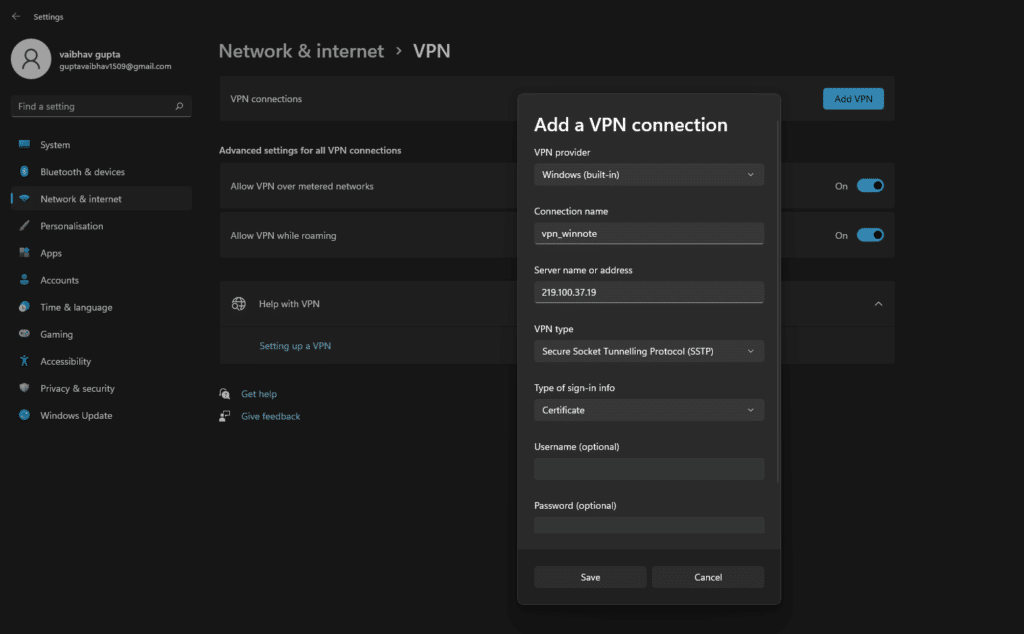
- VPN type – set the value to “Automatic” or select from the list the protocol name recommended for connecting to a specific network (in our case, L2TP/IPsec with a shared key).
- Pre-shared key – enter the key for this connection
- Login Data Type – Username and Password
- Fill in the data in the rows marked as optional – name and password (if you do not do this, the named data will be requested by Windows Security when you want to connect)
- Save.
Now you have your VPN connection with which you can easily surf the Internet. It is enough to connect through your new network and wait for the server to respond.
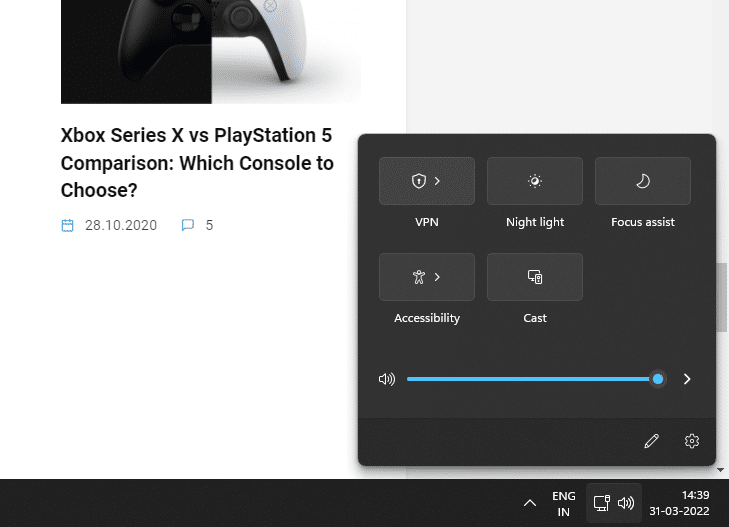
To check if you are connected to the VPN, click the Network icon on the Taskbar’s right side. The Virtual Network (VPN) icon will be blue (the name of the VPN you’re connecting to will be listed at the bottom).
Conclusion:
I hope this guide on How to Set up a VPN in Windows 11 was helpful. If you face any issues, please comment below. You can also read our guide: Best VPN for MAC or iPhone.


