

Table of Contents
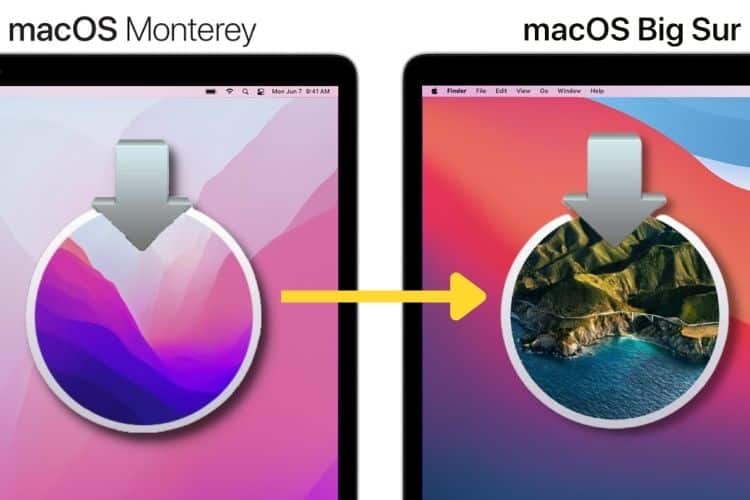
Recently, we talked about how to install the beta version of macOS Monterey. If you did this but realized that the beta version is not suitable for you, it remains to roll back to the stable version of macOS Big Sur. Below we will tell you how to do this.


Also Read: How to Create an Installation Bootable Drive for macOS 12 Monterey.
How to roll back from macOS 12 beta to macOS Big Sur
To begin with, it is worth noting a couple of nuances. If you backed up your system before installing the beta, you could restore your data from a copy of Time Machine.
To roll back, you need to format the disk on which the beta version is installed. If you installed macOS 12 beta on a disk partition, you could simply delete it, and your Mac will boot macOS Big Sur.
If you installed macOS 12 beta on your primary drive, follow the instructions below.
How to uninstall macOS 12 Monterey Beta
It is better to prepare the macOS Big Sur installer on a flash drive in advance. Once again, we note that this instruction is relevant for those who made a “clean installation” of macOS 12 beta.
1) In the menu bar, click the Apple logo and select Restart.
2) Press the Command + R keys until the Utility menu appears.
3) Select Secure Boot Utility, enter your password and enable the Allow download from external media option.
Restart your computer again and repeat Step 2 to open the utility menu.
1) Select Disk Utility, click Continue, and select your startup disk (most likely Macintosh HD).
2) Click Erase at the top of the page and select your format. Enter a new name for the disc or leave the Macintosh HD. On new Macs APFS format, and old ones – HFS+(journaled).
3) Click the Erase button again and wait for the process to complete.
Reinstall macOS Big Sur
For a clean installation of macOS Big Sur, you need a flash drive with an installer, which you should have created in advance.
1) Connect the flash drive to your computer and select the Apple USB logo from the menu bar. Make sure you have an Internet connection.

2) Click Turn off.
3) If you have an Apple Silicon Mac, hold down the power button until the options window appears. On an Intel Mac, press the Option key immediately after turning on the computer.
4) In the startup menu, select the flash drive.
5) Click Continue.
The installation of macOS Big Sur will begin. Follow the instructions.
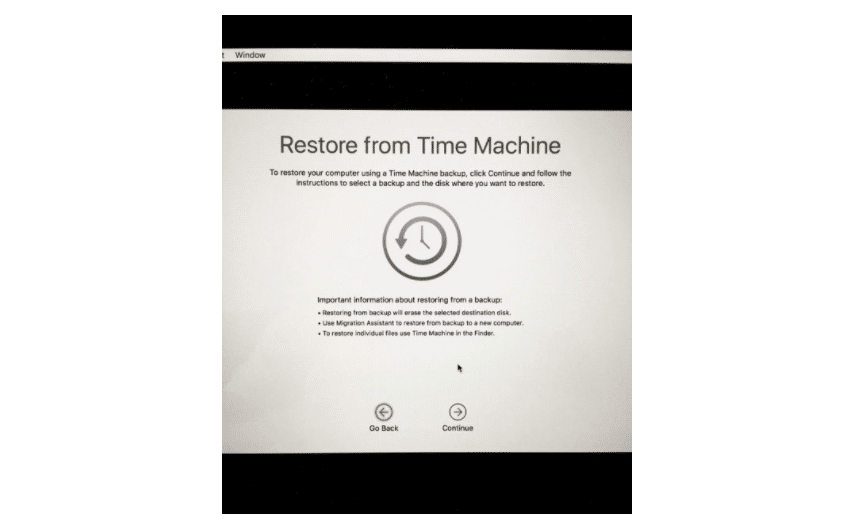
Restore from a copy of Time Machine

1) Connect a media with a copy of Time Machine to your computer and make sure you have an Internet connection.
2) In the menu bar, select the Apple logo and click Restart.
3) Press the Command + R keys until the Utility menu appears.
4) Select Recover from Time Machine Backup and click “Continue.”
5) Click Continue again, and then select the media with the copy. Select the copy itself and click Continue.
Wait for the process to complete, after which all your settings and data should be returned.
As you can see, making a rollback from macOS 12 Monterey to macOS Big Sur is not so easy. We do not recommend installing beta versions of the system on your main devices. We hope you succeeded!