

Table of Contents
Consider how to remove the “Noncompliance” watermark on your desktop that tells you that your PC doesn’t meet all the system requirements for Windows 11.
Apparently, Microsoft has decided not to limit itself to prohibiting the installation of certain updates in Windows 11 on the Dev update channel if the computer does not meet the minimum system requirements. By the way, we have instructions on how to bypass this restriction: Windows 11: How to Install Windows 11 without TPM 2.0 and Secure Boot
The Redmond-based company has begun testing the display of a watermark in Windows 11 to indicate unsupported hardware.
As with bypassing the minimum system requirements and bypassing the TPM check to install updates, instructions are already available to remove the non-compliance watermark in Windows 11 – both from the desktop and the Settings app.
Method 1:
Remove ‘System Requirements not met’ watermark in Windows 11 using Registry Editor
Removing or disabling the non-compliance watermark in Windows 11 is as simple as possible. It is enough to edit one entry in the registry, or you can use the launch of the reg file, which will perform these changes and remove the watermark both from the Windows 11 desktop and from the “Options” window.
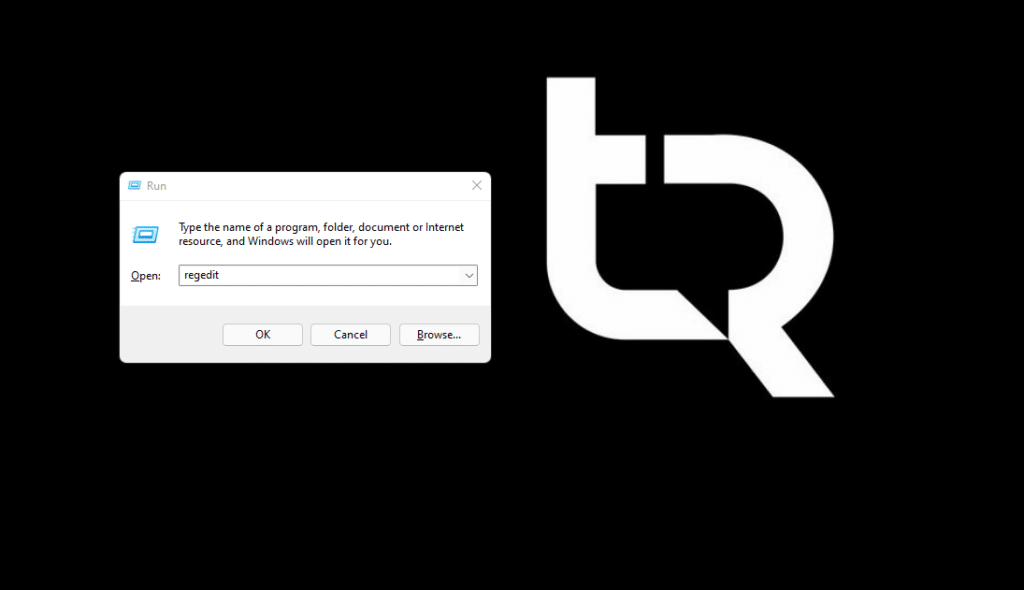
- Start Registry Editor (Regedit), use the Win+R key combination and type Regedit, or find and run this tool through the search box on the taskbar.
- Open the following registry branch (you can paste it into the address bar of Registry Editor):
HKEY_CURRENT_USER\Control Panel\UnsupportedHardwareNotificationCache
- Double-click the SV2 key on the panel on the right side and change the value from 1 to 0.

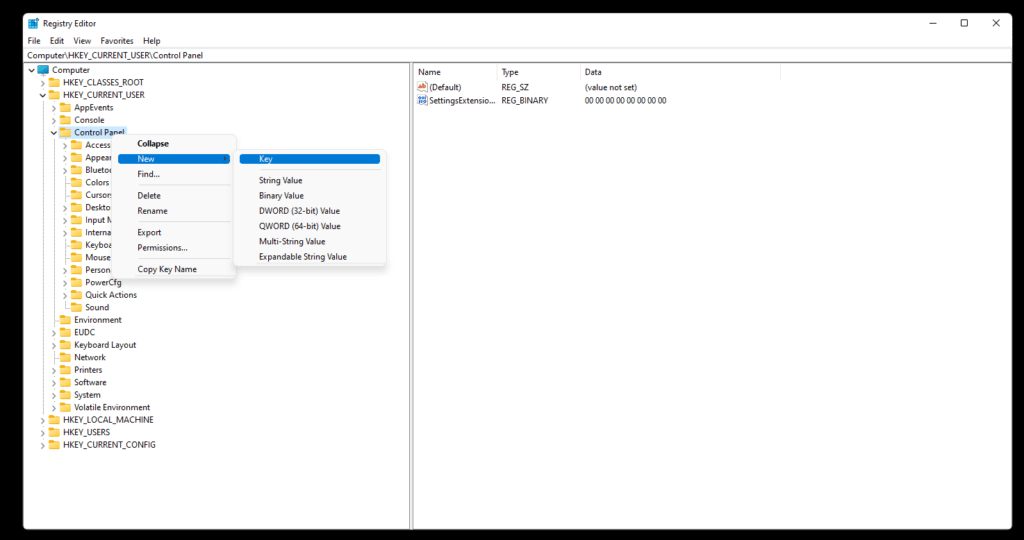
Note: If you don’t have an SV2 key, you need to create one. To do this, right-click on the panel on the right side and select “New” -> “DWORD (32-bit)” from the menu that appears.
- Restart the computer.
Note: If you do not have a branch of the UnsupportedHardwareNotificationCache registry, create it manually. To do this, right-click on the HKEY_CURRENT_USER\Control Panel branch and select “New” -> “Key” from the context menu. Name the new key UnsupportedHardwareNotificationCache, and then create a key named SV2 and a DWORD (32-bit) Value as described above.
Method 2:
Use the already created reg file to Remove ‘System Requirements not met’ watermark in Windows 11
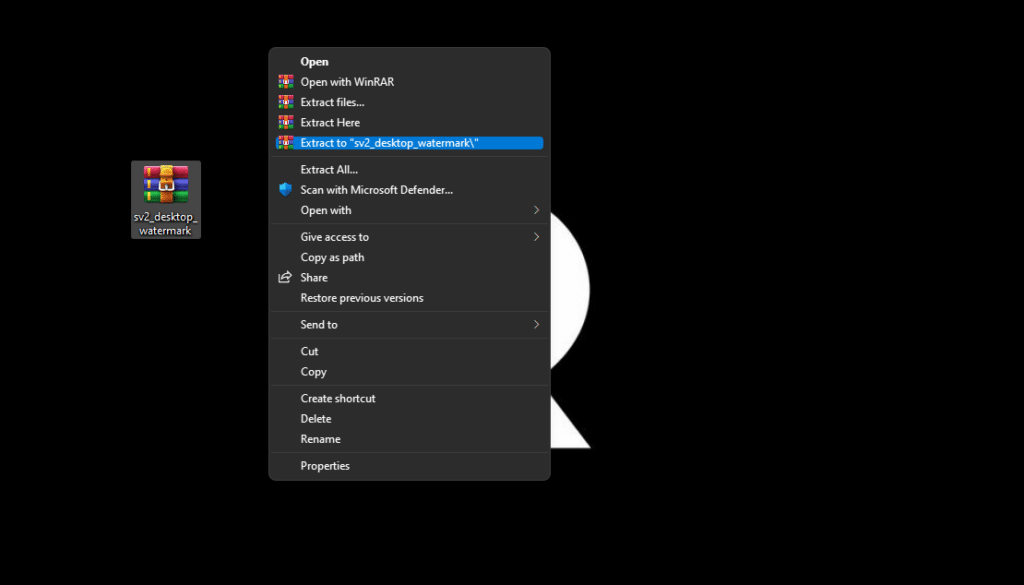
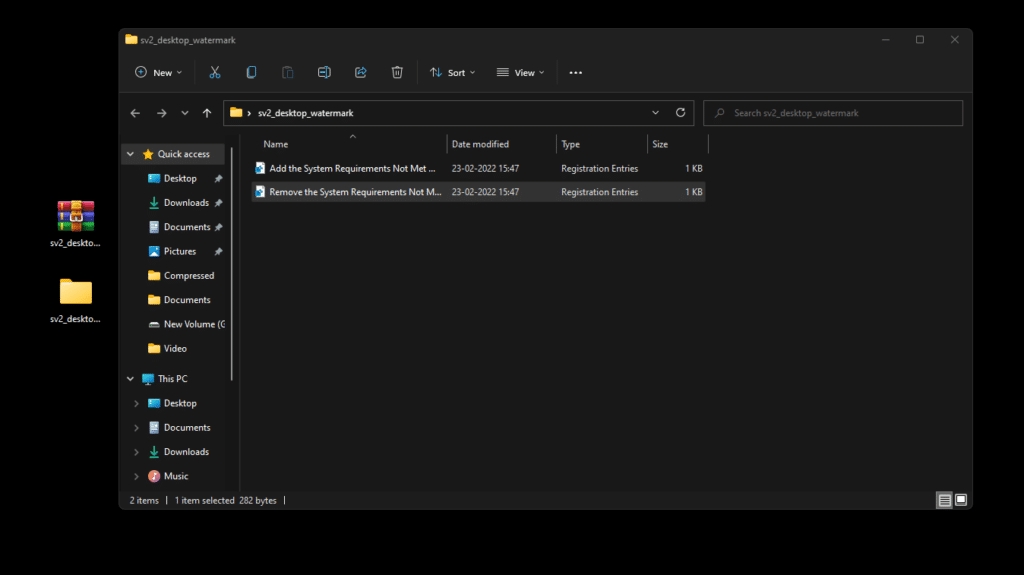
- Download the sv2_desktop_watermark.zip archive.
- Unzip the archive and navigate to the sv2_desktop_watermark folder. You need to use WinRAR to extract the files.
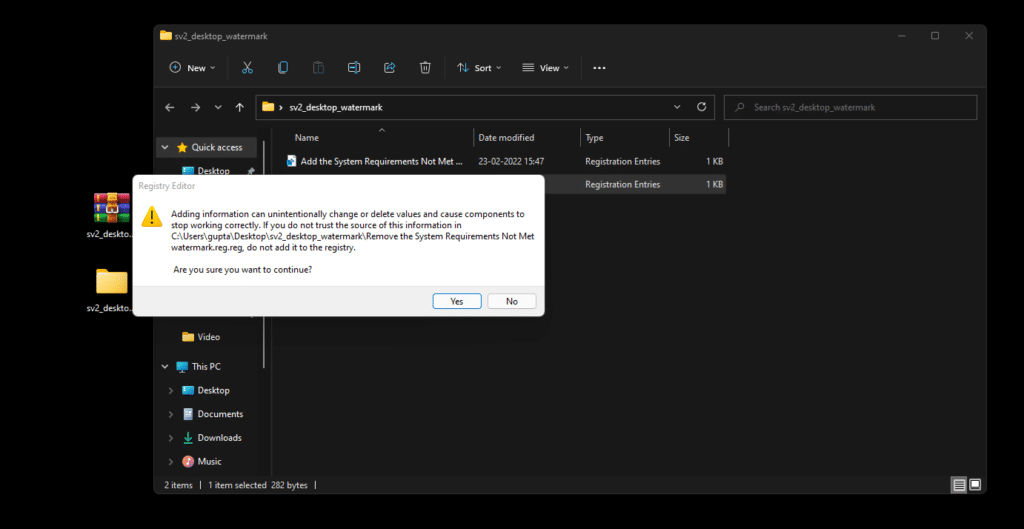
- Run Remove the System Requirements Not Met watermark.reg and agree to make the changes. This file disables the System requirements not met watermark in Windows 11.
After following the instructions above, Windows 11 will no longer display a watermark about non-compliance with system requirements. It will disappear from both the desktop and the Settings application.
If necessary, you can return the display of the watermark. To do this, run the second reg file from the archive – a file named Add the System Requirements Not Met watermark.reg.
Conclusion:
I hope this guide on How to Remove ‘System Requirements Not Met’ Watermark in Windows 11 was helpful. If you face any issues, please comment below.


