

Table of Contents
In this post, we will learn How to Install macOS Big Sur on VirtualBox on Windows in an 8-step guide. Also, in our previous article: How to Install macOS Big Sur on VMware on Windows. If you are looking for an alternative to VirtualBox, you can check the above guide out.
Mac users can easily install macOS Big Sur from the App Store and take advantage of all its features and enhancements. Apple has made significant efforts to improve the user experience with macOS Big Sur, making it more user-friendly than ever before. Some of the standout features of macOS Big Sur include a faster Safari browsing experience, an iOS-style control center, updates to Maps, improvements to the Messages app, the ability to add widgets to the home screen, and a redesigned Notification Center. There are many more exciting features to explore and enjoy with macOS Big Sur.
If you are a Linux or Windows user and wish to experience macOS Big Sur on your system, you have come to the right place. Installing macOS Big Sur directly on a physical computer can be challenging and time-consuming, and there is no guarantee that it will work properly.
In this article, we will use VirtualBox to install macOS Big Sur. VirtualBox is a free virtualization software that allows you to install various operating systems on your computer. Unlike a physical computer, VirtualBox requires an ISO image to install any operating system. Although the setup process is not very complicated, it can be time-consuming. So, grab a cup of coffee and carefully follow the step-by-step instructions.
I am sure the process isn’t easy and works for everyone. You might face these common errors when installing macOS X On VirtualBox On Windows- Here is a complete guide to help you fix those errors. Complete Guide To Fix VirtualBox Errors While Installing Mac OS X and How to Speed Up macOS Big Sur? 7 Easy Methods
Which MAC is Compatible with macOS Big Sur?
macOS Big Sur is compatible with the following Mac models:
- MacBook (2015 or later)
- MacBook Air (2013 or later)
- MacBook Pro (Late 2013 or later)
- Mac mini (2014 or later)
- iMac (2014 or later)
- iMac Pro (2017 or later)
- Mac Pro (2013 or later)
8 Easy Steps to Install macOS Big Sur on VirtualBox on Windows PC
Before we get started, make sure your PC can support Virtualization Technology. Otherwise, you won’t have the ability to install macOS Big Sur. Here is a video tutorial you can use:

You can also read: How to Speed Up macOS Big Sur? 7 Easy Methods
Step 1. Download the Required File to Install macOS Big Sur on VirtualBox on Windows PC
VirtualBox Latest Version (Download)
Download macOS Big Sur VMDK File
VirtualBox Code for macOS Big Sur (Download)
VirtualBox Extension Pack (Download)
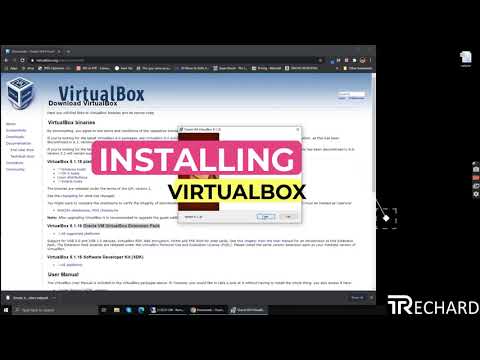
Step 2. Install VirtualBox on Windows 10 PC
You need to download and install the latest version of VirtualBox from the above link.
You can use this video tutorial:
Step 3. Install and Enable VirtualBox Extension
The VirtualBox Extension is a handy tool that can resolve almost all the issues you may encounter while using VirtualBox with any operating system. When installing macOS Big Sur on VirtualBox, a common problem is the mouse and keyboard getting stuck. To fix this issue quickly, you must correctly install the VirtualBox Extension after setting up VirtualBox. The installation steps are demonstrated in the video above.
Step 4. Create a New Virtual Machine for macOS Big Sur
To create a new virtual machine for macOS Big Sur, follow the guide:
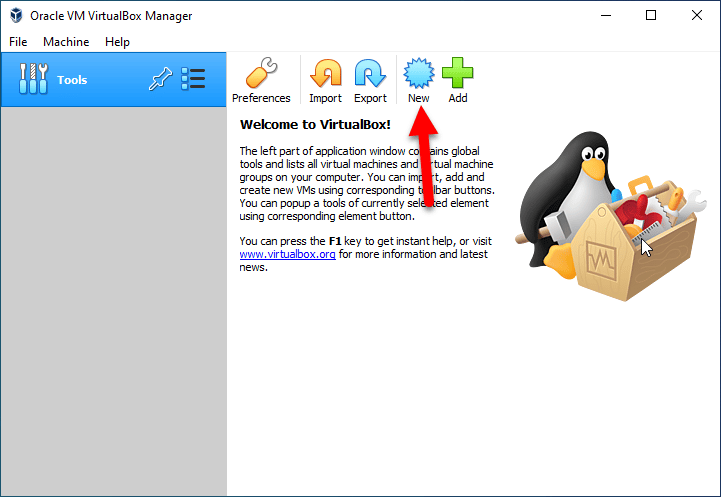
- Open the VirtualBox. Then click the New button.

- Click on Expert Mode.

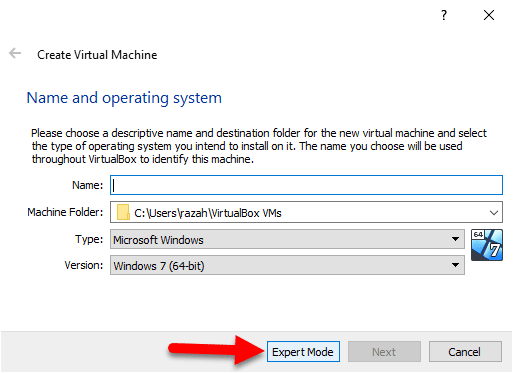
- Give a name to your virtual machine, and choose a folder for installation. Use the image below for further configrations.

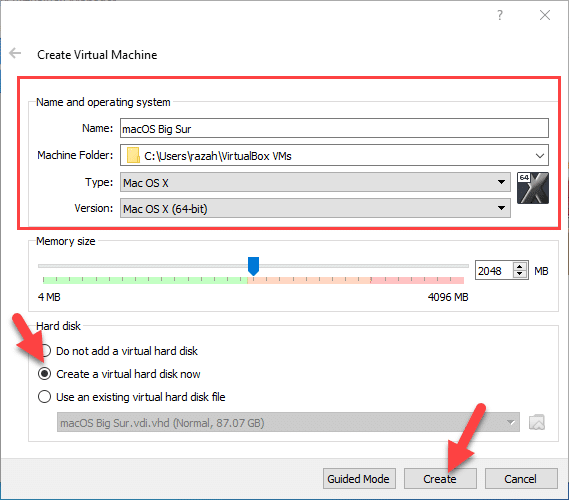
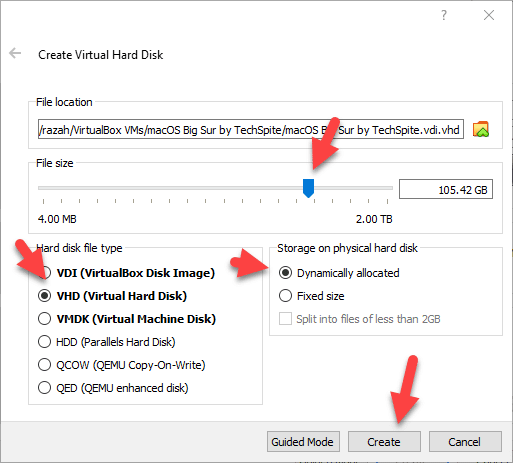
- Increase the memory size to 100GB or more significantly for excellent performance. Select VHD (Virtual Hard Disk). You must select Dynamically allocated on the right side and click Create.

Step 5. Customize Virtual Machine Settings
For better functionality of macOS Big Sur, you must customize the configurations of the virtual machines you’ve created. Follow the instruction down below.
- Click on Settings. Make sure you choose System when the Setting opens from the perfect pane. You have to uncheck the Floppy and move into the Processor tab, then increase the amount of Processor to 2GB or more.
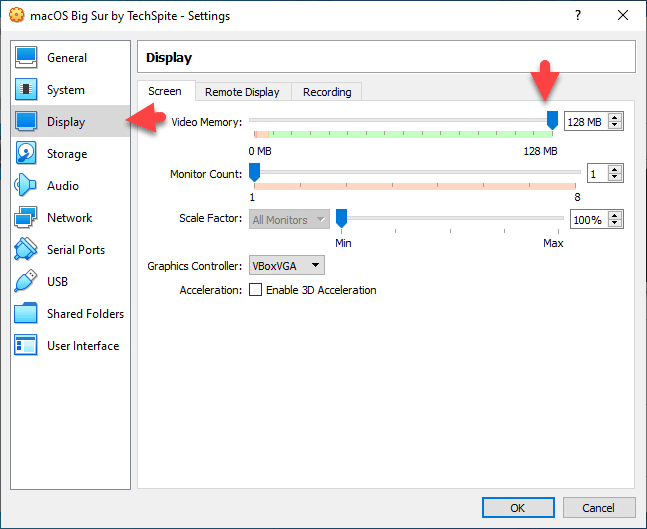
- Head around the Display menu and increase the Video Memory.

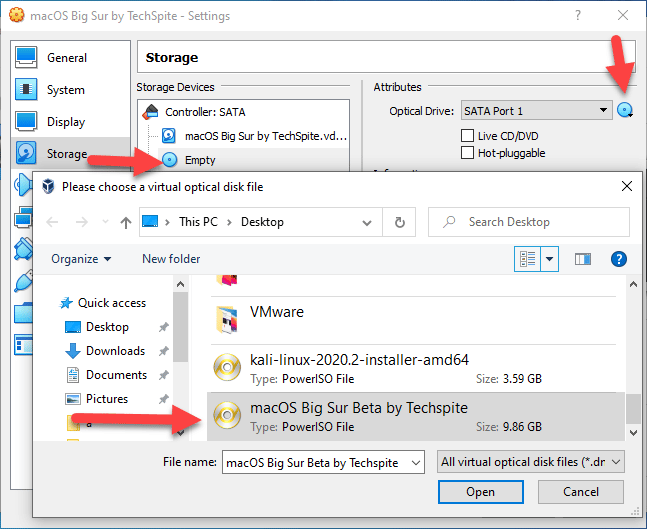
- Now, it’s time to add the macOS Big Sur ISO file to the virtual machine, Go to the Storage menu and click Empty. Then click the DVD icon and select the macOS Big Sur ISO File you downloaded.
- To successfully boot macOS Big Sur on VirtualBox, ensure that the ISO file for macOS Big Sur is at the top of the list, with the virtual disk below it. The macOS Big Sur may not boot up if the virtual disk is listed first.
- Change the SATA interface number to 0.

Step 6. Run VirtualBox Code in Command Prompt
From the download section of this article, you have downloaded the Virtualbox Codes. Open the Virtualbox codes files in the notepad and make the following replacements.
You have to replace the VM Name with the actual name of your virtual machine.
cd "C:\Program Files\Oracle\VirtualBox\"
VBoxManage.exe modifyvm “Virtual Machine Name” –-cpuidset 00000001 000106e5 00100800 0098e3fd bfebfbff
VBoxManage setextradata "Virtual Machine Name" VBoxInternal/Devices/efi/0/Config/DmiSystemProduct “MacBookPro15,1”
VBoxManage setextradata "Virtual Machine Name" "VBoxInternal/Devices/efi/0/Config/DmiBoardProduct" "Mac-551B86E5744E2388"
VBoxManage setextradata "Virtual Machine Name" "VBoxInternal/Devices/smc/0/Config/DeviceKey" "ourhardworkbythesewordsguardedpleasedontsteal(c)AppleComputerInc"
VBoxManage setextradata "Virtual Machine Name" "VBoxInternal/Devices/smc/0/Config/GetKeyFromRealSMC" 1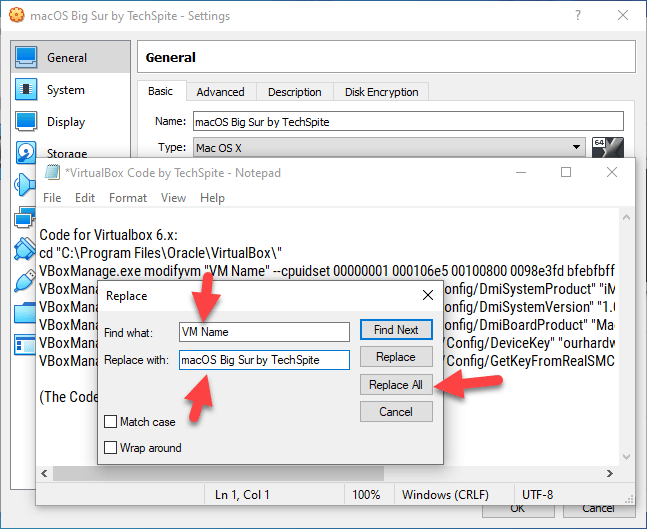
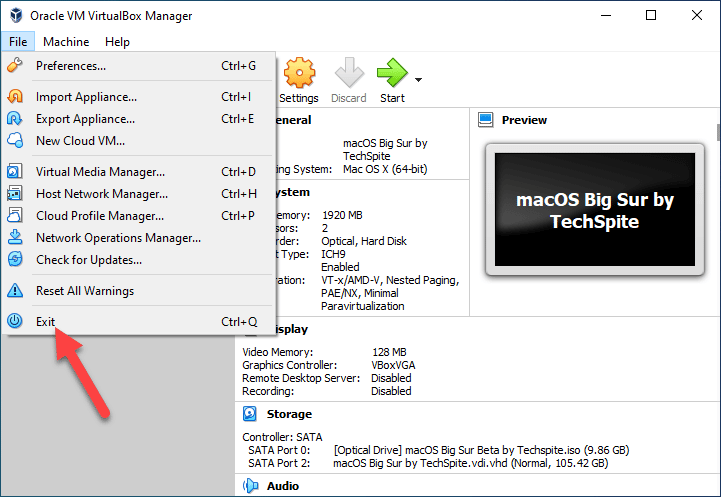
Once done, copy the codes using Ctrl+C and close the VirtualBox program.
Open the CMD (Command Prompt) by pressing the Windows+R key and typing CMD. Right-click on it and select Run as Administrator.
Now, press Ctrl+V to paste the codes. See the below image for reference.


Step 7. Start the Virtual Machine
- Finally, open Virtualbox again and click Start.
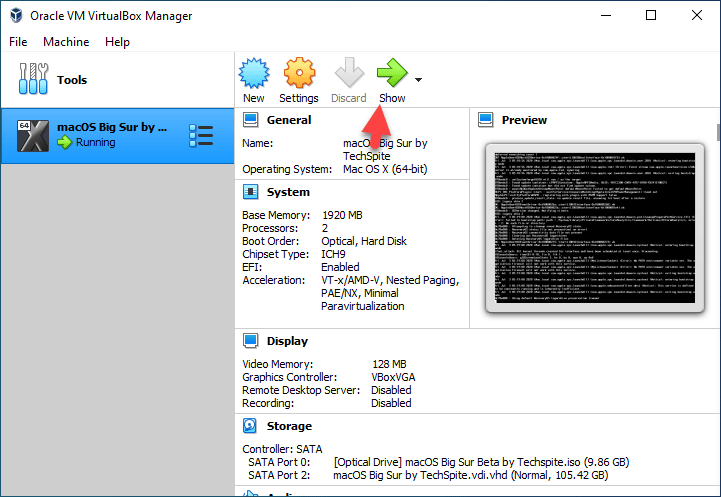
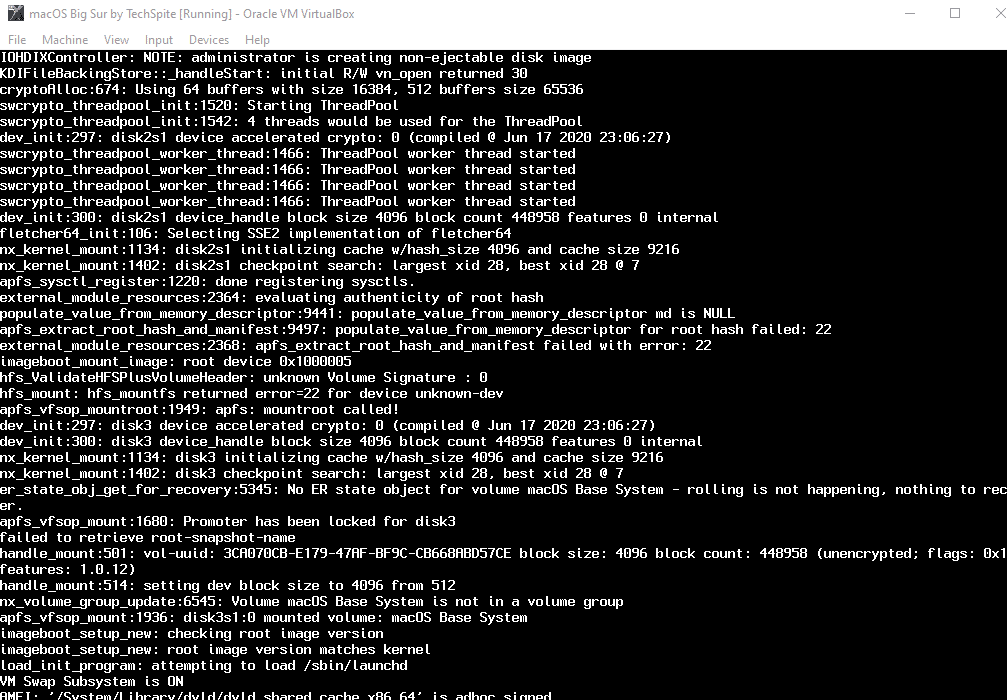
- Once the virtual machine has started, you will see some code running in the background. You have to wait till the Apple logo pops up.

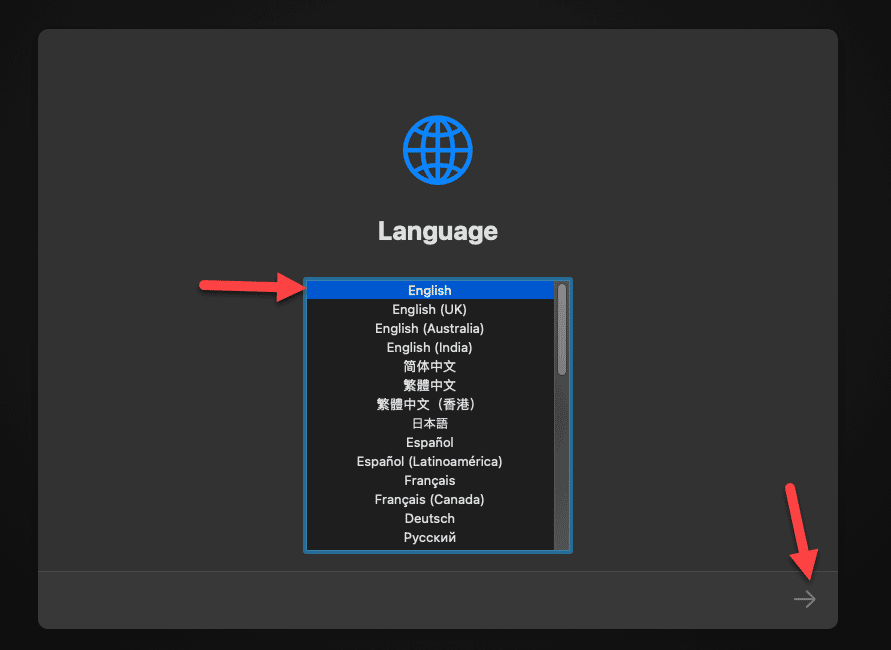
- You have to choose your language and click on Continue.

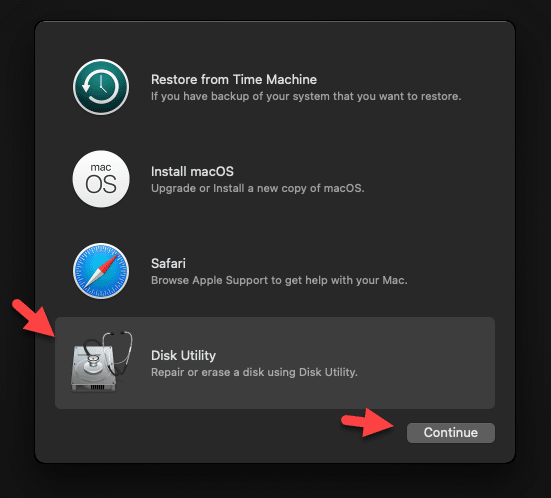
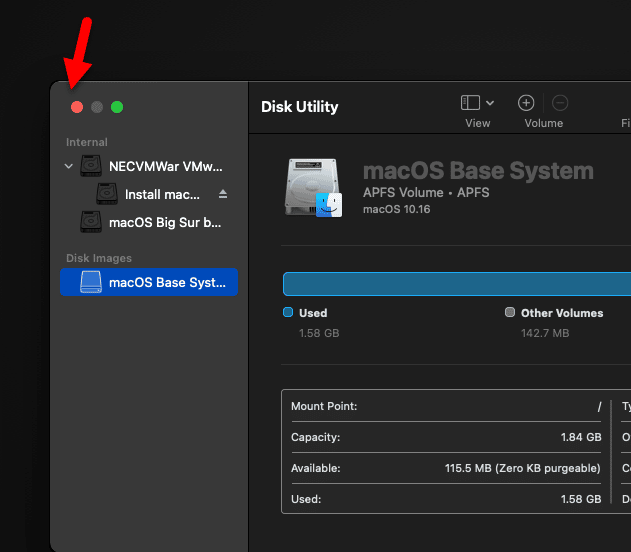
- From the boot recovery, choose Disk Utility and click on Continue.

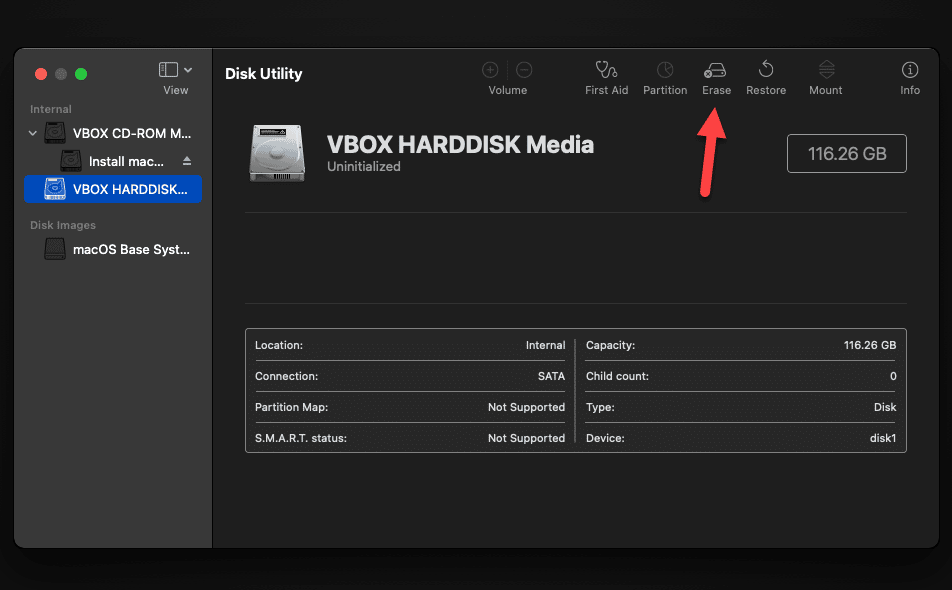
- Select your primary hard disk and click on the Erase button again.

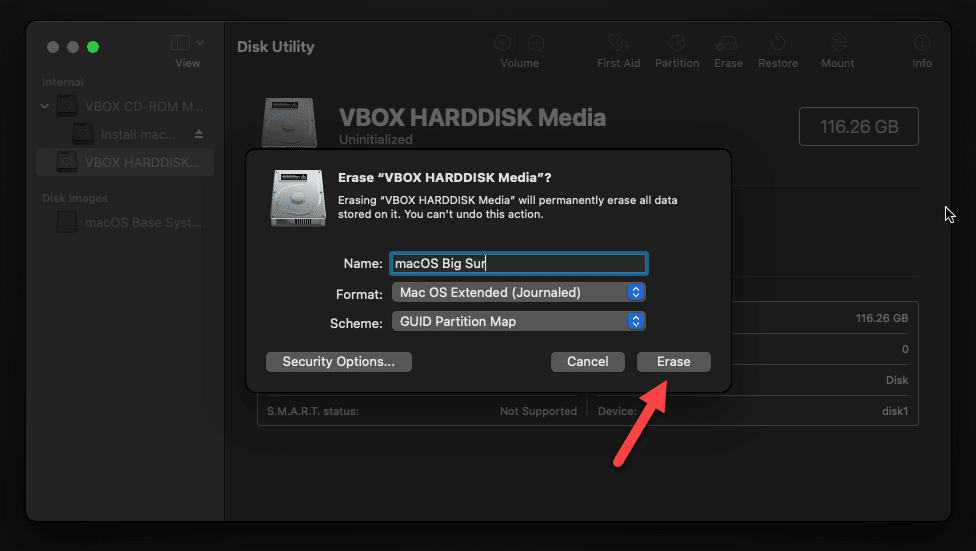
- Set a name for your hard disk drive. macOS Big Sur, in my case. Then click the Erase button again.

- Close the Disk Utility.

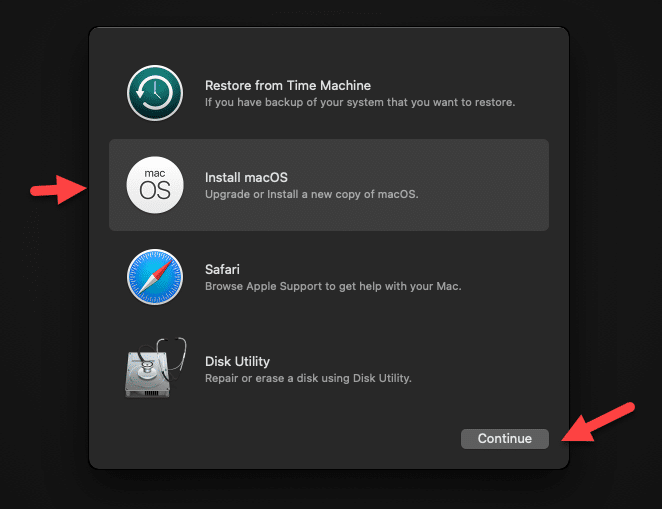
- Now click Install macOS and click Continue.

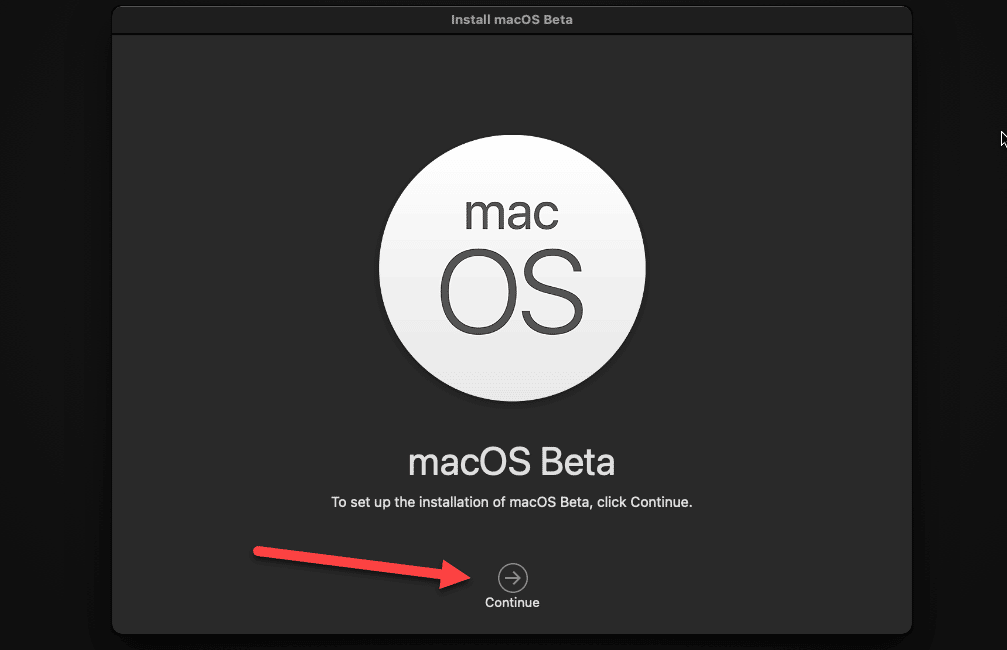
- Click on Continue.

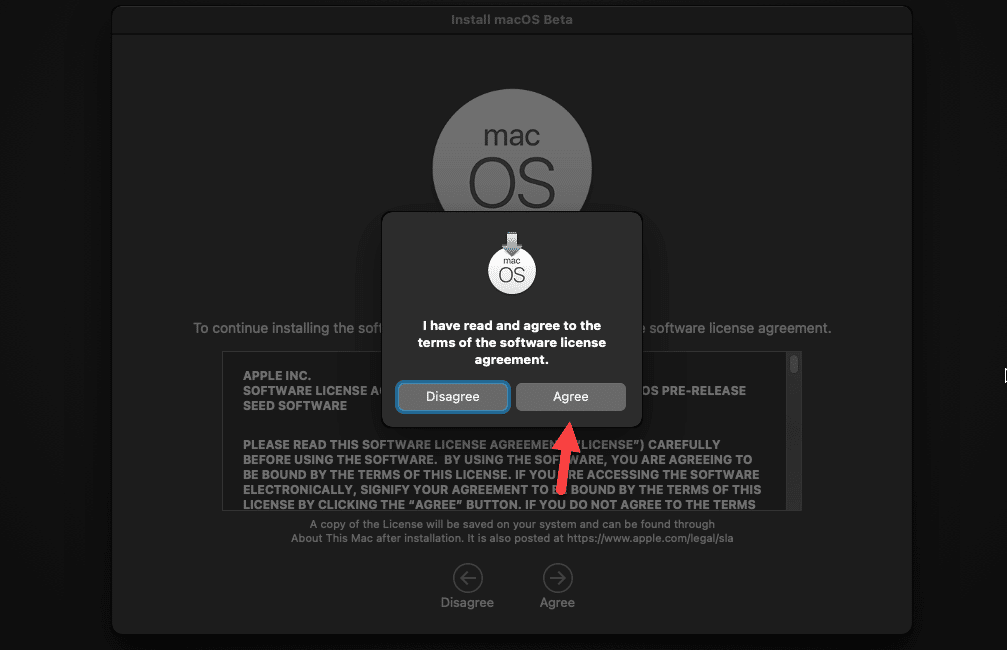
- Agree to terms and conditions.
- Click Proceed. The installation will now begin and will need about 30 minutes.
You can also read: How to share folders on VirtualBox & Vmware? (Windows-MAC) Step by Step Guide
Step 8. Clean Installation of macOS Big Sur on VirtualBox
- Once the setup procedure is complete, you can install macOS Big Sur.
To fix screen resolution, use this guide: How to Fix macOS Big Sur Screen Resolution on VirtualBox: 5-Step Guide
Install macOS Big Sur on VirtualBox: Bottom Line.
In this article, I have explained the steps to install macOS Big Sur on VirtualBox on a Windows PC. You can now enjoy all the features of macOS Big Sur on your system. If you face any issues during the installation process, feel free to leave your comments and suggestions in the comment section below. I will be glad to assist you.
You can also read: How to Speed Up macOS Big Sur? 7 Easy Methods