


Table of Contents
In this article, we will learn how to install Android 13 (Android Tiramisu) on Windows 11. Android is always a hot topic. The latest Android 13 preview has been launched, and it looks great so far. However, we still can’t install apps from third-party sources.
If you’re on Windows 11 and want to test out Android Studio and how it handles the new Android 13 update, follow this article until the end.
You can also read: Best Android Emulators for Windows 11

Step 1: Install Android Studio on Windows 11
The process of installing android studio on Windows 11 is simple. You can follow the steps below:
1. Go to the official website of Android Developer. You can directly click here. You will see like in the snapshot below.

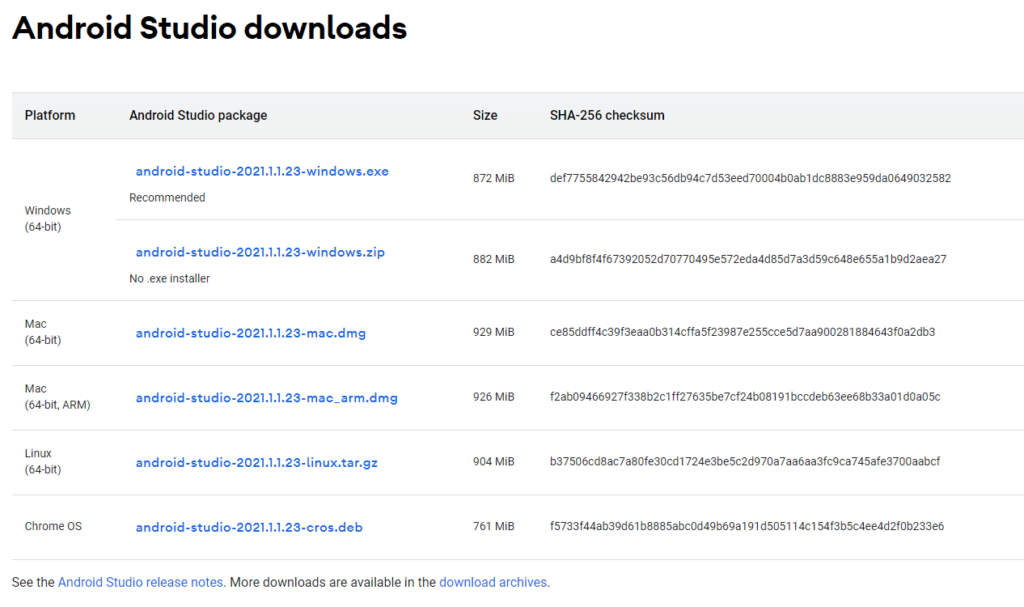
2. Click on the android-studio-2021.1.1.23-windows.exe file. Alternatively, you can download the corresponding files if you are using MAC or Linux. The file is around 872MB. To speed up the downloading process, you can use IDM.
Download Internet Download Manager (IDM)
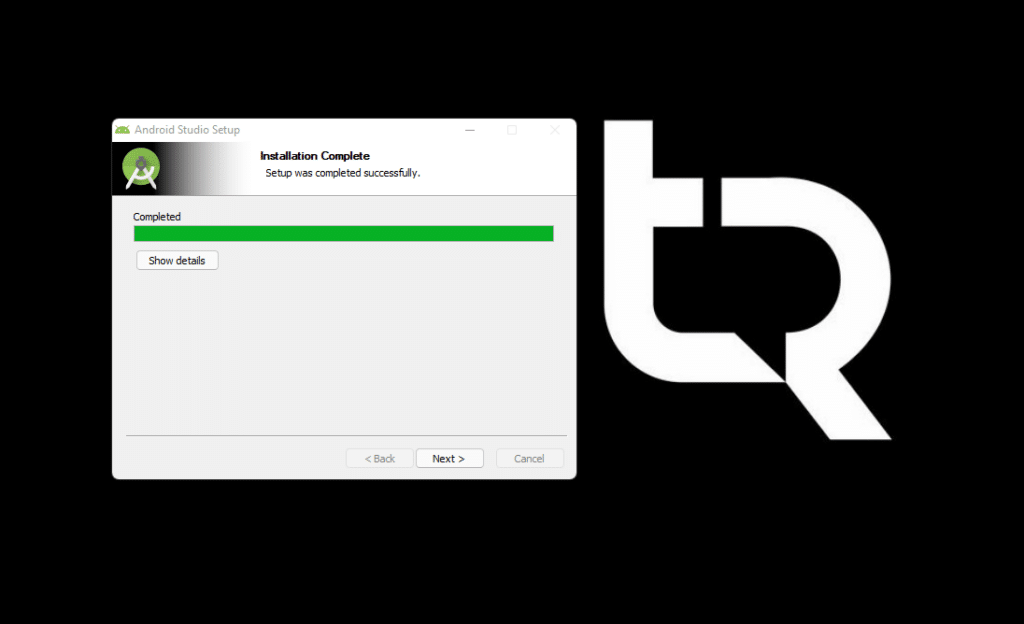
3. Once downloaded, install Android Studio on Windows 11. Double click on the downloaded file and proceed with the installation.

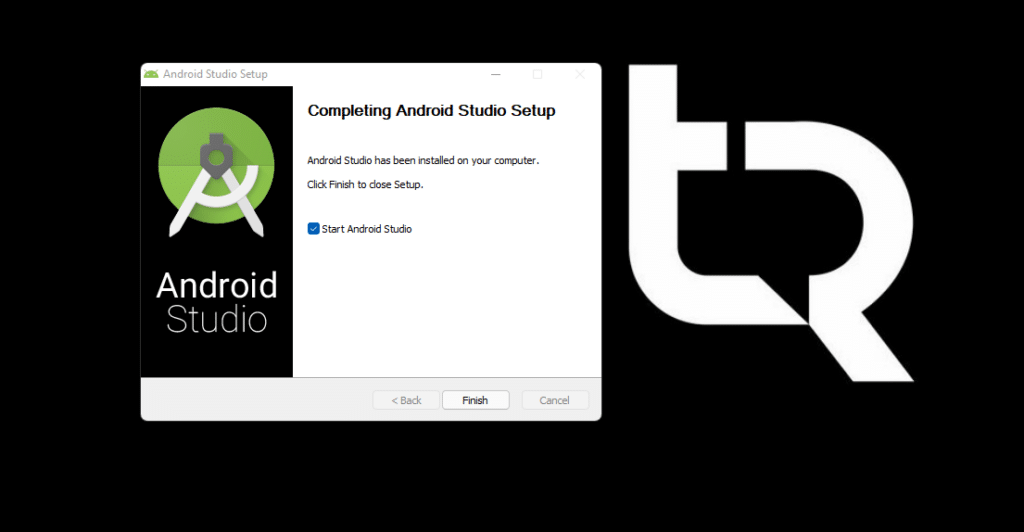
4. When the installation is complete, click Finish to start Android Studio on Windows 11.

Step 2: Configure Android Studio on Windows 11
Now, we will look at the steps for configuring your android studio on Windows 11.
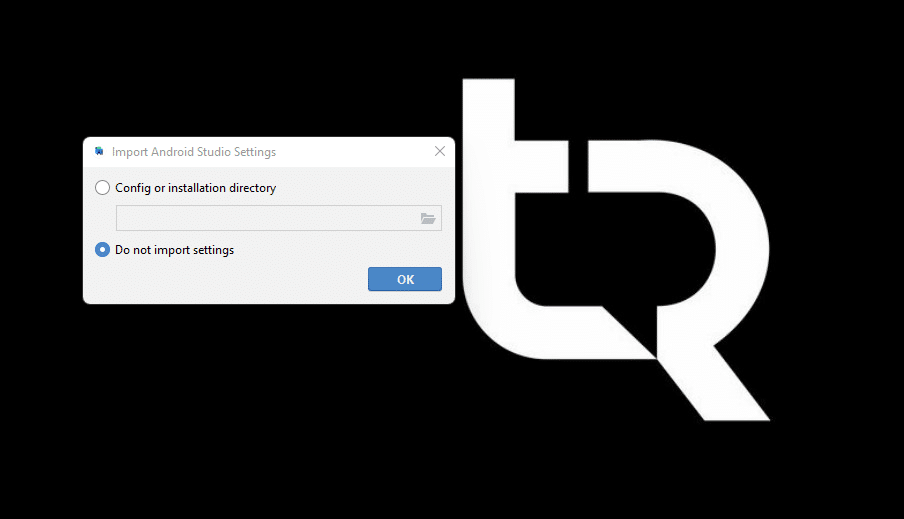
1. Once you click Finish in the above step, you will see the Android Studio Interface. Now, select Do not import settings and click OK.

2. If you want to share your data with Google or don’t want to do so, select one of the two options. Click Don’t Send.


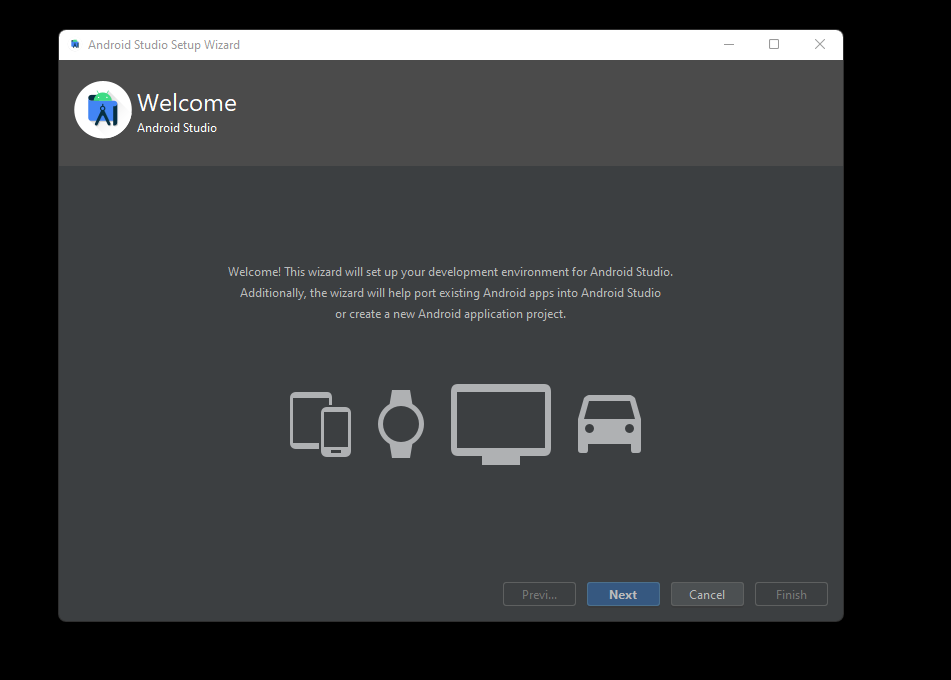
3. Now click Next.

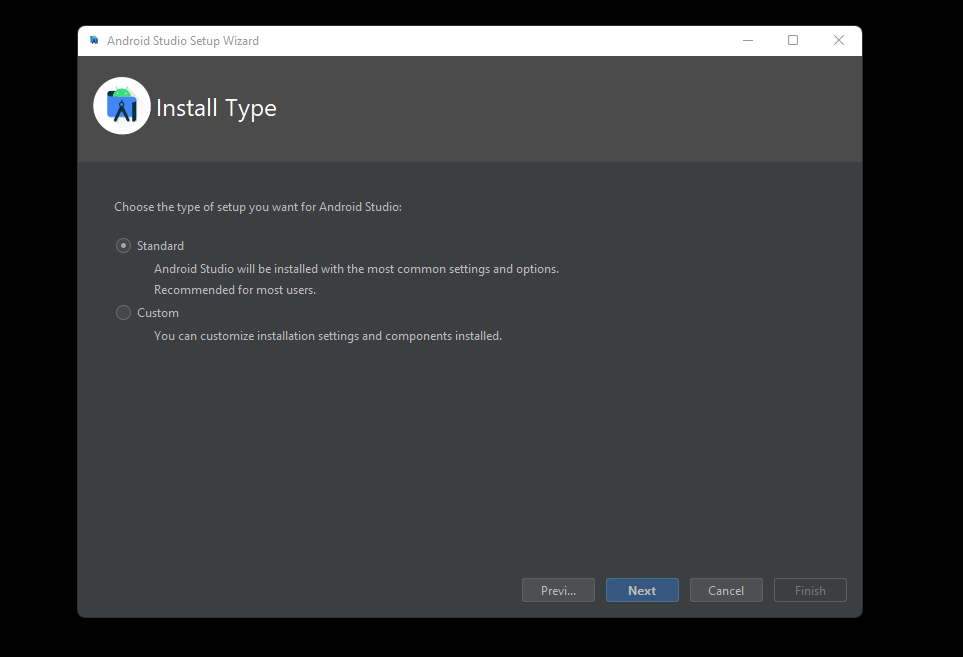
4. Select the Standard Installation type and click Next.

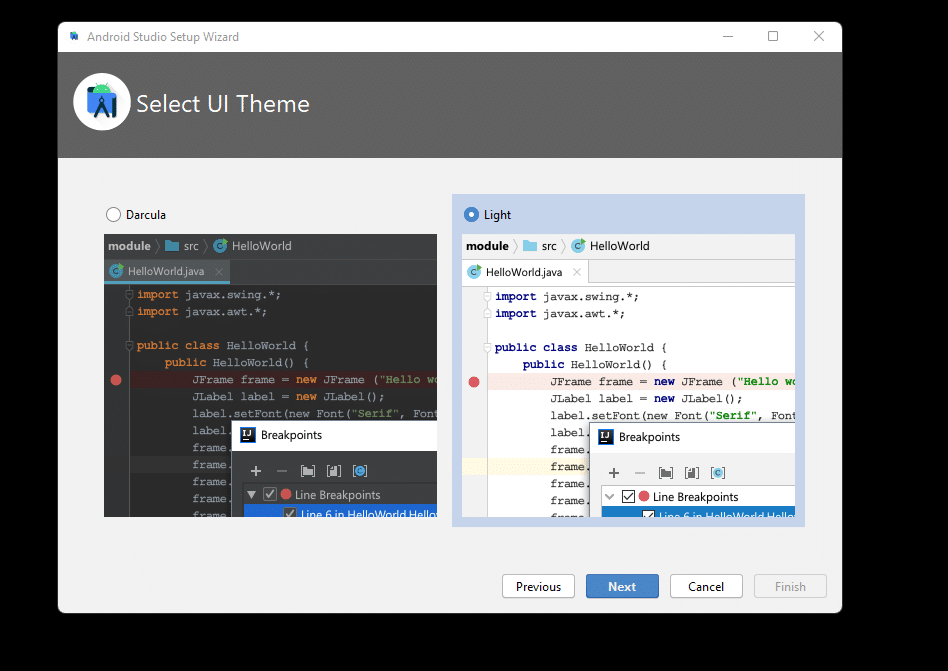
5. Select one of the two themes Darcula (Dark) or Light.

6. Click Next again.

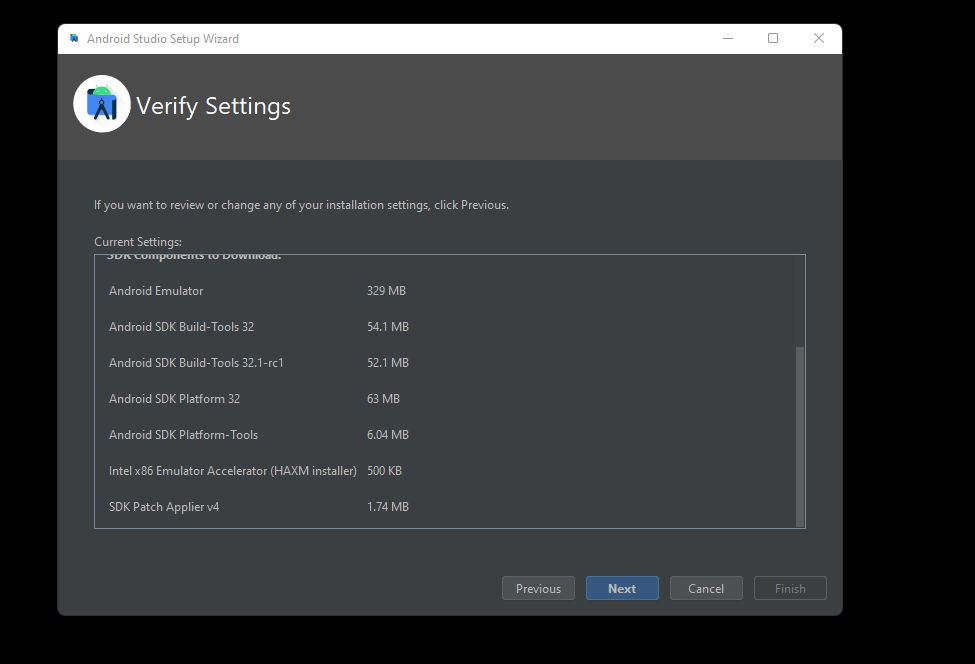
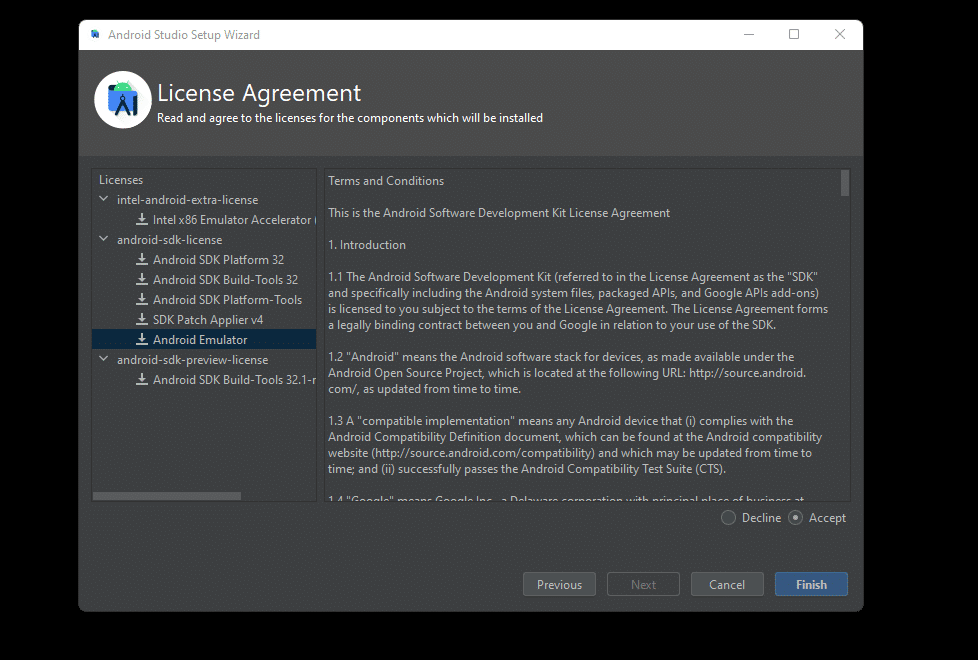
7. Accept all the Licenses and click Finish.

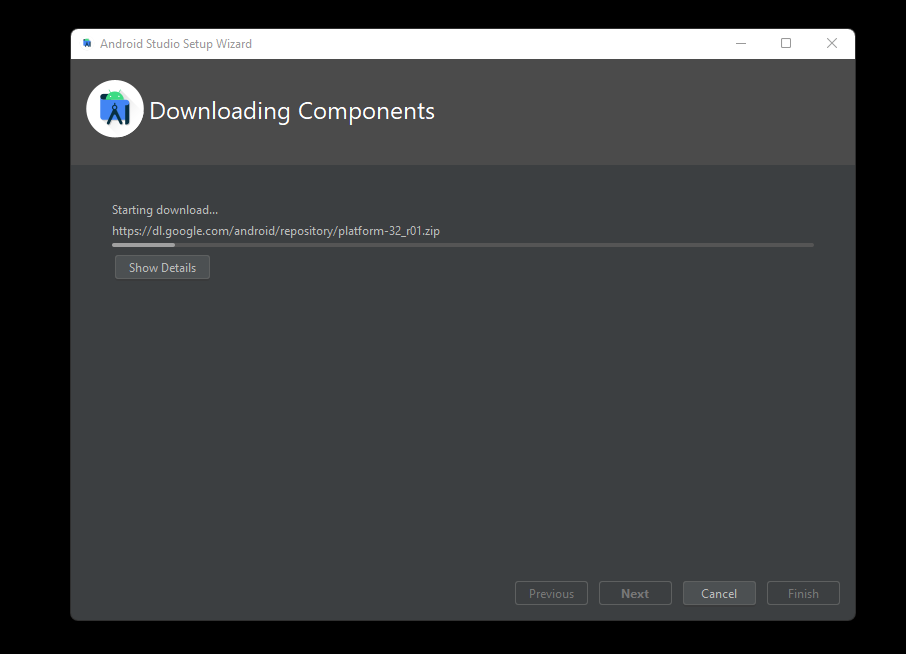
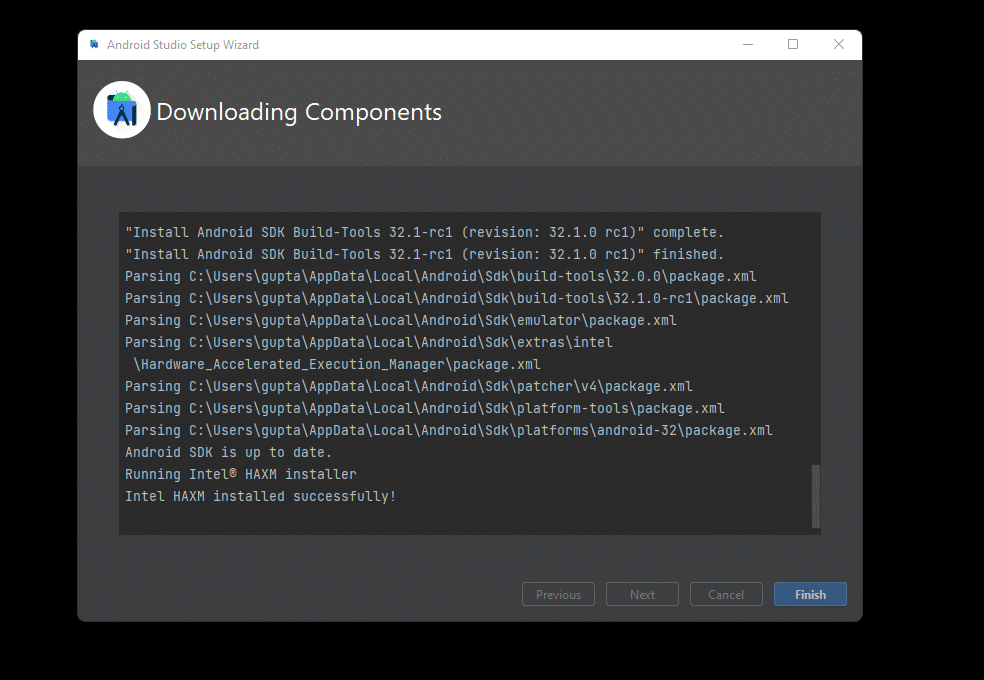
8. Wait for a while until the download is complete. It will take around 3 minutes.

9. Click Finish when done.

Step 3: Create a Virtual Machine for Android 13 on Windows 11
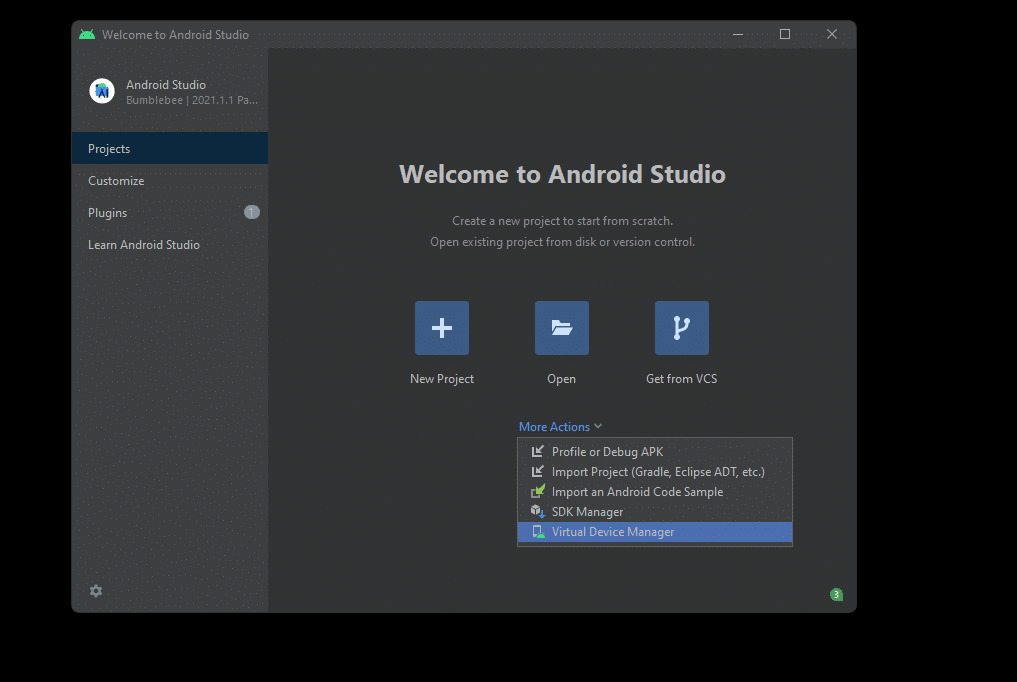
1. Click on the More Action button and select the Virtual Device Manager.

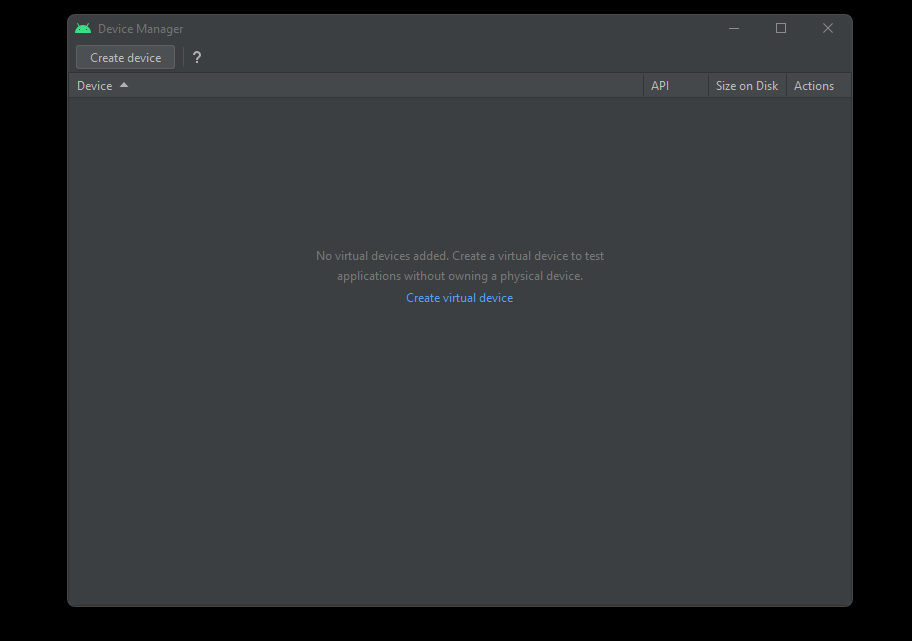
2. Click Create Virtual Device.

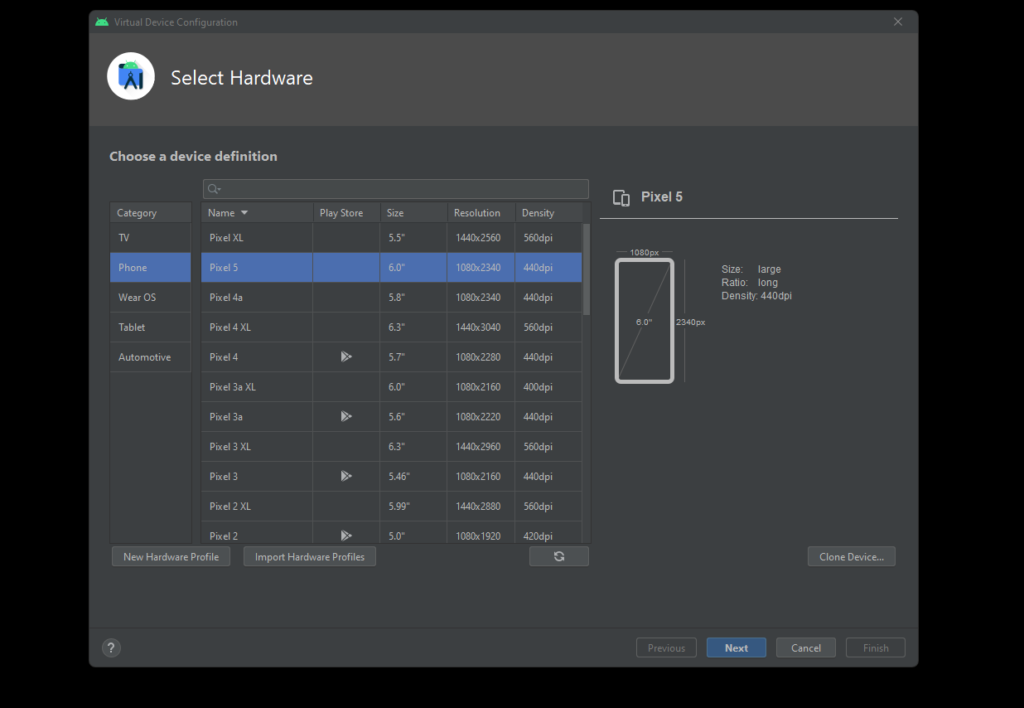
3. Choose from any device shown that supports Android 13 and click Next.

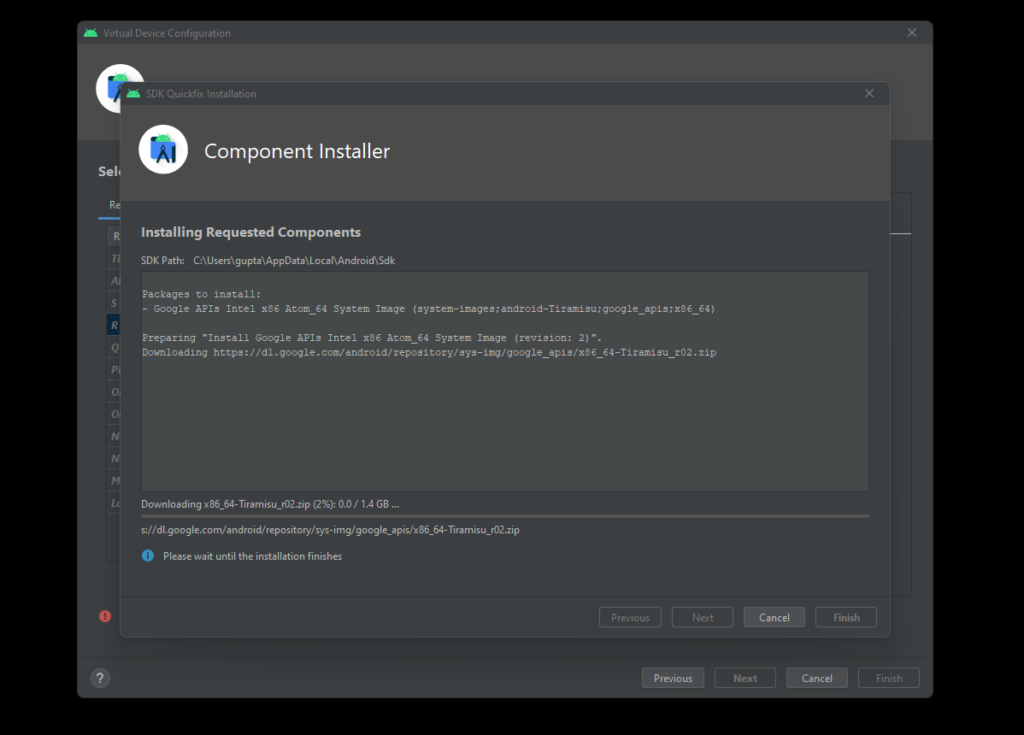
4. Click on Tiramisu Download, and the downloading will automatically begin.

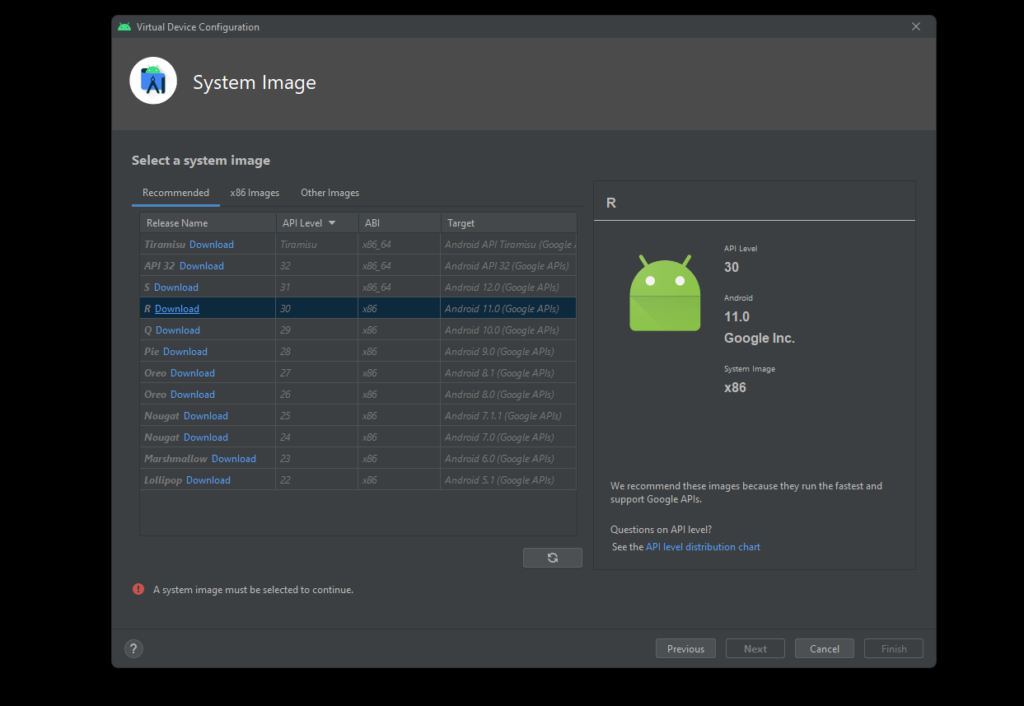
5. Wait for a while until the Android 13 is downloaded. Depending on your internet connection, it will take around 5-10 minutes.

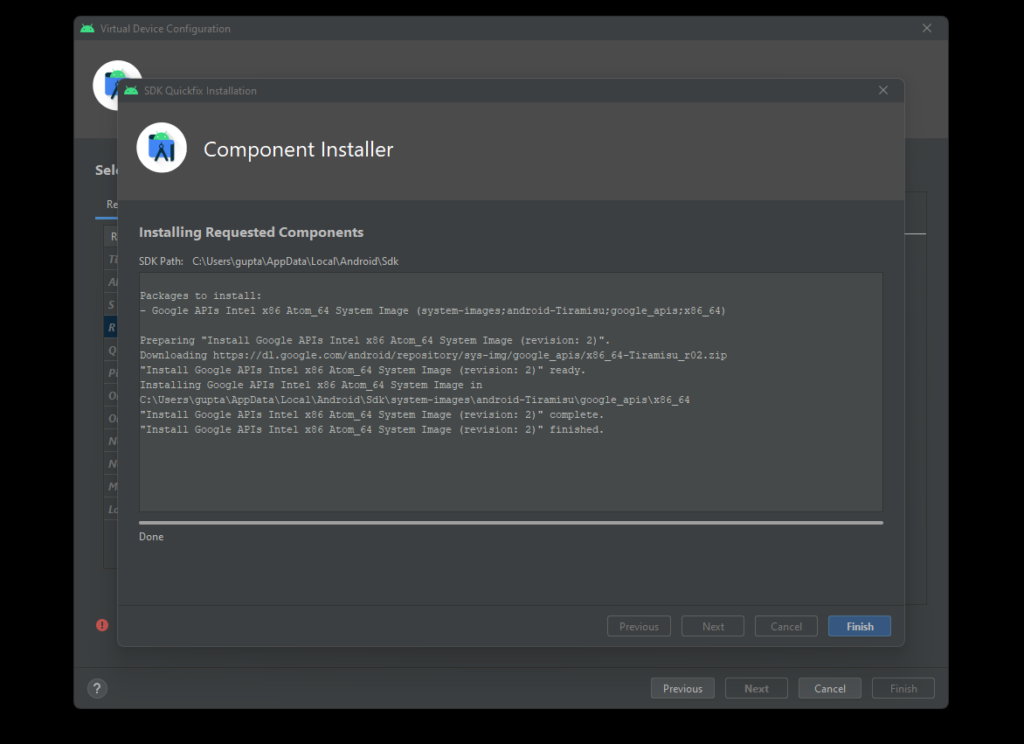
6. Once done, click Finish.

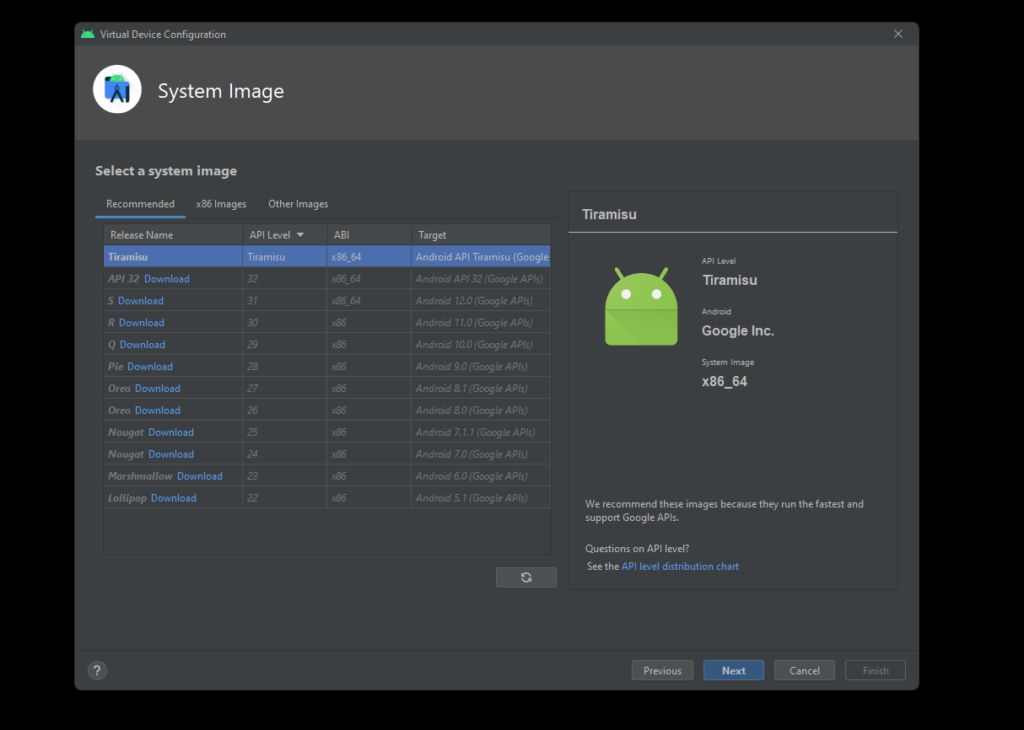
7. Now, click on Tiramisu as shown below and click Next.

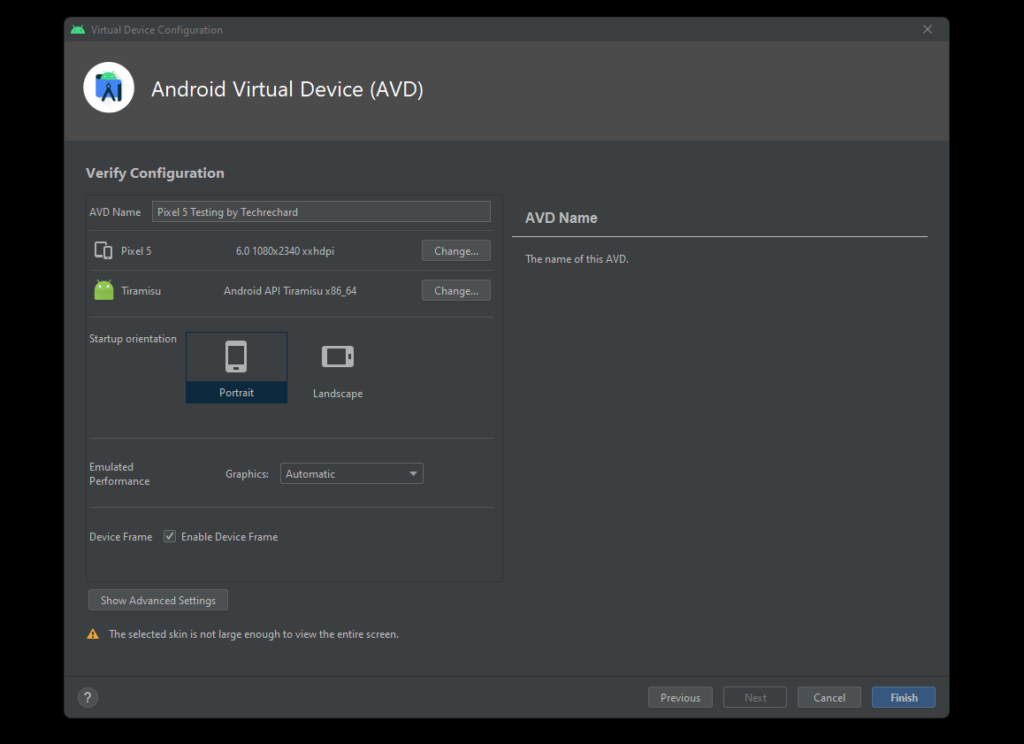
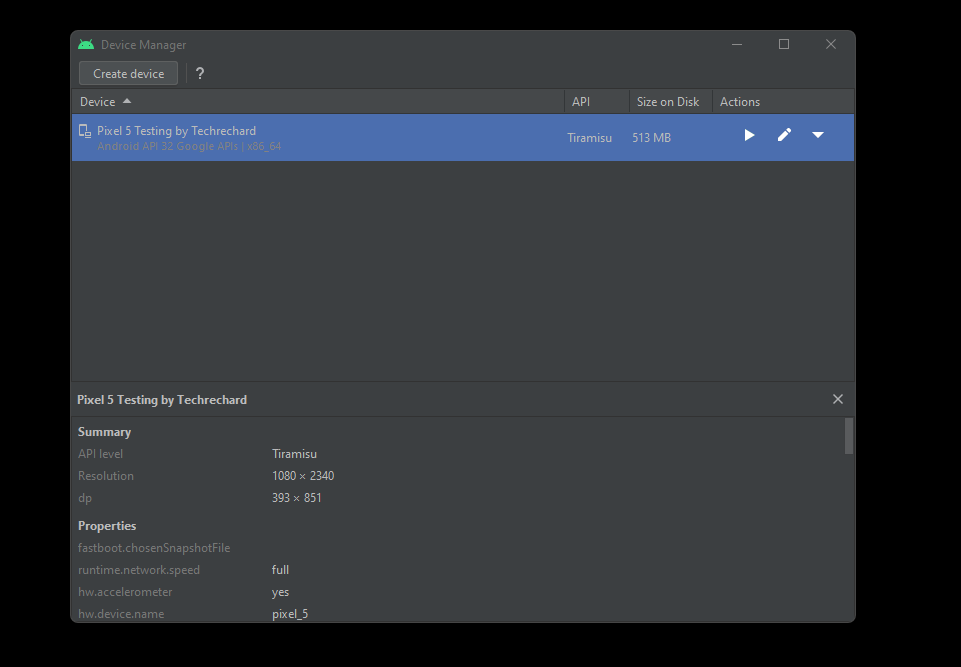
8. Now set the AVD name. In our case, Pixel 5 Testing by Techrechard. You can choose your device orientation and other things and click Finish.
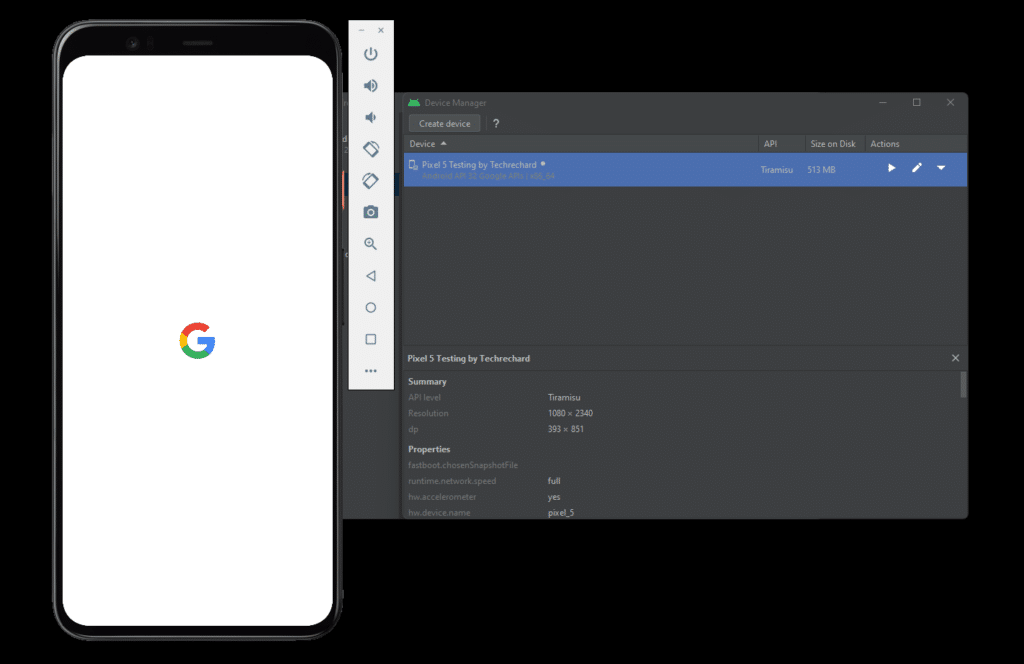
9. To start testing, click the Play button. Click Allow Access when asked.

10. Wait for a while until your Android 13 loads up.

It will take around a minute to load Android 13 on Windows 11.

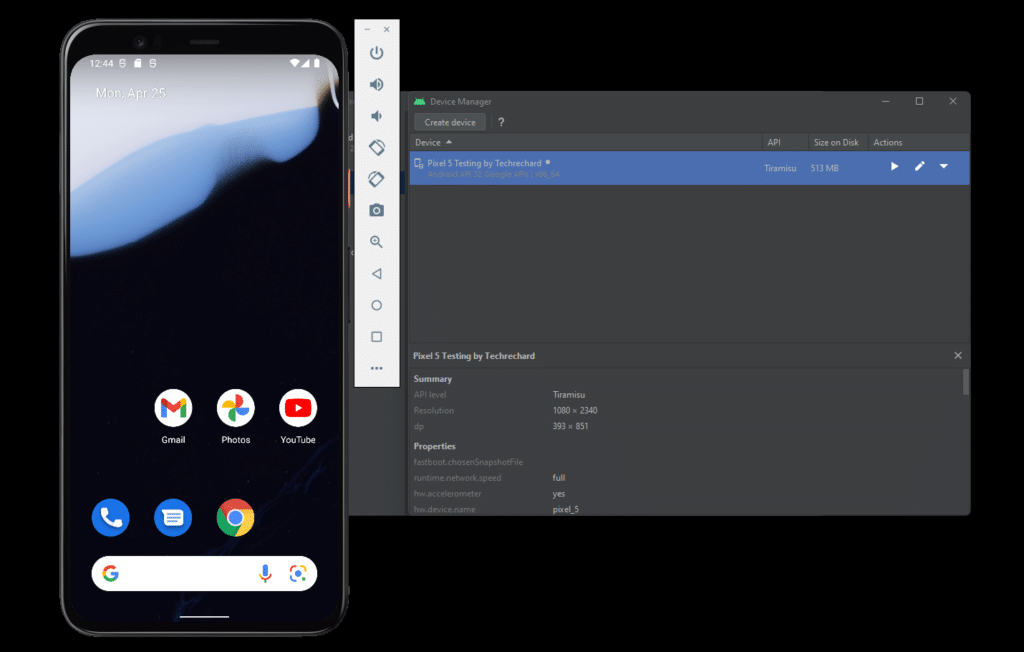
Congrats, you have successfully installed Android 13 on Windows 11.
You can also read: How to Run iOS Apps on Android: 2 Easy Solutions
Here is a complete video tutorial that you can use:

Conclusion
I hope this guide on How to Install Android 13 (Android Tiramisu) on Windows 11 was easy and helpful. You can use this same guide to install Android 13 on Windows 10 and lower OS.