

In this article, we will learn How to Fix USB Drive in Windows 11, 10. If you’re having trouble getting your USB device to work in Windows 10, 8.1, or 7, you can use these commands to get it working again.
Windows 11/10 may prompt that “Insert the disc into the device” or “Windows can’t finish formatting” when trying to access the USB flash drive. This means you need to use DISKPART and clean and create a new FAT32 partition, which should solve your problem.
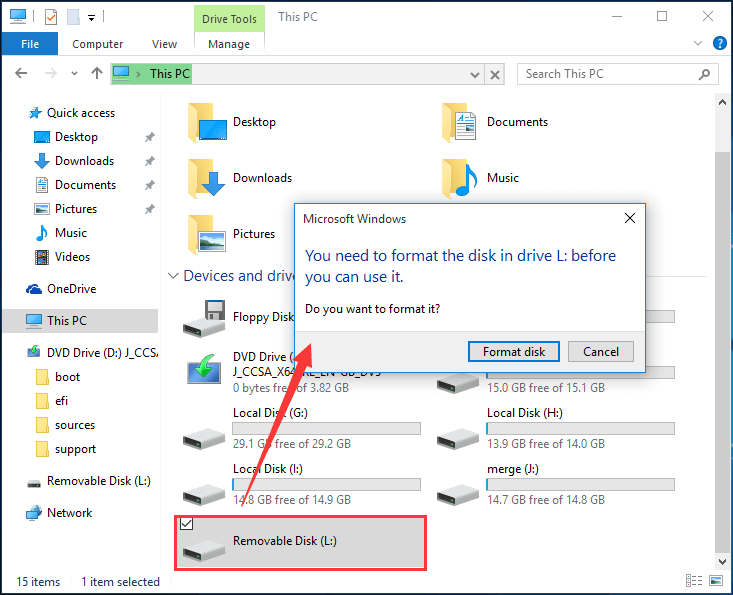
If your computer is not reading a USB drive, SD card, or other storage devices, one solution is to run full disk cleanup and create a new partition. In Windows 10\11, you can use the built-in PowerShell cmdlet ‘gpedit.msc’ to quickly solve this problem.
As the name suggests, PowerShell aims to provide an interactive scripting environment that can automate Windows tasks while providing you with a full-fledged editing environment. The tutorial below explores how this can be used to fix any inaccessible USB drive.
How to Recover a USB Drive in Windows 11, 10 Using PowerShell
To restore a USB drive using PowerShell commands, follow these steps:
Ensure you know which drive you’re selecting before starting this process, as it will completely delete everything. This includes making sure it’s the right one and no other important data on it.
Step 1: Place your USB or SD card into the matching slot on the device.
Step 2: Open PowerShell as an administrator using Windows Terminal or any other way that you like.
Step 3: Type the following command to find the drive that can’t be opened, and press Enter:
Get-Disk
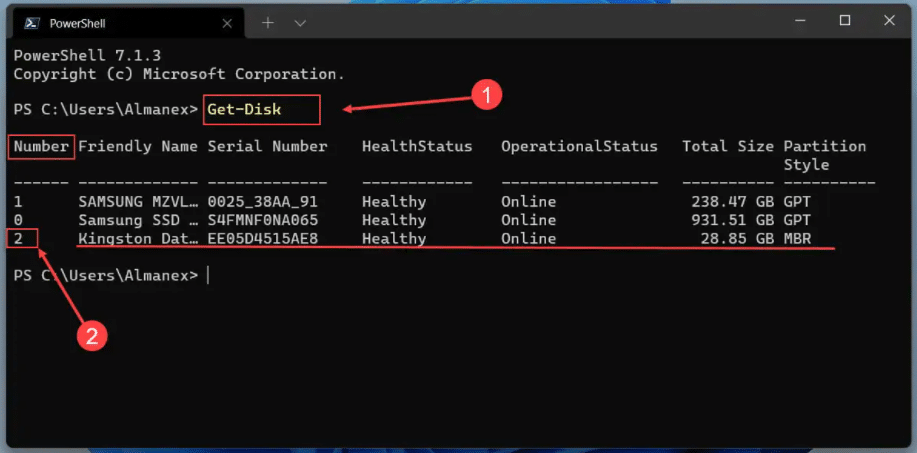
Step 4: Remember or write the value for it in the “Number” column (see screenshot above)
Step 5: Type the following command in the terminal and press enter. (This will delete your data)
Get-Disk 2 | Clear-Disk -RemoveData
Do not forget to replace “2” with the number of the disk (from step 3) that you want to restore. If you specify the wrong number, you may be defying the wrong drive, which will result in data loss.
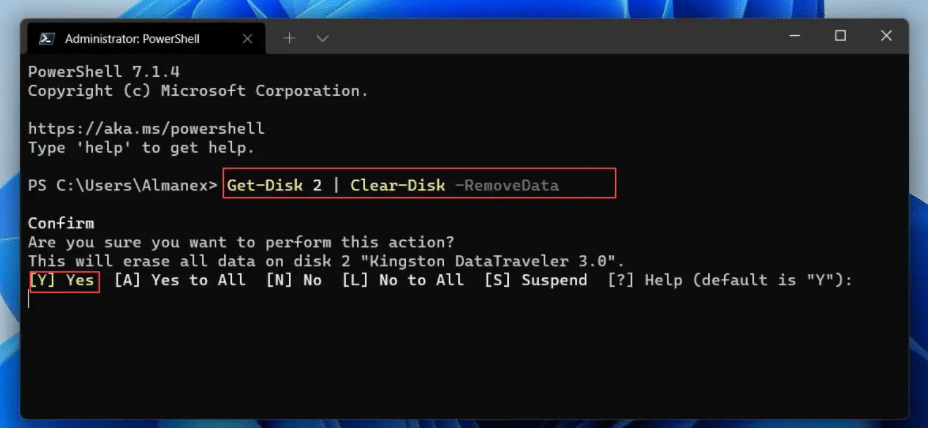
Step 6: You want to clean the specified drive. Do you wish to continue? Type Y and Enter.
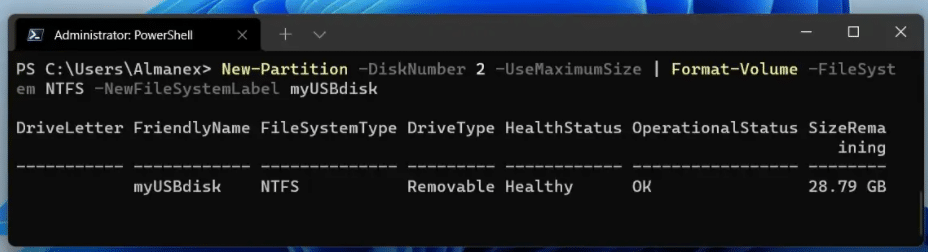
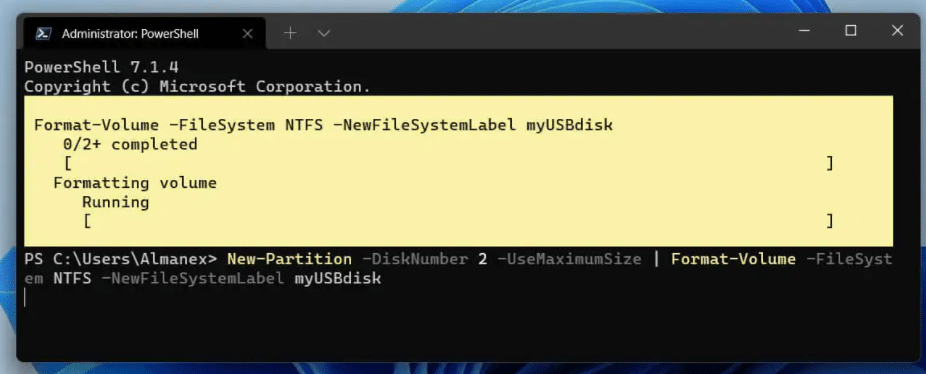
Step 7: Type in the following command to use NTFS and call it “myUSBdisk.” This will create a new partition. Press enter when done:
New-Partition -DiskNumber 2 -UseMaximumSize | Format-Volume -FileSystem NTFS -NewFileSystemLabel myUSBdisk
In the above command, be sure to replace “2” with the number of the disk you want to recover and replace “myUSBdisk” with the name you want to use for this flash drive.
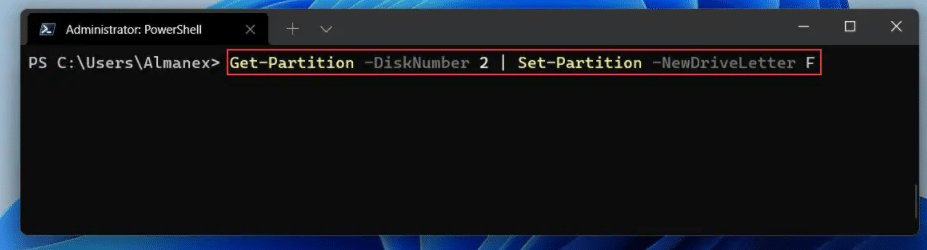
Step 8: To assign a drive letter to the USB drive, type this command and press Enter.
Get-Partition -DiskNumber 2 | Set-Partition -NewDriveLetter F
In the above command, be sure to replace “2” with the number of the drive you want to recover and replace the “F” with the letter you want to assign to the drive.
Step 9: Your drive is now ready to use. You can open your File Manager and look for a fresh USB drive.
Congratulations: You can finally fix USB Drive in Windows 11, 10
Final Words: How to Fix USB Drive in Windows 11, 10
I hope you were able to fix USB Drive in Windows 11, 10. If you face any issues, please comment down below.


