In this post, we will learn How to Fix macOS Big Sur Screen Resolution on VirtualBox.
If you have installed macOS Big Sur on VirtualBox on Windows PC. The very first thing you will find is a small screen resolution. In this guide, we will help you select the desired resolution for your VirtualBox machine.
By default, the screen resolution is boxed, which is very irritating. With a small screen resolution, we can not do our work correctly. Changing the Screen Resolution on VirtualBox requires a bit of code. In this guide, we will be showing you How to Fix macOS Big Sur Screen Resolution on VirtualBox.
Everyone gets a small resolution when setting up macOS Big Sur on VirtualBox. So, you run to run a set of codes on the command prompt.
How to Fix macOS Big Sur Screen Resolution on VirtualBox
You might know that switching to the full-screen mode will not cover the whole screen. On the sides, it will be covered with all-black borders. If we can not use it in a full-screen manner, then no one loves using it. In cases like this, you will learn the step-by-step guide on How to Fix macOS Big Sur Screen Resolution on VirtualBox.
Step 1: Close the Virtual Machine and power it off.
Step 2: Copy the code below and paste it on Notepad or other third-party editor software.
VBoxManage setextradata “Your Virtual Machine Name” VBoxInternal2/EfiGraphicsResolution X
VirtualBox does not support 1366×768, so you may utilize 1280×720 using “Scaled Mode.”
Step 3: Once it is pasted on the Notepad, you have to change “Your Virtual Machine Name” with the actual Virtual Machine you have created. The name is case-sensitive, so make sure you follow that.
Step 4: Next, you need to replace X with the screen resolution dimensions you need. You can use any of the following:
1280x7201920x1080
2048x1080
2560x1440
3840x2160
1280x800
1280x1024
1440x900
1600x900

VirtualBox doesn't support 1366x768 so you can use 1280x720 with "Scaled Mode".
Step 5: Open the CMD (Command Prompt) and run it as administrator. You can read this guide: How to “Run as Administrator” an application on Windows: 3 Easy Methods
Step 6: Change your directory to the VirtualBox directory.
cd "C:\Program Files\Oracle\Virtualbox"
Step 6: Paste the codes mentioned above and hit Enter.
Step 7: When you have done all the steps properly, it is time to start the virtual machine. For this, make sure to click the Start button.
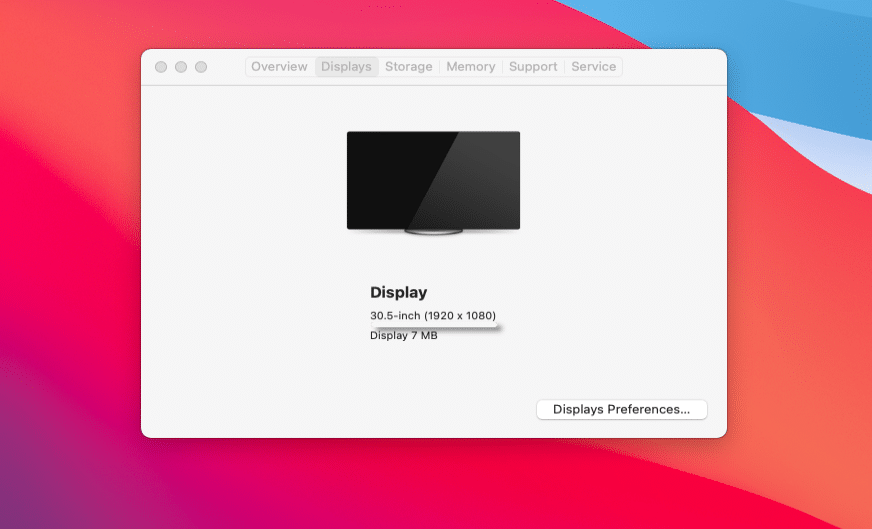
Click on the Apple symbol from the left corner of this screen and select About This Mac. You will likely see your new screen resolution from the Display tab.
Bottom Line: How to Fix macOS Big Sur Screen Resolution on VirtualBox
It was the step-by-step guide on How to Fix macOS Big Sur Screen Resolution on VirtualBox. This method will work for everybody. I believe using screen resolution is the only way to correct the problem. Since everybody has successfully completed this method and fixed it, I trust it has also worked for you. If you have found any problem, please leave comments in the comment section below.
You can also read: How to Speed Up macOS Big Sur? 7 Easy Methods
