Table of Contents
We have often seen that you can disable your iPhone by entering the wrong passcode too many times.
It is possible that you forgot your passcode or someone changed your passcode without making you aware of the same.
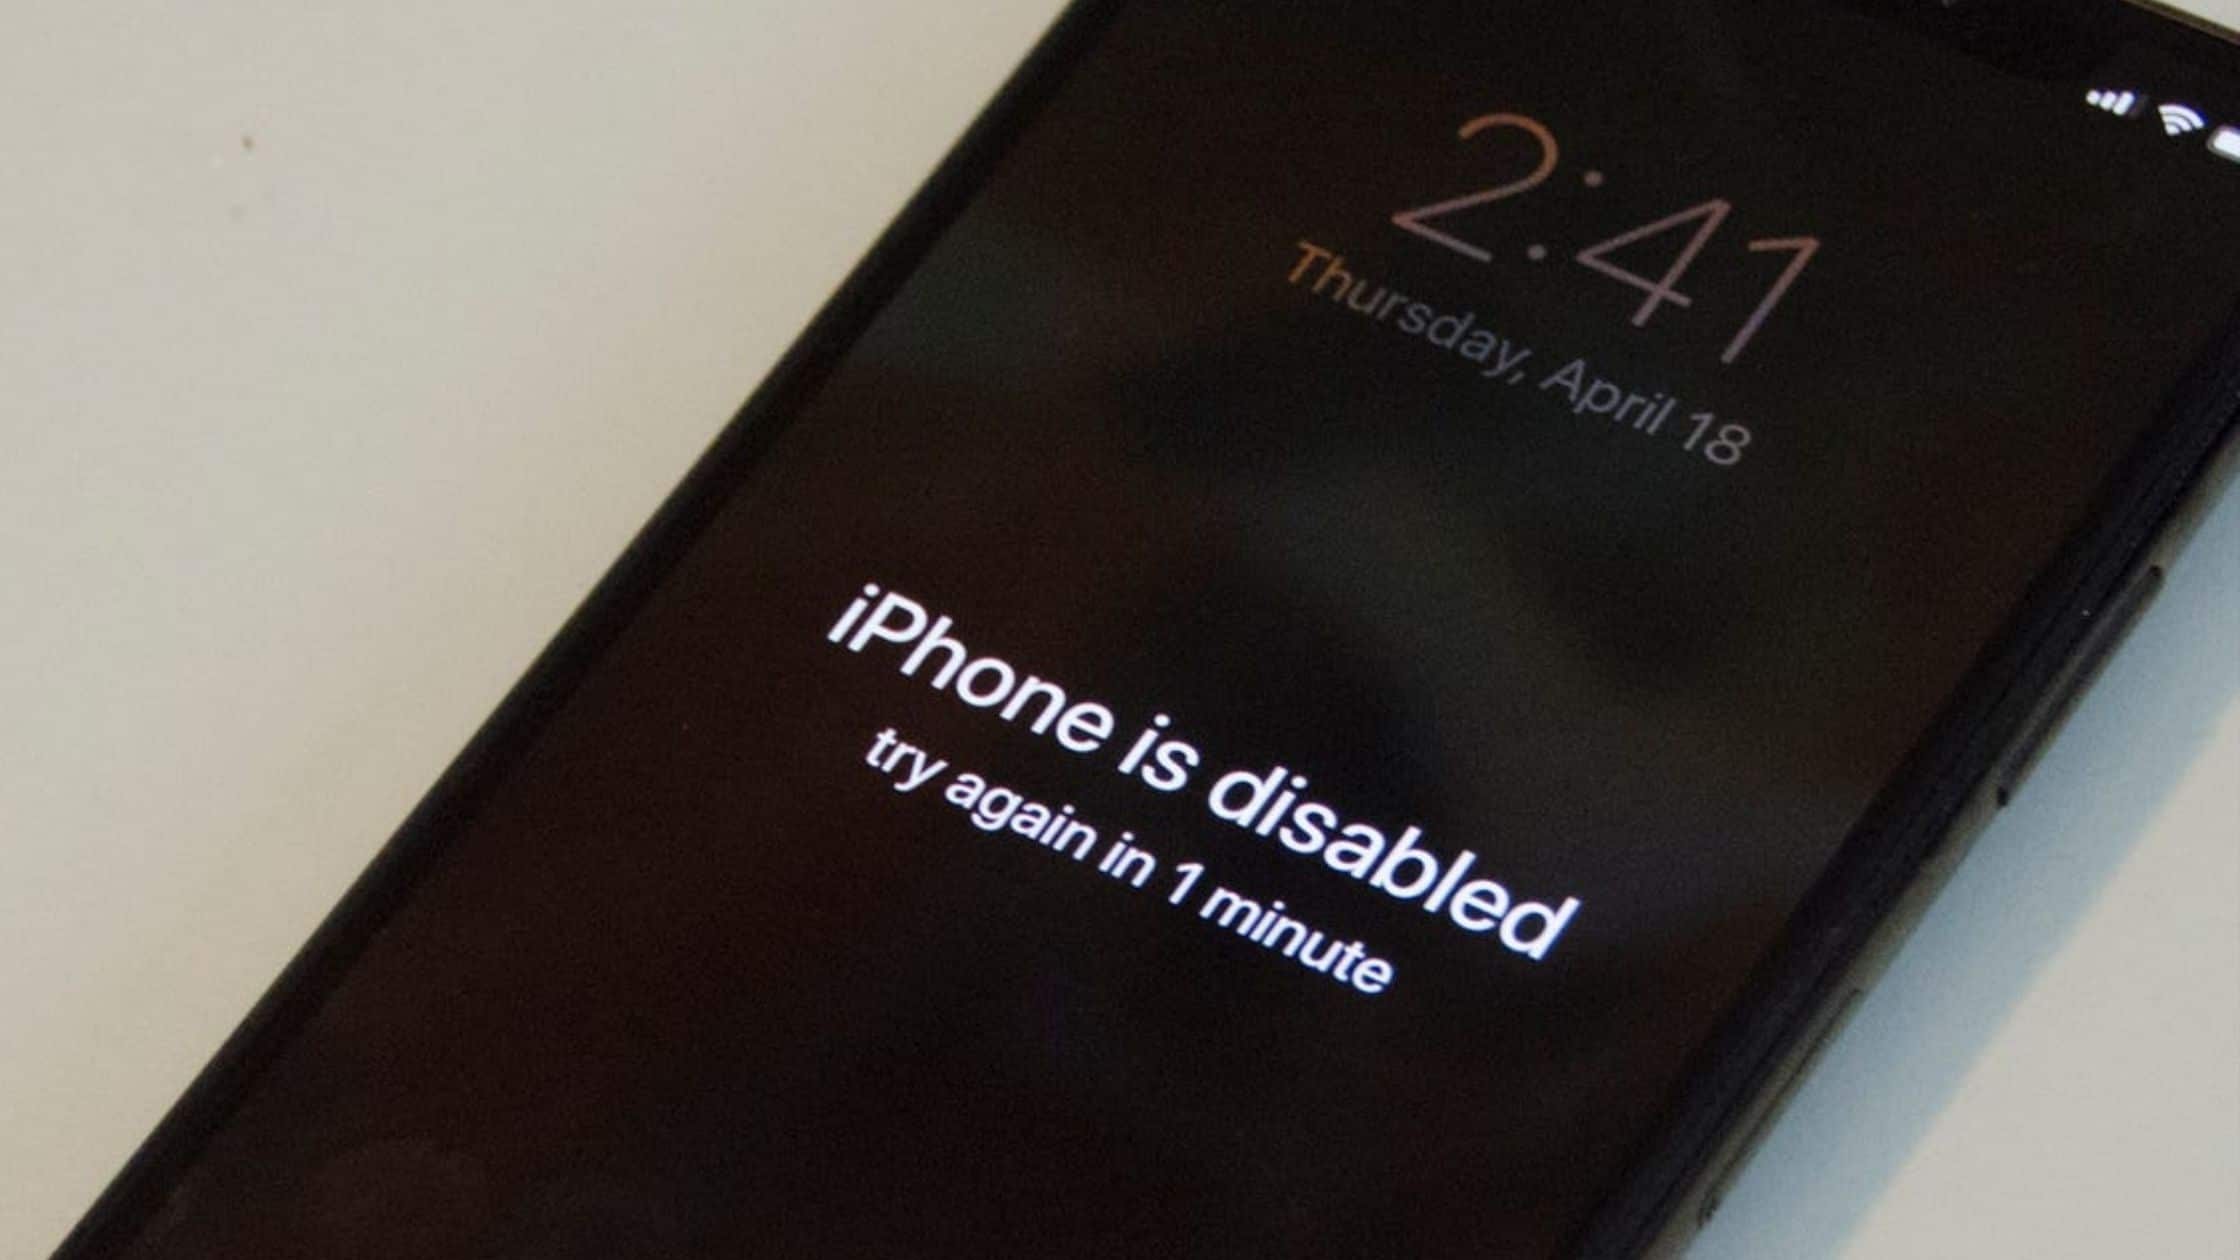
However, the problem is that once you enter the wrong passcode a few times, the iPhone gets disabled, and you see the error message “iPhone is Disabled. try again in 1 minute”.
If you still keep entering the wrong passcode, you will have the error message saying, “iPhone is Disabled. Connect to iTunes”.
You can also read: How to Unlock Your iPhone without Knowing Passcode: 4 Easy Methods
Why is my iPhone disabled?
If you don’t know why your iPhone is disabled, there are high chances that someone in your family knows about it.
If you have given your iPhone to the kids to play with it and they entered the wrong passcode too many times, the iPhone can get disabled.
The iPhone is built with robust security measures, and one of them is to prevent brute-force attempts to bypass the passcode. So Apple does not allow you to enter the wrong passcode too many times in the hope of circumventing it.
If you enter the wrong passcode six times, your iPhone gets disabled for 1 minute. If you do it one more time, it gets disabled for 5 minutes, then 15 minutes, then 60 minutes.
After ten incorrect guesses or attempts to unlock iPhone, it will be disabled, and you need to connect to iTunes.
How to Fix ‘iPhone is Disabled. Connect to iTunes’
As we have mentioned above, if you enter the passcode incorrectly even after ten attempts, the iPhone will be disabled, and the only option is to connect to iTunes to unlock it.
However, the problem with this step is that you will lose all your previous data as this is the expected recovery process.
Method 1: Fix ‘iPhone is Disabled’ using iTunes (FREE) and unlock disabled iPhone
- The first step is to connect your iPhone to a computer and enter recovery mode on your phone.
- To enter recovery mode, press and hold the side button and one of the volume buttons and wait for the power off slider to appear.
- Drag the slider to turn off your iPhone.
- Hold the side button as you plug your iPhone into a computer or Mac via cable and keep holding the button until the recovery screen appears.
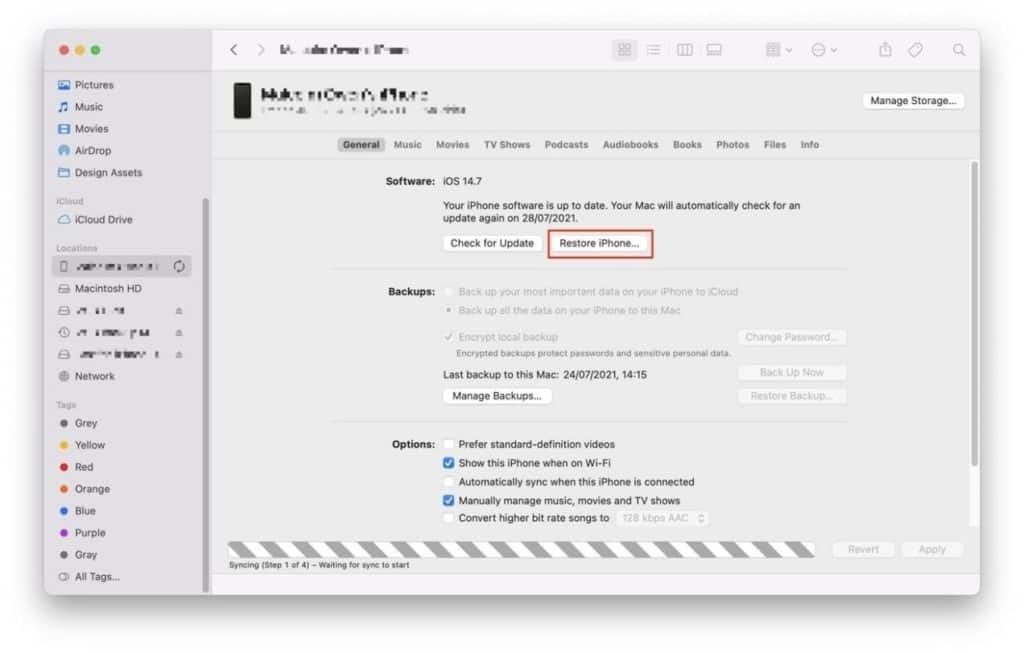
- Inside iTunes, click on the iPhone icon on the upper-left corner to enter your phone’s settings.
- Click on Restore and you will see that the necessary software will be downloaded. Follow the onscreen prompts and wait for the data on your device to be erased.
- After this, you can start using your iPhone once again.
If you are unable to Fix ‘iPhone is Disabled’ using iTunes, you can try the second method.
Method 2: How to Fix ‘iPhone is Disabled’ with iCloud and unlock disabled iPhone
We have seen that some people have problems connecting their iPhone to iTunes, and there is a solution for them.
It is also possible to wipe your disabled iPhone via iCloud if it is not working with the iTunes method.
But it would be best if you kept in mind that the iPhone should have been previously set up with Find My iPhone, and also, its data connection should be working.
To erase your iPhone using iCloud, you need to perform the following steps:
- First of all, visit iCloud.com from your desktop or laptop and click on Find iPhone. Make sure to log in with your Apple credentials on iCloud as well.
- Now, you will see a map where the location of your devices will appear. From this, click on your iPhone and you will see a few options.
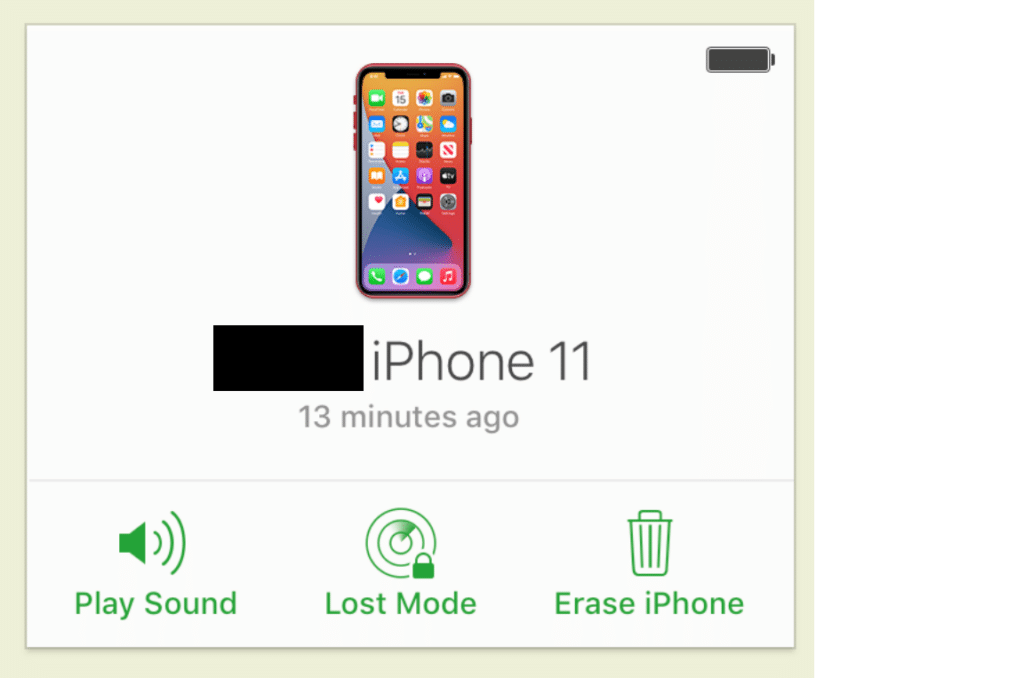
- From these options, click on “Erase iPhone” and your iPhone will be erased via iCloud and this will fix the “iPhone is Disabled” error message.
If you are unable to Fix ‘iPhone is Disabled’ with iCloud then you can use a paid software that will guarantee this fix. Here is the last method you can use.
Method 3: How to unlock disabled iPhone with Dr.Phone
If you don’t want any permanent damage to your iOS firmware when resolving the iPhone disable issue, Dr.Fone – Screen Unlock is what you need. It’s a part of the Dr.Fone Toolkit and offers a fast and secure solution to fix this problem easily without much hassle.
Dr.Fone – Screen Unlock is not just for fixing disabled iPhones. You can also use it to fix plenty of other issues, like malware attacks and iPhone stuck in the recovery loop. The interface is easy-to-use and it has a variety of features.
One way to unlock a disabled iPhone without iTunes is to follow these steps:
- Download Dr.Fone and install. You can get best deal on Dr.Fone here.
- Start Dr.Fone – Screen Unlock on your system. From the start screen, select the option of “Screen Unlock” to begin the process.

- Now, connect your iPhone to the system with a USB cable and wait for a few moments as the application will automatically recognize it. Afterward, click on the “Unlock iPhone Screen” button.

- After detection, the screen should show an interface where you need to activate DFU mode. Do that by following the instructions:

- Provide accurate information about your device in the field below. Make sure all data you enter is correct before you click on the “Download” button.

- The application will automatically download the related firmware update for your device. It might take a while to complete the download. Afterward, click on the “Unlock Now” button and wait until the app notifies you that it’s been successfully unlocked.

- Type in the confirmation code that you see on the screen to start.

- Once you successfully complete the process, you will receive a message like this:

You would get to avoid the hassle of bringing your device to the Apple Store and getting your issue resolved there. Here is a complete video tutorial you can use:
Conclusion:
In this article, we have mentioned the best methods that you can follow to restore and fix the ‘iPhone is Disabled’ error message.
However, if you are having problems following these methods or not working for you, we suggest you book an appointment with Apple.
You can also read: How to Bypass iPhone Activation Lock on iOS 15 (100% Working in 2022)
You may also visit the nearest Apple store, where someone from the team will help you restore your iPhone and fix the problem.
Also, if you want to avoid this problem, you can set a secure passcode that you can write down on a piece of paper and store somewhere.
In this manner, you will not be able to forget your passcode, and if someone else has entered the wrong passcode too many times, it has prevented the iPhone from getting unlocked, which is a security feature.

