Table of Contents
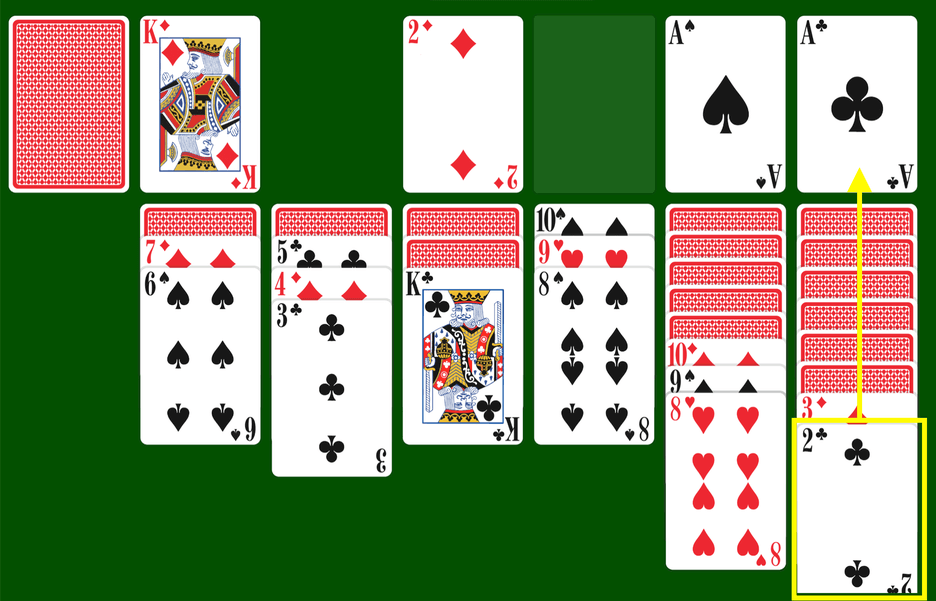
Many users familiar with the Window operating system since the days of the 7th version sadly recall when, having a couple of free minutes, you could spend them laying out Solitaire, playing the part of Hearts, or trying your luck in a minefield as a Sapper.
If you purchase a device with Windows 11 or install it, you will find that the developer offers only one game for leisure – Solitaire (it will be installed with the OS). Why aren’t there other built-in games, and where can I find them?
The thing is that with the release of Windows 8, Microsoft stopped including previous games in the number of pre-installed by default. All of them have been transferred to the Microsoft Store, and the user must now first choose which game he wants to play, and then it will need to be downloaded and installed.
If you do not like this long process, then in this guide, we will tell you how to Download Classic Windows 7 Games on Windows 11.
Windows 7 Game Pack
In this guide, you will get acquainted with the complete list of games available in the installer. There are 11 of them. Before the installation begins, you will have the opportunity to choose a different game you like or install them all:
- Chess
- FreeCell
- Hearts
- Mahjong
- Minesweeper
- Purble Place
- Solitaire
- Spider Solitaire
as well as internet games:
- Backgammon
- Checkers
- Spades
Download and Install Classic Windows 7 Games on Windows 11
Below we place a verified link that you need to download—the executable file with a size of 146 MB.
The 3rd updated version of this package supports Windows 11, high-resolution displays, and no longer installs the non-working Game Explorer service.
Step 1: Download the below file.
Using this package, you can install games for PCs with Windows 10, 8.1, and 8 operating systems. When the download is complete, go to the Downloads folder, Double-click the paintwork, run the file called “Windows7Games_for_Windows_11_10_8 by techrechard.com.exe“.
Step 2:
The installer will prompt you to select the language in which the installation will be performed (determined based on the language used by your OS). If necessary, you can change and specify a different language. Select the appropriate one from the drop-down list → click Ok.
Step 3:
You will see the Welcome screen of the Installation Wizard, where you must click Next.
Step 4:
On the next screen, you will see a selection of games. Ticks indicate those games that will be installed in the package.
Internet games placed at the end of the list are now optional to install because Microsoft has disabled game servers. And even if you tick them and install them, you will not be able to play because of an error connecting to the server.
Step 5:
After unchecking the unwanted games, click “Install,” after which the installation will begin.
Please note that the installer does not allow you to select the installation directory, but automatically places the games in the following path:
C:\Program Files\Microsoft Games
Step 6:
In the final Window, uncheck the “Learn more about this package” and “Learn more about Winaero Tweaker” checkboxes, which offer to visit the program developer’s web page and learn more about it and its product.
Complete the installation process by clicking Finish.
All the classic games previously present in Windows 7 are installed on your PC with Windows 11. You can play the usual games for free at any time, and they do not need an Internet connection.
How to Run Classic Games in Windows 11
Step 1:
To start playing, click the Start button. Some of the games will be displayed in the “Recommended“ section. By clicking the “More” button, you will see all the installed games from Windows 7. Please select the desired one and open it by double-clicking on it.
Step 2:
Pin them to the Start menu or taskbar for more convenience and ease of access to your favorite games.
To pin a game application to the Start menu, select it → to click on it → in the menu that opens, go to the “Pin to Start screen“ command.
Step 3:
To see the pinned game, click the Start button and scroll to the bottom of the list of apps. The game app now appears pinned to the Start screen whenever you open Start.
To pin the game to the Taskbar, select the desired → from the context menu caused by clicking the PKM, specify the “Pin to taskbar” action.
Ready! The app is pinned and appears in the Taskbar at the bottom of the screen.
Conclusion:
Hopefully, with the simple steps we’ve described, you’ll be able to bring the built-in games from Windows 7 back to your PC or laptop running the new Windows 11. If you face any issues, please comment below.
