

Table of Contents
In this article, we will learn How to Create macOS Ventura Bootable USB on Windows PC. We’re all aware that macOS Ventura is the latest operating system from Apple. Apple announced several other products at WWDC, including iPadOS 16, iOS 16, watchOS 9, and a new macOS called macOS Ventura. All of them come with exciting features and functionalities.
So I want to try it out, and I’m sure many others are curious. It’d be cool to see what’s new in macOS 13 Ventura. You can read more about: Announcement of macOS Ventura: What’s New!
In my previous article (Download macOS Ventura DMG File for Clean Installation (macOS 13)), I already told you that I had upgraded my macOS Monterey to macOS 13 Ventura Beta. You can watch the video here:
This method includes directly upgrading to macOS Ventura Beta from System Upgrade. But today, I will share a different approach that you can use to install macOS Ventura on your MAC. We will be first creating a macOS Ventura Bootable USB on Windows PC that you can use to install macOS Ventura Beta on your MAC.
To create a bootable USB, you will need an ISO of any operating system. When installing macOS on Windows with this, it’s the same and an essential step to following the instructions below.
Things Required
1. macOS Ventura DMG File
2. Transmac for Windows PC
3. A 16GB or more Pendrive
4. A Windows PC
How to Create macOS Ventura Bootable USB on Windows PC
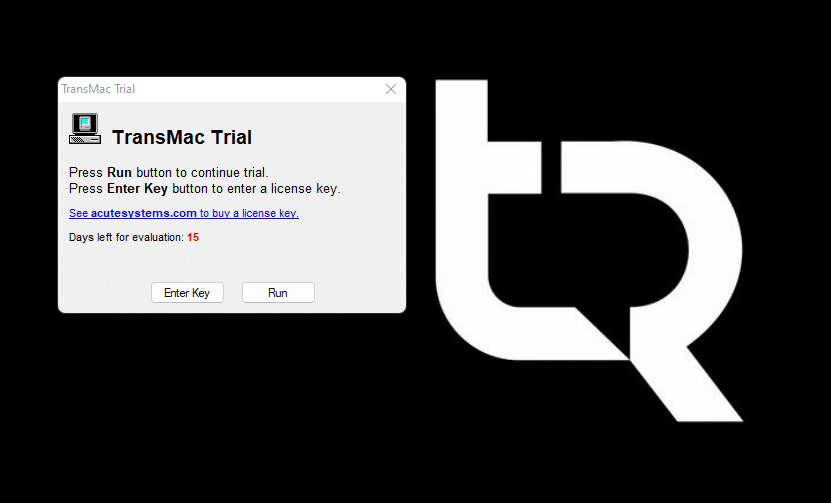
Step 1: Download and install Transmac on your Windows PC.
Step 2: Insert the 16 BD or more Pendrive into your USB Port.
Step 3: Run Transmac software. (Wait for 10 seconds with the trial version) and click Run.
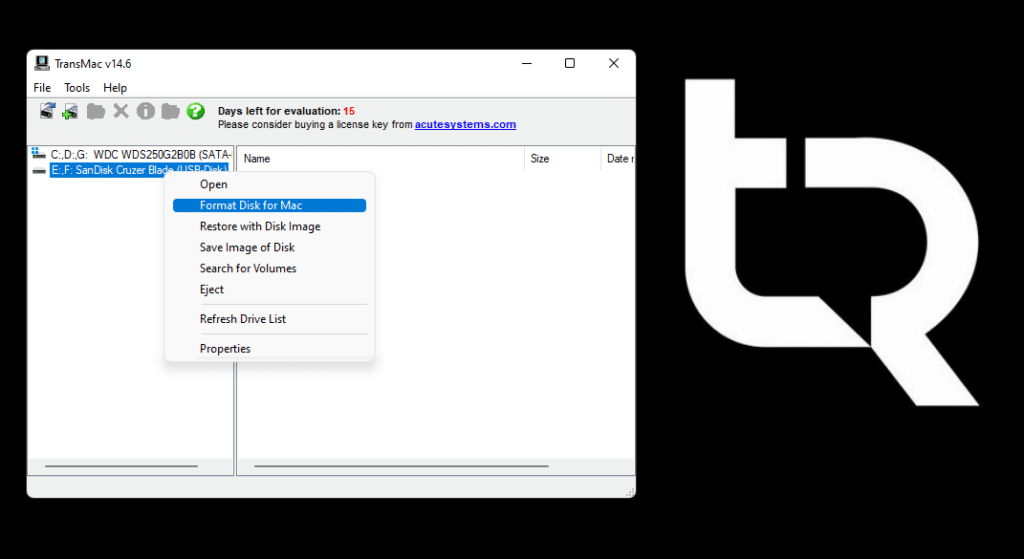
Step 4: On the left panel, right-click on your Pendrive and select Format Disk for Mac.
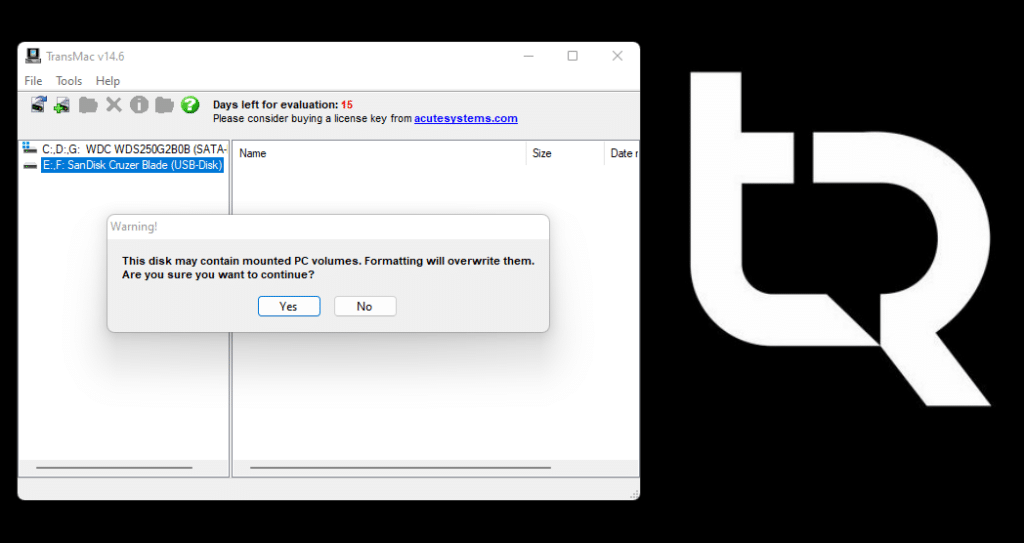
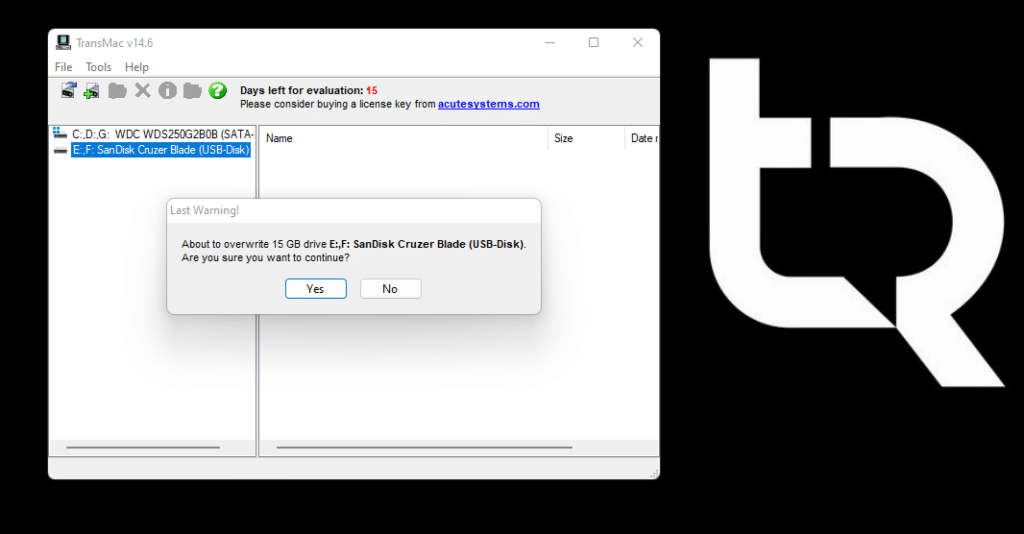
Step 5: Click Yes.
Step 6: Enter any volume name. In my case, macOS Ventura by techrechard.com. Click Ok.
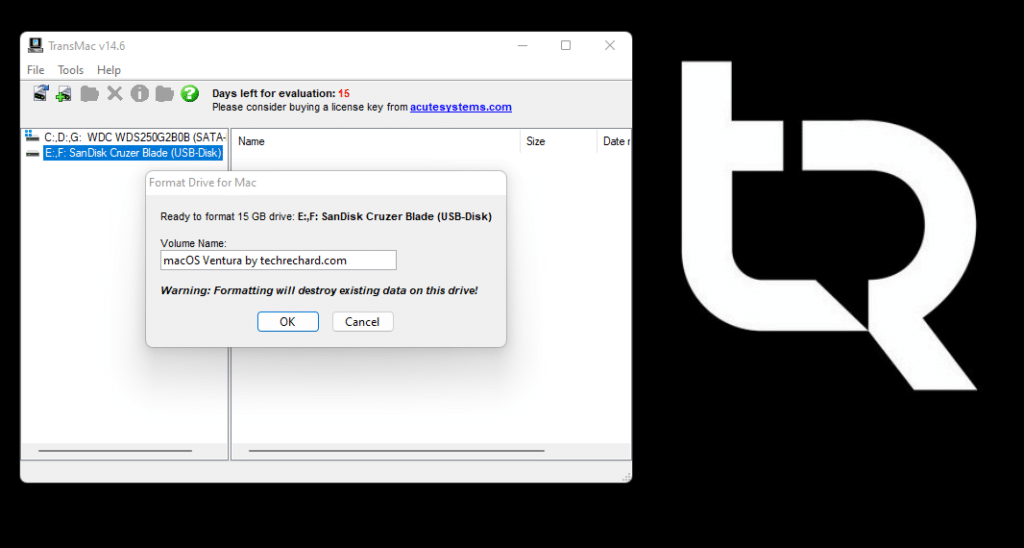
Step 7: Click Yes.
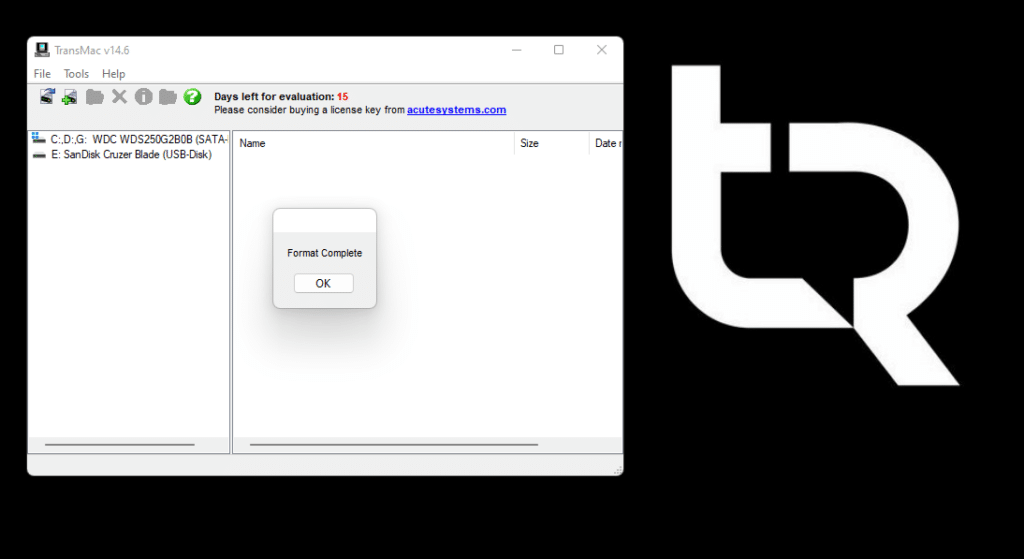
Step 8: Once the pen drive is formatted, you will get the notification.
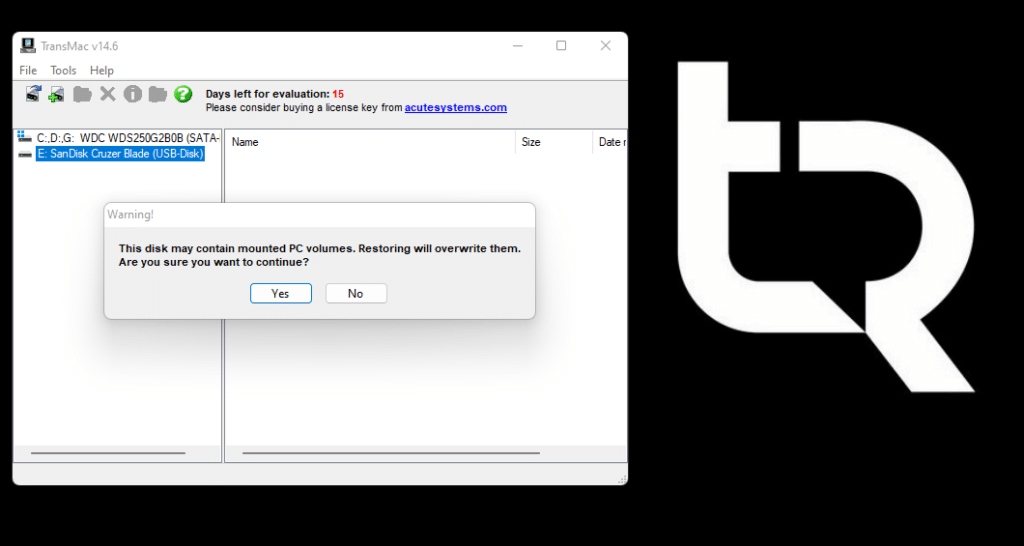
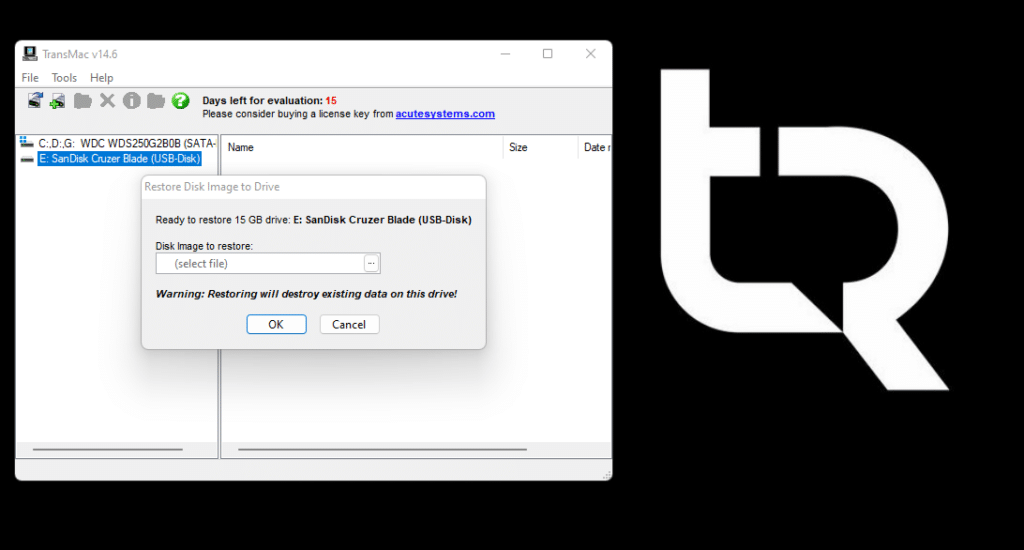
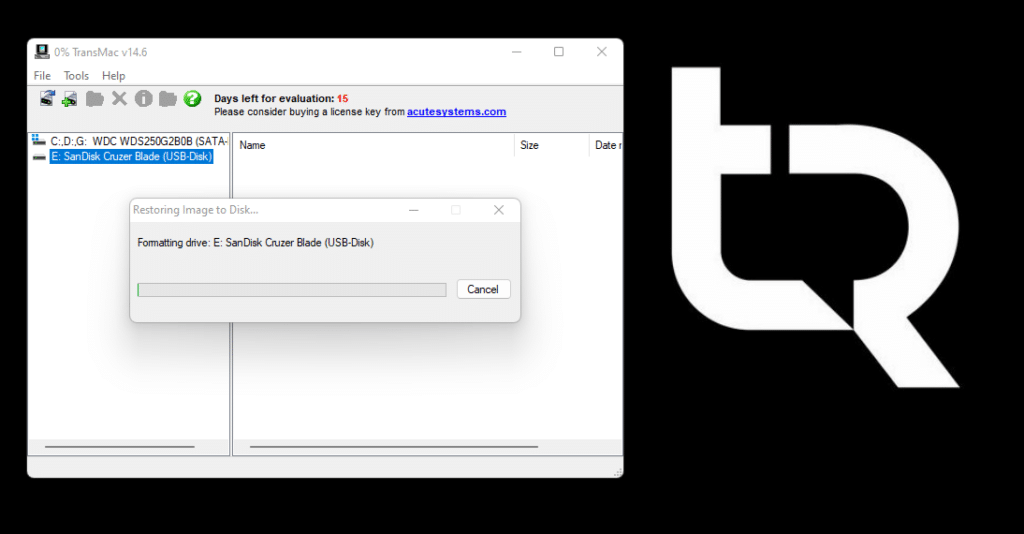
Step 9: Right-click on your Pendrive again and select Restore with Disk Image. Click Yes.
Step 10: Click on the 3 dots as seen in the screenshot.
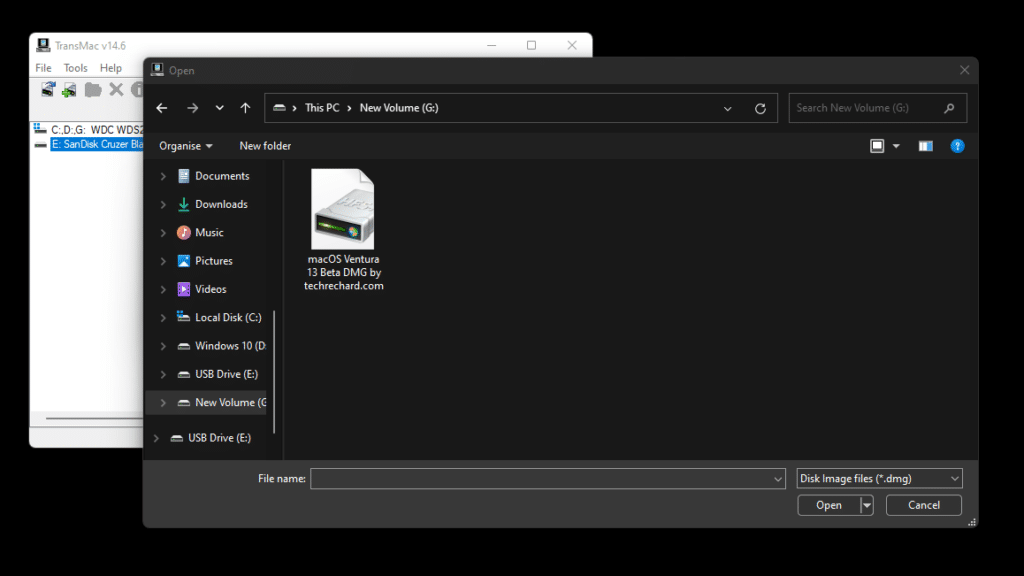
Step 11: Add your macOS Ventura DMG file that you downloaded. (If you haven’t downloaded, download macOS Ventura DMG here). Click Open.
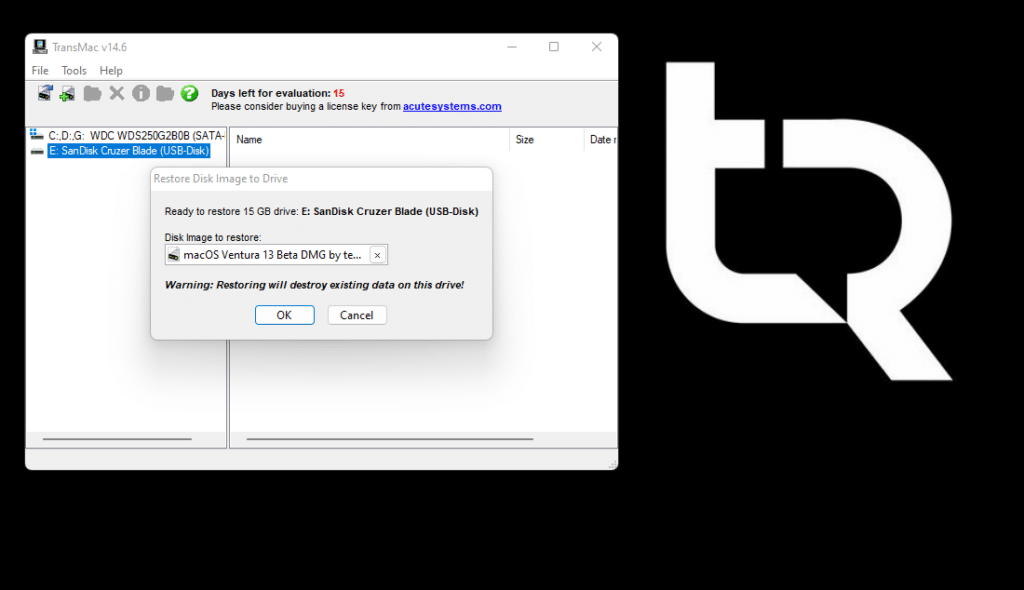
Step 12: Click Ok when done.
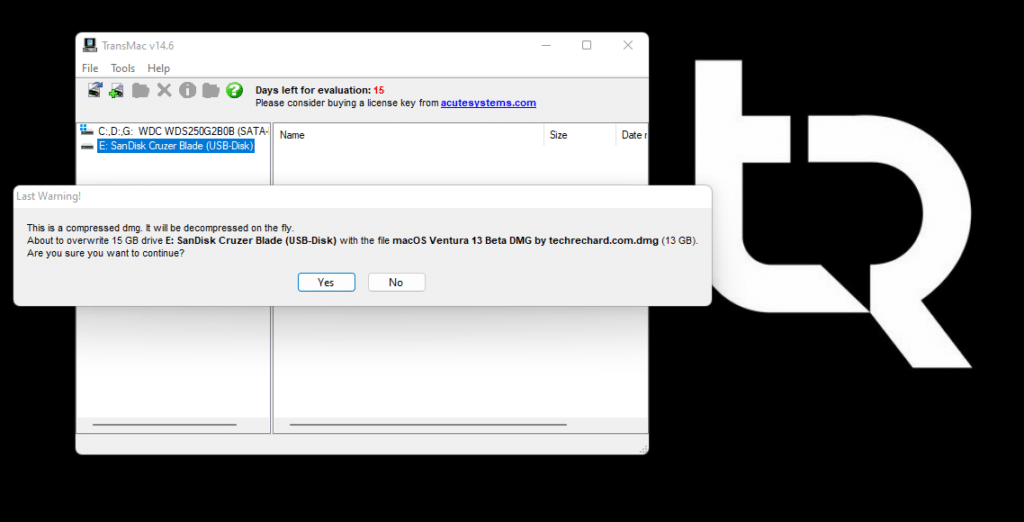
Step 13: Click Yes when done.
This process will take some time, and your macOS Ventura Bootable USB on Windows PC will be ready.
Now, you can insert your Pendrive, hold your options button, restart your MAC, and proceed with installing macOS Ventura Beta on your MAC.
Complete Video tutorial:
Conclusion
I hope this guide on How to Create macOS Ventura Bootable USB on Windows PC was easy and helpful. If you face any issues, please comment down below.
If you ever want to roll back from macOS Ventura to macOS Monterey, use this guide: How To Rollback from macOS Ventura Beta to macOS Monterey


