

Table of Contents
In this article, we will learn How to Create macOS Ventura Bootable USB on MAC using the UUByte tool. Apple has announced several new products at the recent WWDC. Macintosh Ventura is the latest version of Apple’s operating system for Mac computers, but it’s not their only development. “iPadOS 16,” “iOS 16,” and “watchOS 9” also update to Apple’s tablet and mobile operating systems, while macOS Ventura is a new version of the macOS.
If you are using a Windows PC to create macOS Ventura bootable media, you can use this guide: How to Create macOS Ventura Bootable USB on Windows PC?
If you haven’t tested macOS Ventura yet and want to know about all its features, you can read this guide: Announcement of macOS Ventura: What’s New!
In my previous article, I already told you that I had upgraded my macOS Monterey to macOS 13 Ventura Beta. I simply used the macOS Ventura DMG File and directly upgraded my MAC.
As a Reddit user quoted:
If you previously used software update system preferences to get the full beta installer expecting to be able to select a 2nd volume or external drive, the process has changed. The full installer is no longer downloaded and added to /Applications. The system will immediately restart and install Ventura beta on your MAIN MAC. You need to download the Ventura full installer separately if you want to install it on a 2nd volume or external drive.
With this method, you can avoid all this hustle and simply create an installation media to install macOS Ventura.

How to Create macOS Ventura Bootable USB on MAC
To create macOS Ventura Bootable USB on MAC, we will use the UUByte DMG Editor tool.
Things Required
1. macOS Ventura DMG File
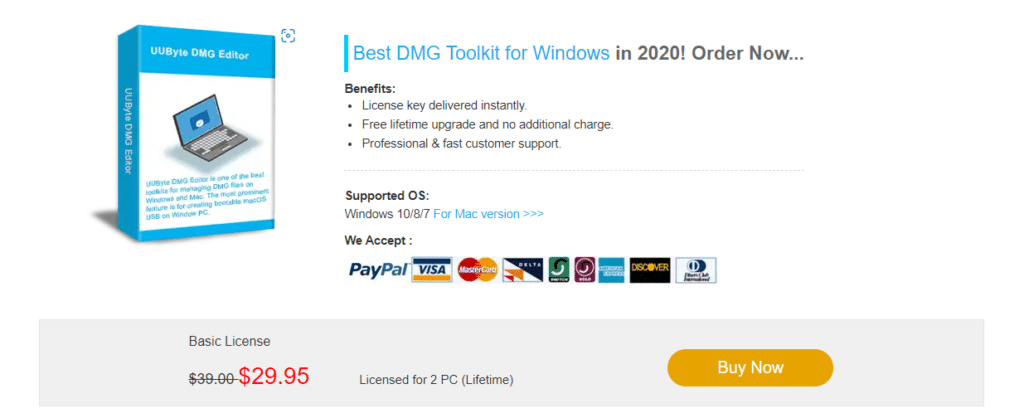
2. UUByte DMG Editor
3. A 16GB or more Pendrive
4. A MAC System
Step 1: Download and install UUByte DMG Editor on your MAC
Step 2: Activate the license.

Step 3: Insert your pen drive and format it. Open Disk Utility from Applications.

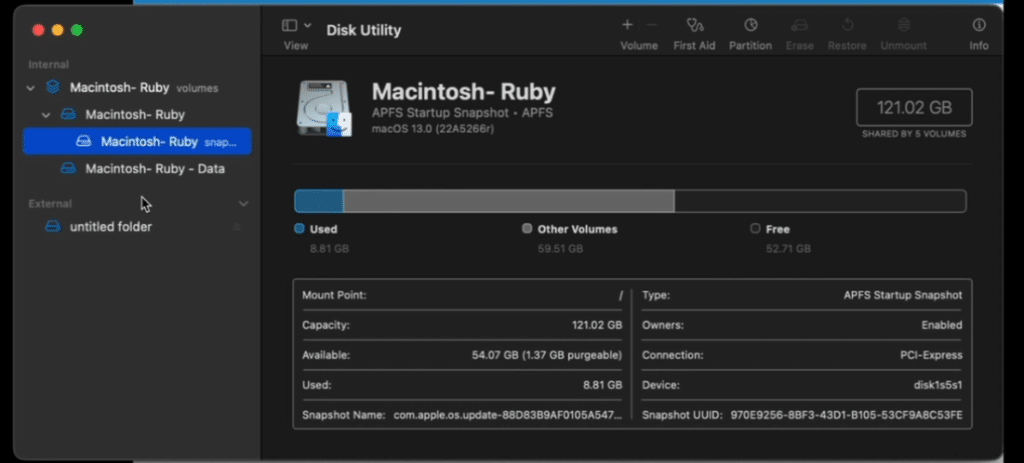
Step 4: Click Partition on top.

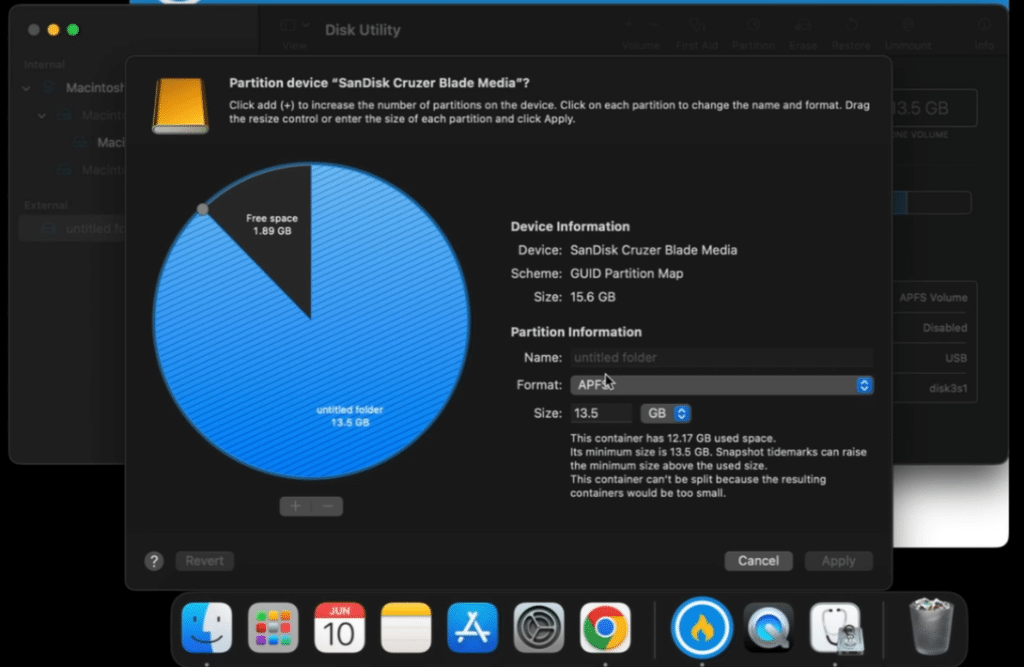
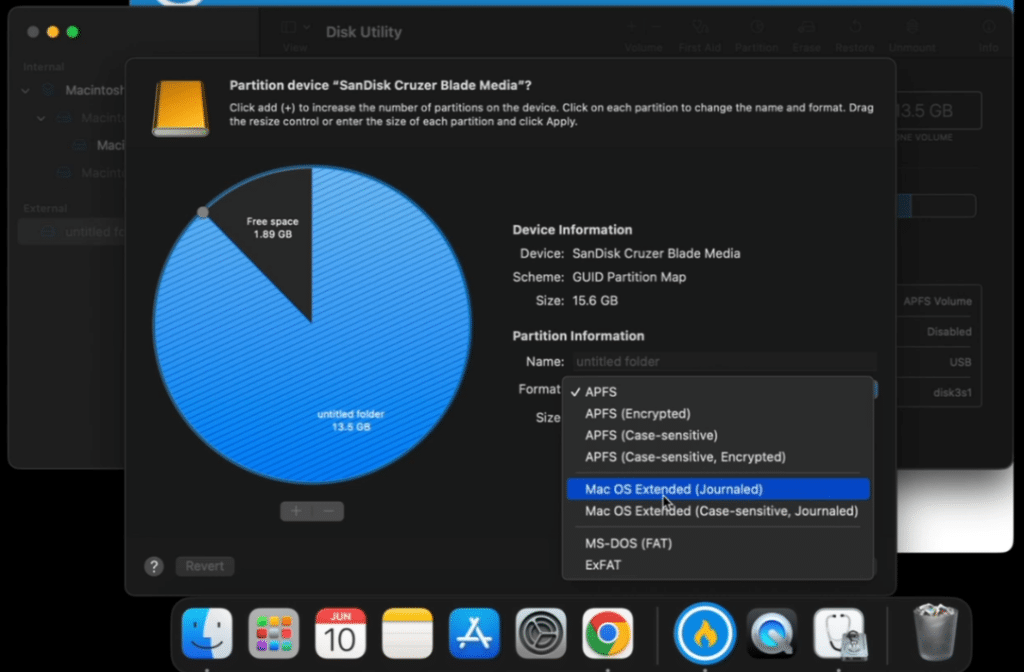
Step 5: Under Format, select Mac OS Extended (Journaled). Click Apply.

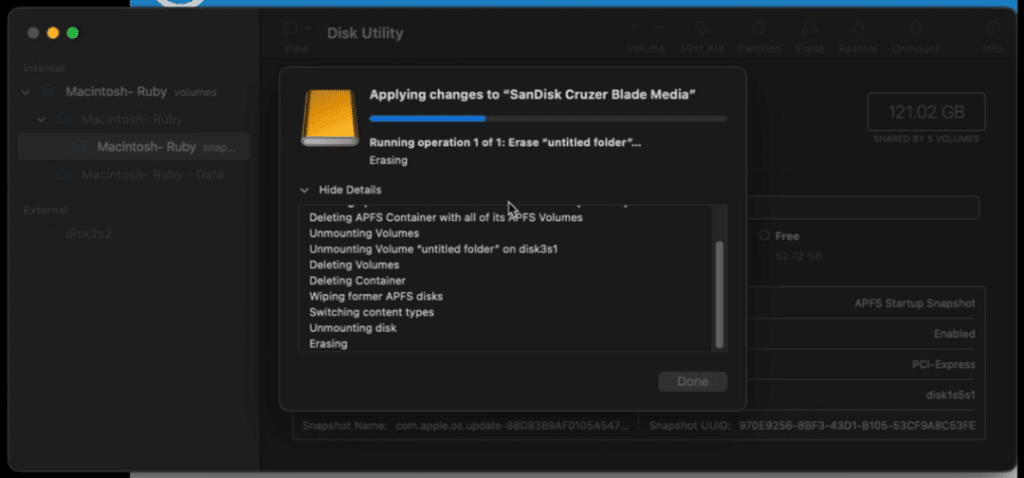
Step 6: Wait for the formatting process.

Step 7: Open the UUbyte tool.

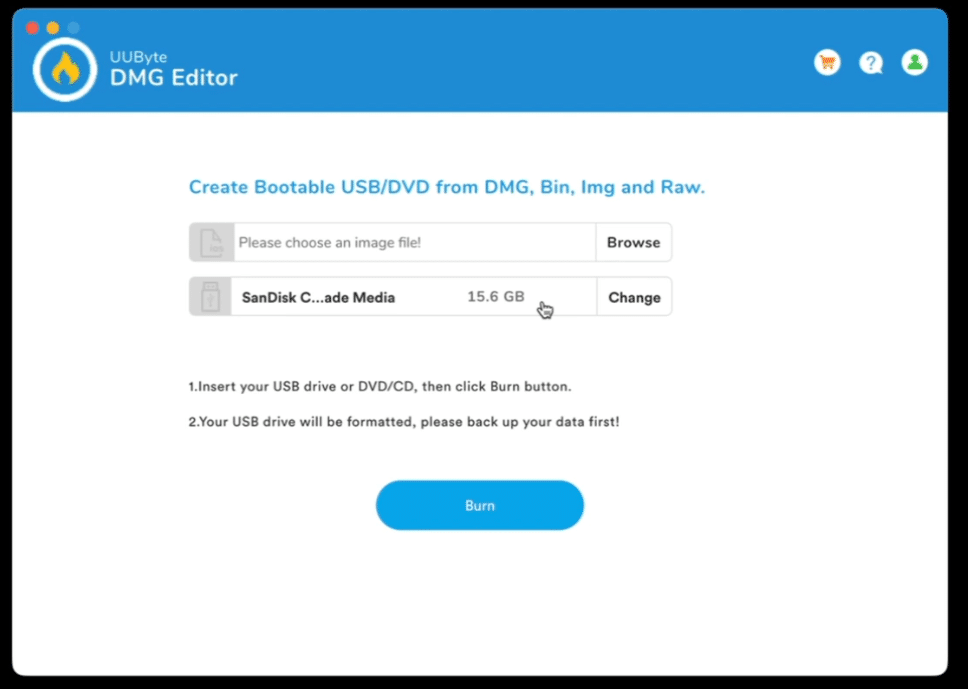
Step 8: Click Browse and add the macOS Ventura DMG file that you have downloaded. (Download here)
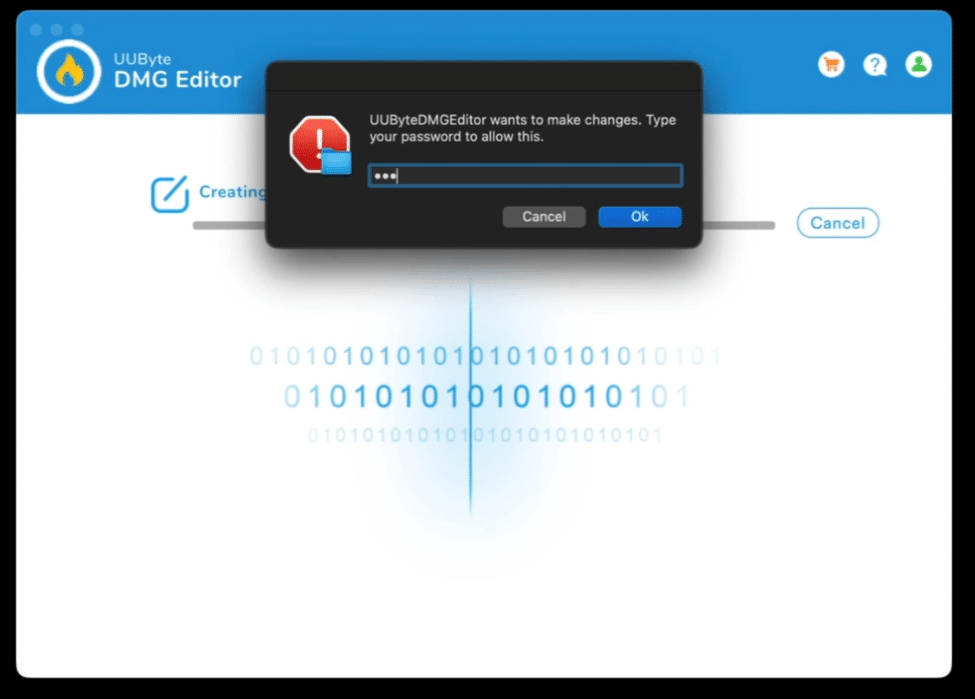
Step 9: Click Burn and enter your password.

This process will take around 20-22 minutes.
Once completed, your macOS Ventura Bootable Media is now ready to use.


Complete video tutorial:

How to do a Clean Installation of macOS Ventura
Once your macOS Ventura Bootable Media is ready to use. Restart your MAC system, press and hold the options key (to show the boot menu), and select your Pendrive to proceed with the Clean Installation of macOS Ventura.
If you are using a Windows PC to create macOS Ventura bootable media, you can use this guide: How to Create macOS Ventura Bootable USB on Windows PC?
If you ever want to roll back from macOS Ventura to macOS Monterey, use this guide: How To Rollback from macOS Ventura Beta to macOS Monterey