
In the post, we will learn How to Convert macOS Mojave Installer to ISO. We recently discussed How To Create macOS Mojave Bootable USB on Windows: 4 Easy Steps (+Video Tutorial) that might have helped you to create a macOS Bootable USB.
Advanced Mac users get the freedom to convert macOS Mojave Installer to ISO file. Normally, the resulting installer ISO file is utilized to install macOS Mojave on Virtualbox and install macOS Mojave on VMWare.
This tutorial will walk through the steps of How to Convert macOS Mojave Installer to ISO.

In this specific walkthrough, we Convert macOS Mojave Installer to ISO.
How to Convert macOS Mojave Installer to ISO
Step 1: Download the macOS Mojave Installer file from AppStore. You can simply follow this link and download the macOS Mojave installer file (.app file).
Step 2: After the download is complete, do not proceed to install the macOS. Instead, close the installer and go to your application and look out for the installer file.

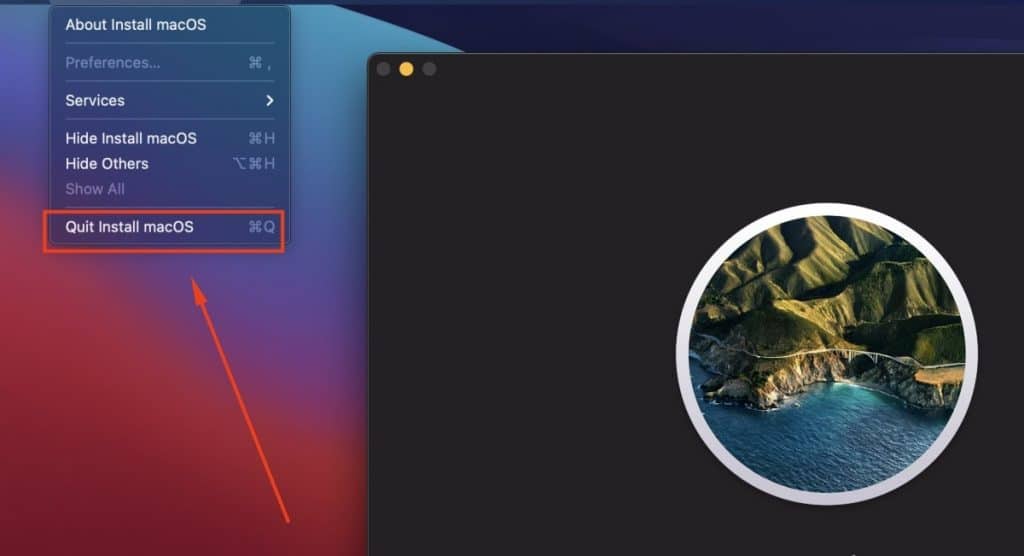
NOTE: The files must be present in your application folder to proceed with this tutorial.
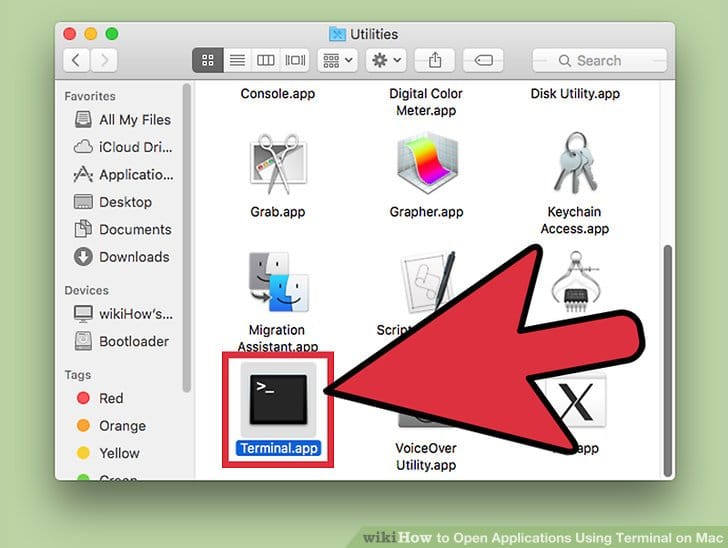
Step 3: Now open your launchpad, and click Terminal.

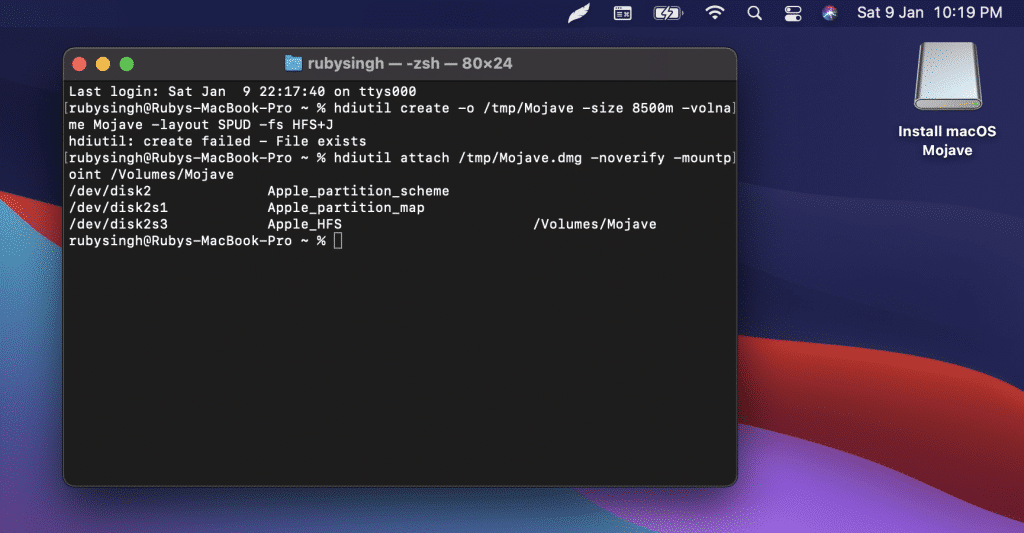
Step 4: Execute the following commands one by one.
Create a DMG file using the following command:
hdiutil create -o /tmp/Mojave -size 8500m -volname Mojave -layout SPUD -fs HFS+J
Next step is to mount the created DMG disk image:
hdiutil attach /tmp/Mojave.dmg -noverify -mountpoint /Volumes/Mojave

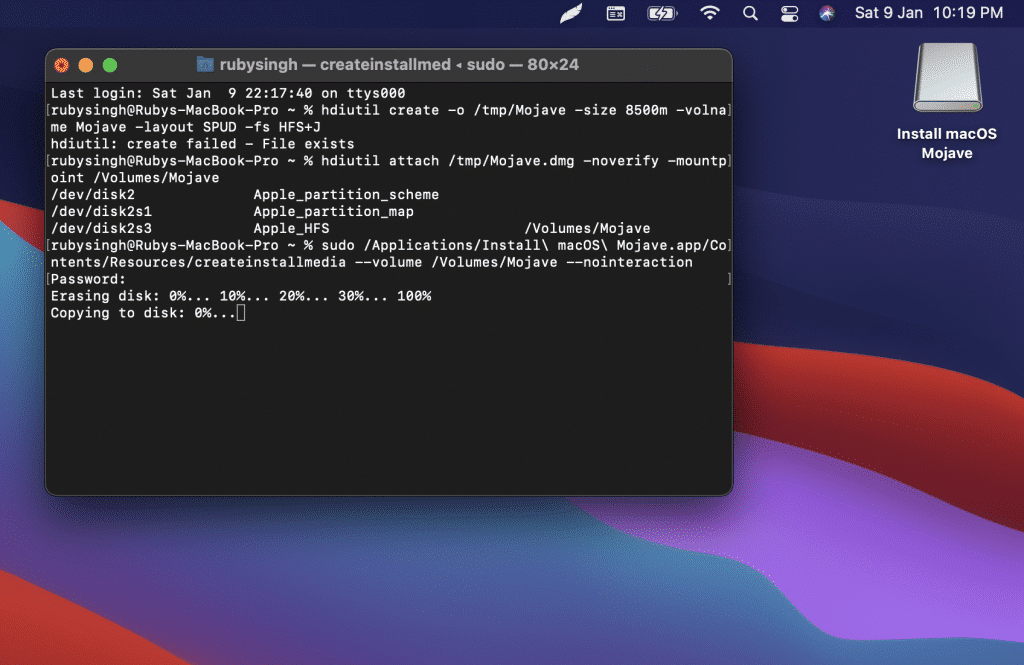
Now use createinstallmedia command to create the macOS Mojave installer application on the mounted volume:
sudo /Applications/Install\ macOS\ Mojave.app/Contents/Resources/createinstallmedia --volume /Volumes/Mojave --nointeraction

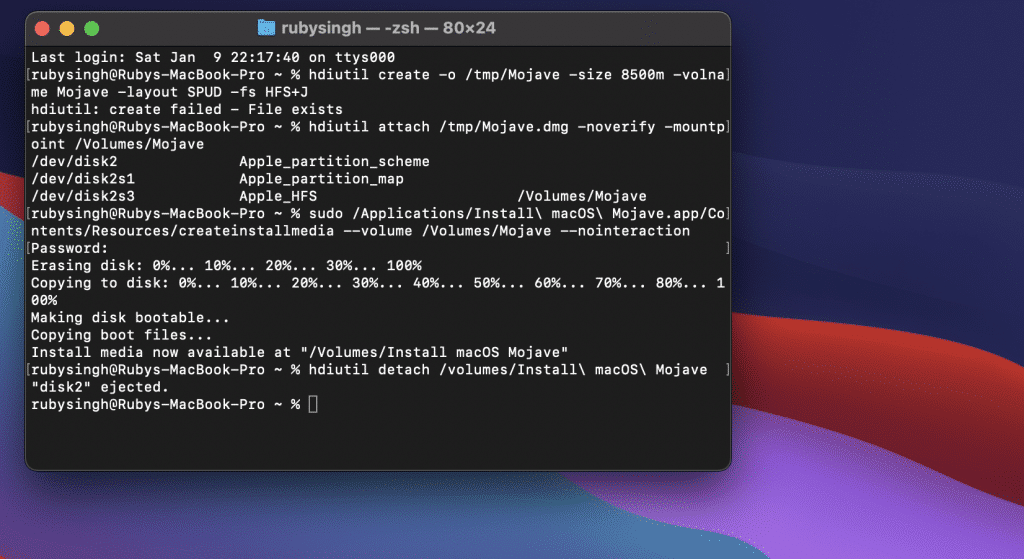
When createinstallmedia has finished, next you can unmount the volume you just created:
hdiutil detach /volumes/Install\ macOS\ Mojave

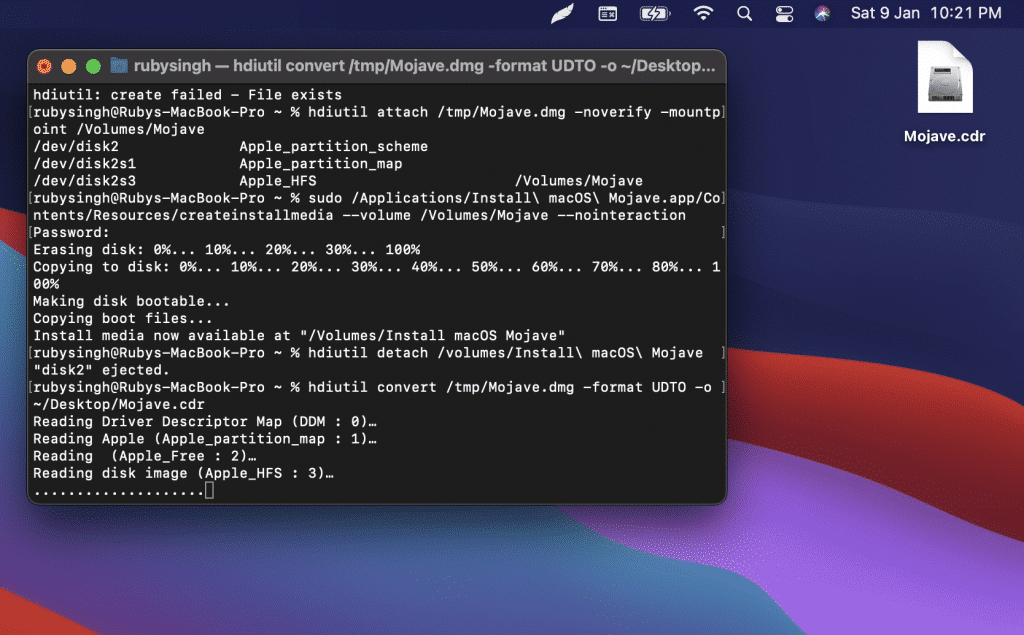
Now we convert the DMG disk image file to an ISO disk image file (technically a CDR file but it’s the same as an iso)
hdiutil convert /tmp/Mojave.dmg -format UDTO -o ~/Desktop/Mojave.cdr

Finally, we rename the CDR file extension to ISO to convert the CDR to ISO:
mv ~/Desktop/Mojave.cdr ~/Desktop/Mojave.iso

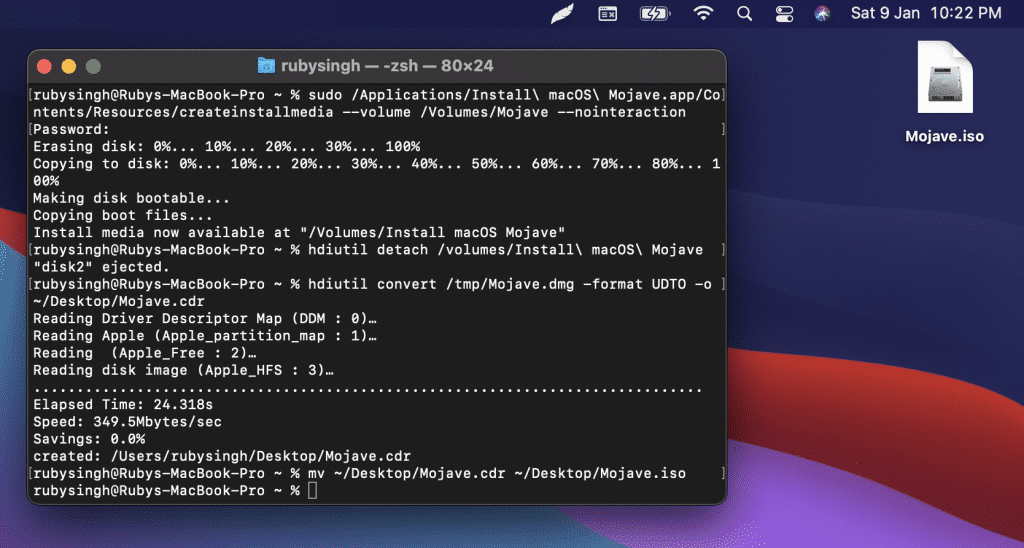
Now you can see the macOS Mojave ISO file on the desktop as shown in the snapshot.
Conclusion: How to Convert macOS Mojave Installer to ISO: 4 Step Easy Guide
You can also use this guide How to Convert Bootable ISO File to Virtual Disk VHD/VMDK: 2 Way Guide and directly use them on your virtual systems.
Now, this macOS Mojave ISO file can be used as a bootable disk, or you can directly use it on any virtual system like VMWare and VirtualBox.
Related: How to Create a Bootable Disk of MacOS X: 2 Easy Steps
Remember: In most cases, the ISO file that you have generated can only be used to run on Virtual Systems like Virtualbox and VMWare. They might not always work to create a bootable disk.
I hope this article has helped you to Convert macOS Mojave Installer to ISO.