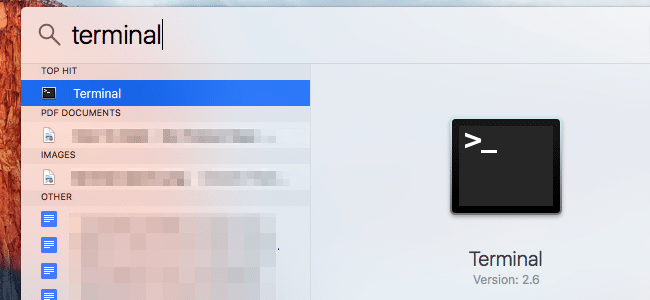
If you’re familiar with the Terminal, then using it in Mac OS Recovery Mode should be no problem. We’ll cover some general tips & tricks on How to Access Terminal via Recovery Mode for Mac.
For a quick background, on a normal Mac running Terminal, the application is in the Utilities… and it can be accessed either through the folders or by using Spotlight to search for it. There are some limitations on what you can do from Recovery Mode. Nevertheless, it is relatively easy to access the terminal by rebooting from there.

Access Terminal via Recovery Mode for Mac
- Enter Recovery Mode on your Mac
- In the “MacOS Utilities” screen, click on the “Utilities” menu from the top of the screen
- Choose the “Terminal” option to launch Terminal app within Recovery Mode. See the below screenshot for referrence.

The terminal app will launch within Recovery Mode. You’re able to perform a lot of different actions via the command line. Resetting a password, getting rid of disk space, disabling or re-enabling SIP in Mac OS – anything that’s available via the Terminal.
NOTE: In recovery mode, available commands are limited because you’re only accessing the recovery partition. You also need to manually access other hard drives or disk partitions from this interface – even if your intentions are clear.
To operate the terminal properly, you need to type in exact commands. It’s also important to be careful — if you use the wrong syntax, your command could have unintended side effects.
Conclusion:
I hope this guide on How to Access Terminal via Recovery Mode for Mac was easy. If you face any issues, please comment below.
Also, some Mac users may find that the Utilities menu is missing from Mac OS recovery mode. This means that they can’t access the Terminal, limiting their ability to install apps or troubleshoot problems. For this to happen, the partition should be repaired or recreated. You can use this guide: How to Recreate Recovery Partition in Mac OS X – TechRechard


