

In this article, we will discuss How to Perform a Clean Installation of Windows 11 with the media creation tool. Also, we previously shared, How to Perform a Clean Installation of Windows 11 Using a USB drive.
You can also read our guides. We’ll look at several ways to perform a clean installation of Windows 11.
- How to Perform a Clean Installation of Windows 11 Using a USB drive
- How to Perform a Clean Installation of Windows 11 with the media creation tool
- How to Clean install Windows 11 using Reset this PC local image
- How to Clean install Windows 11 using Reset this PC Cloud download
- How to Clean Install Windows 11 from Advanced startup options
- How to Clean install Windows 11 using File Explorer and an ISO file.
Clean Installation of Windows 11 with the media creation tool: Step by Step Guide
You can also perform a clean installation using the Media Creation Tool by selecting the “store nothing” option. This option is available for devices already with Windows 11, Windows 10, Windows 8.1, or Windows 7 installed.
To perform a clean installation of Windows 11 with the media creation tool, follow these steps:
Step 1: Open the Microsoft Support page. (currently unavailable)
Step 2: In the “Create Windows 11 Installation Media” section, click the “Download Now” button.
Step 3: Save the tool installer to your device.
Step 4: Double-click the MediaCreationTool.exe file to launch the tool.
Step 5: Accept the terms of the license agreement, the “Accept” button.
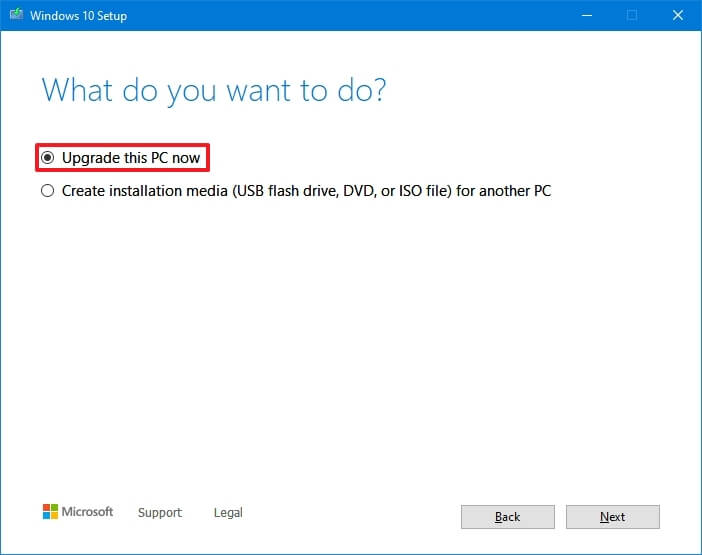
Step 6: Select the option “Upgrade this computer now” and click “Next.”

Be patient with the tool will download the files to install Windows 11 from Microsoft’s server. You can continue to use your computer. In the process, the Media Creation Tool may restart. Go ahead. It should not cause difficulties.
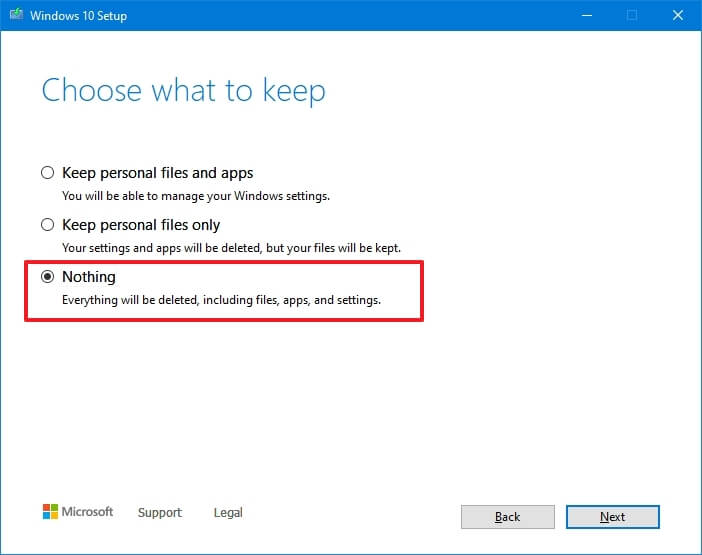
Step 7: After downloading, in the “Choose what you want to save” window, select the “Nothing” option and click “Next.”
The system will check and download the latest updates.
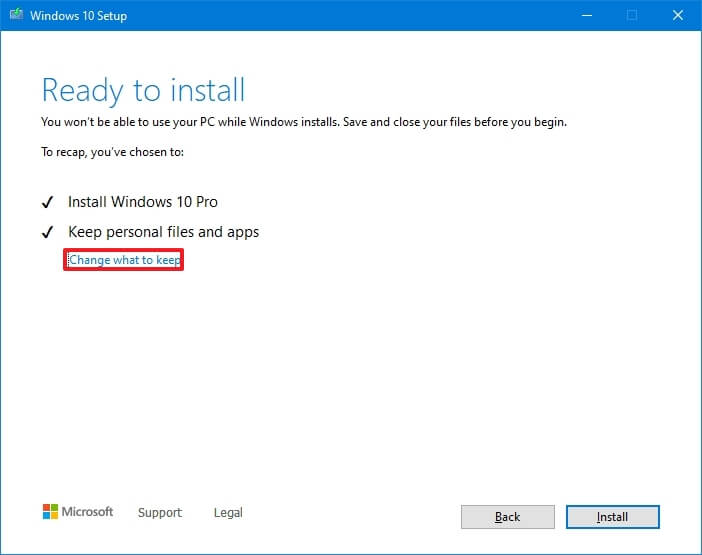
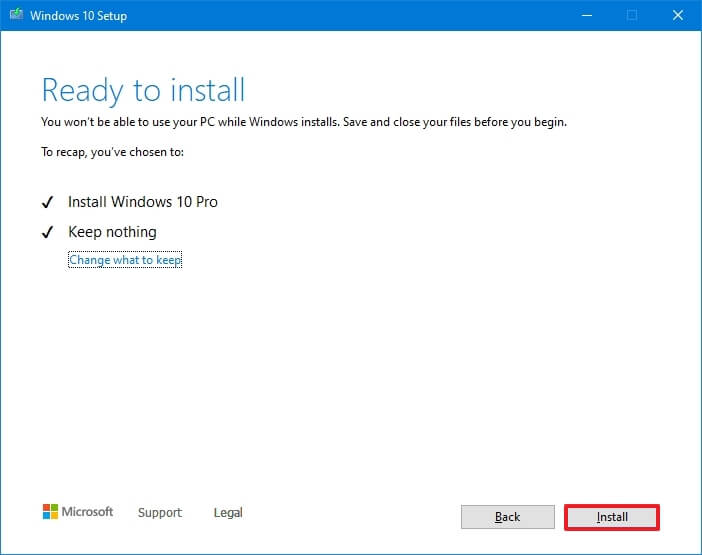
Step 8: In the Ready to Install window, click the Install button.
Step 9: The application will install the files and restart the computer, after which the operating system configuration (OOBE) process is initialized.

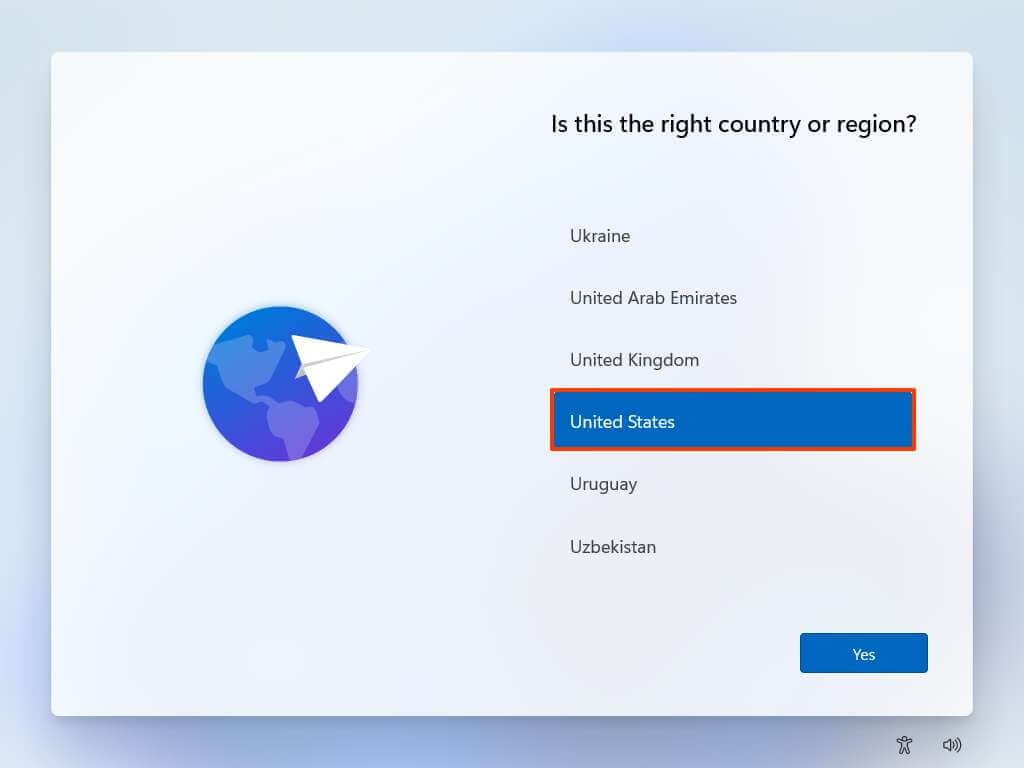
Click Yes.
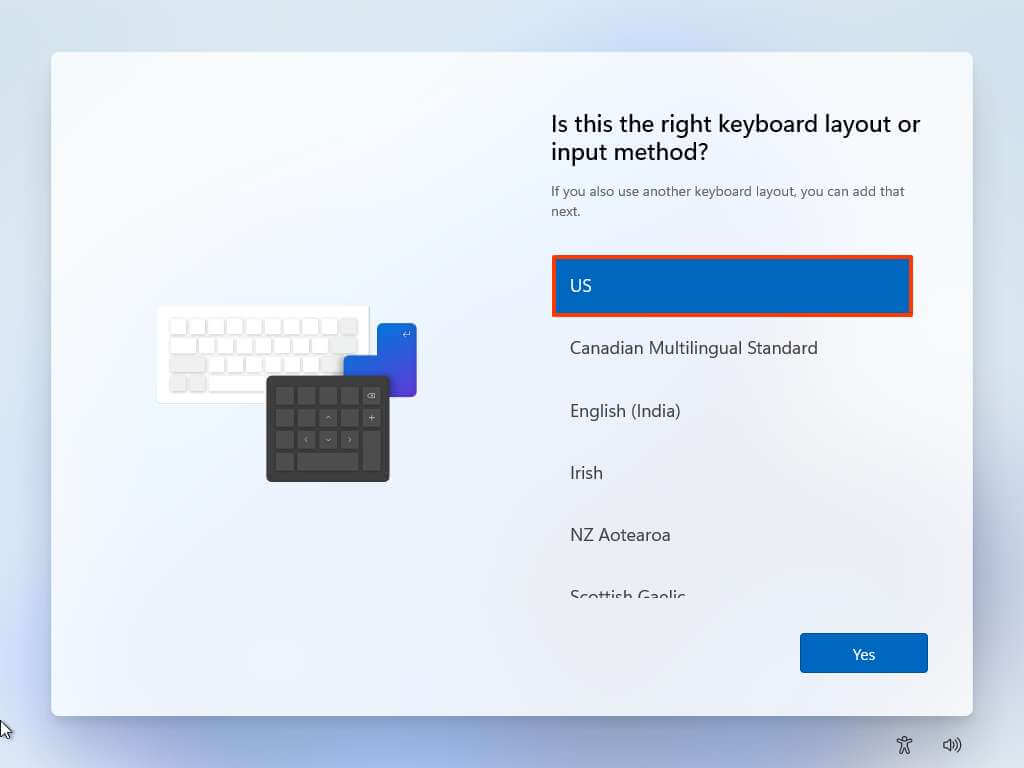
Step 10: Choose your preferred keyboard layout or input method setting. Click Yes
Step 11: Click the “Skip” button if you don’t need to customize the second layout (the English layout will be added automatically).
Step 12: If the computer uses an “Ethernet” connection, it will automatically connect to the network. If you have a wireless connection, you’ll need to set up the connection manually (a security key may be required).
Step 13: Select the “Set up for personal use” option if installing Windows 11 Pro. In the “Home” version, there is no such possibility.
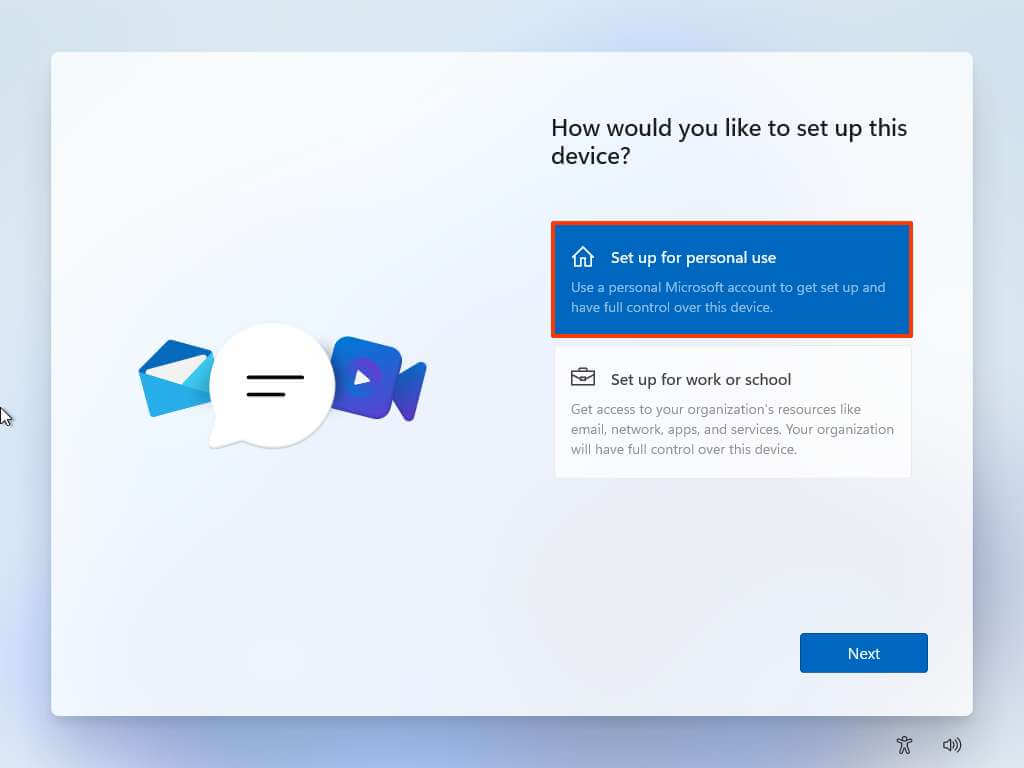
Click Next.
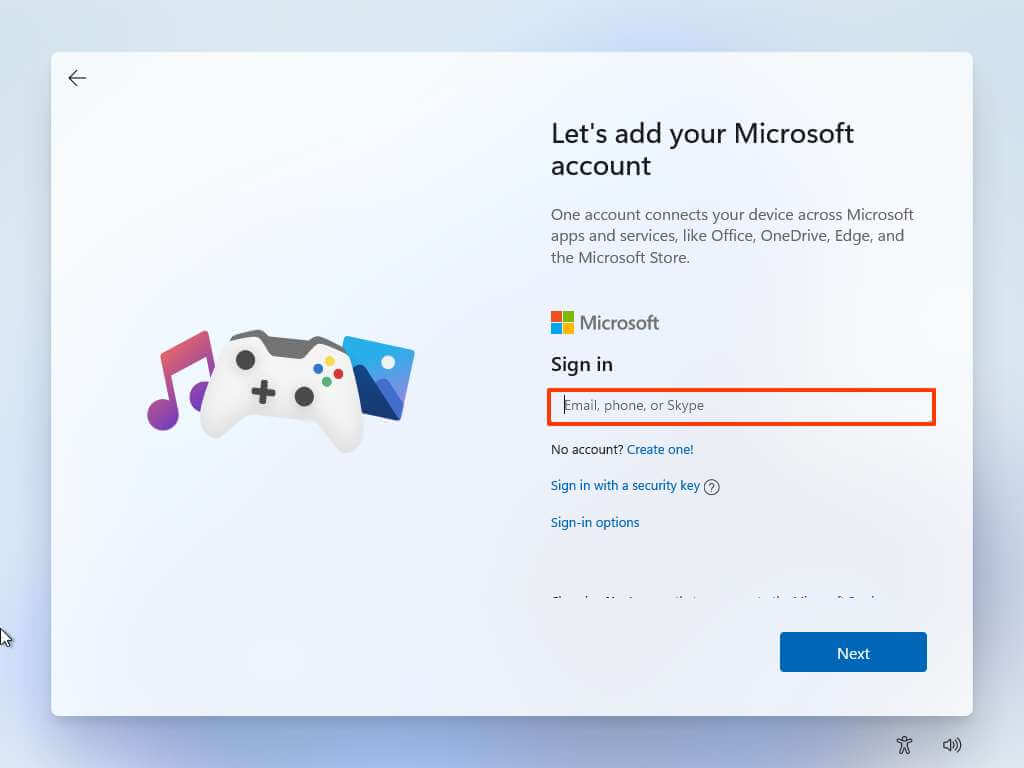
Step 14: Enter your Microsoft account email address, phone number, or Skype ID to create an account and click Next.
If you want to use “Local Account,” select the “Input Options” option.
In the next window, select “Standalone Account” and enter the desired username and password.
Step 15: Enter your Microsoft account password and click Sign In.
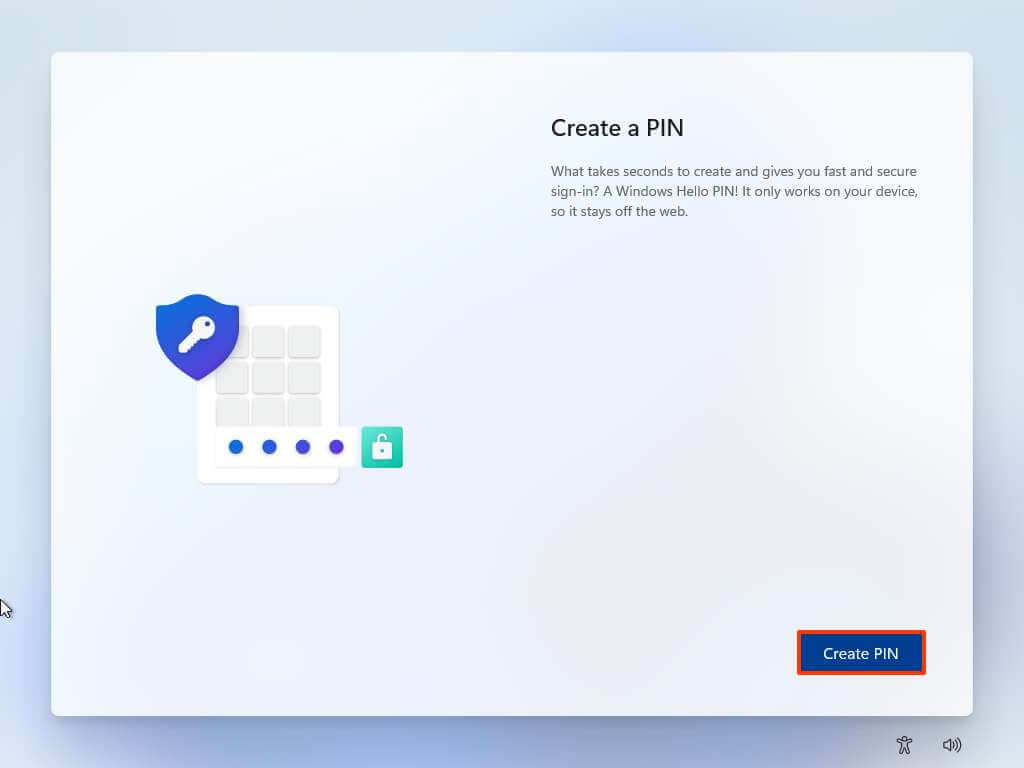
Step 16: Click the “Create PIN” button.
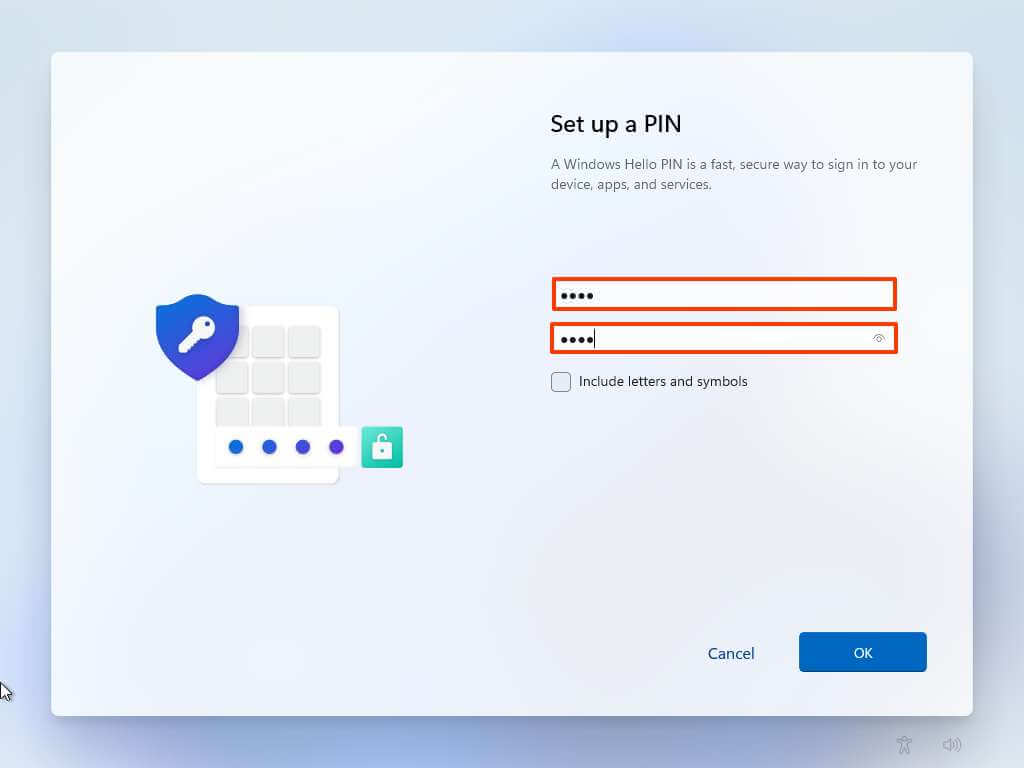
Step 17: Create a new four-digit PIN and click “OK.”
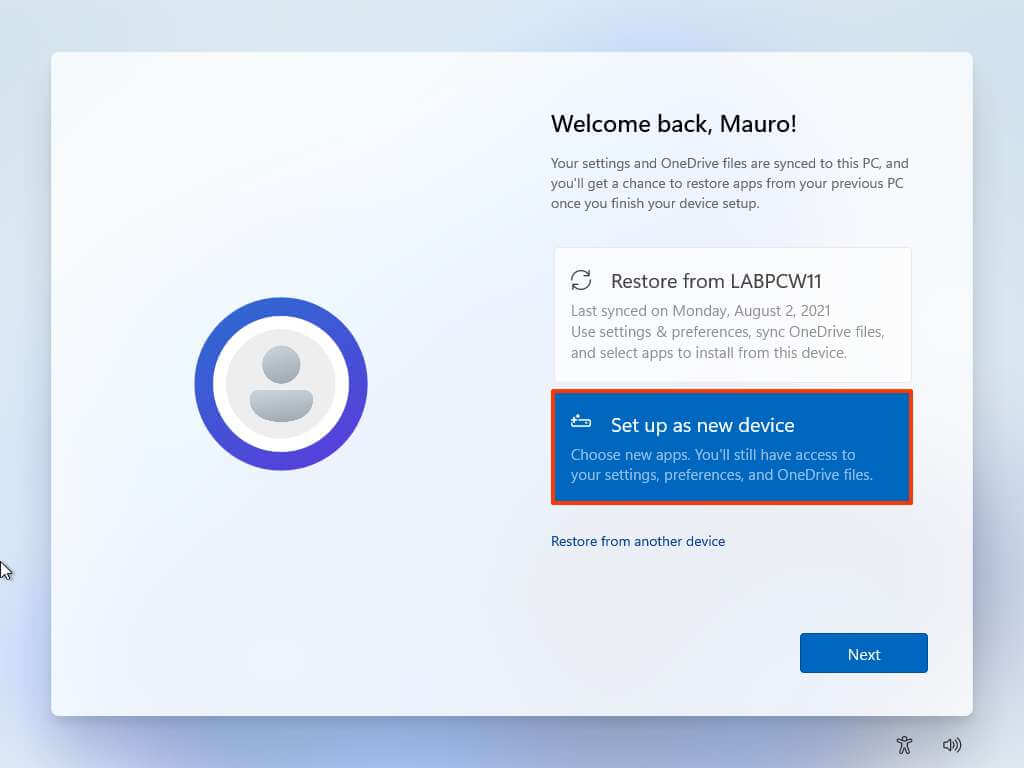
Step 18: Select the “Set up as new device” option. Or choose to restore settings from a previous installation. Click Next.
Step 19: Confirm the privacy settings that work best for your situation by turning individual settings on or off with a switch.
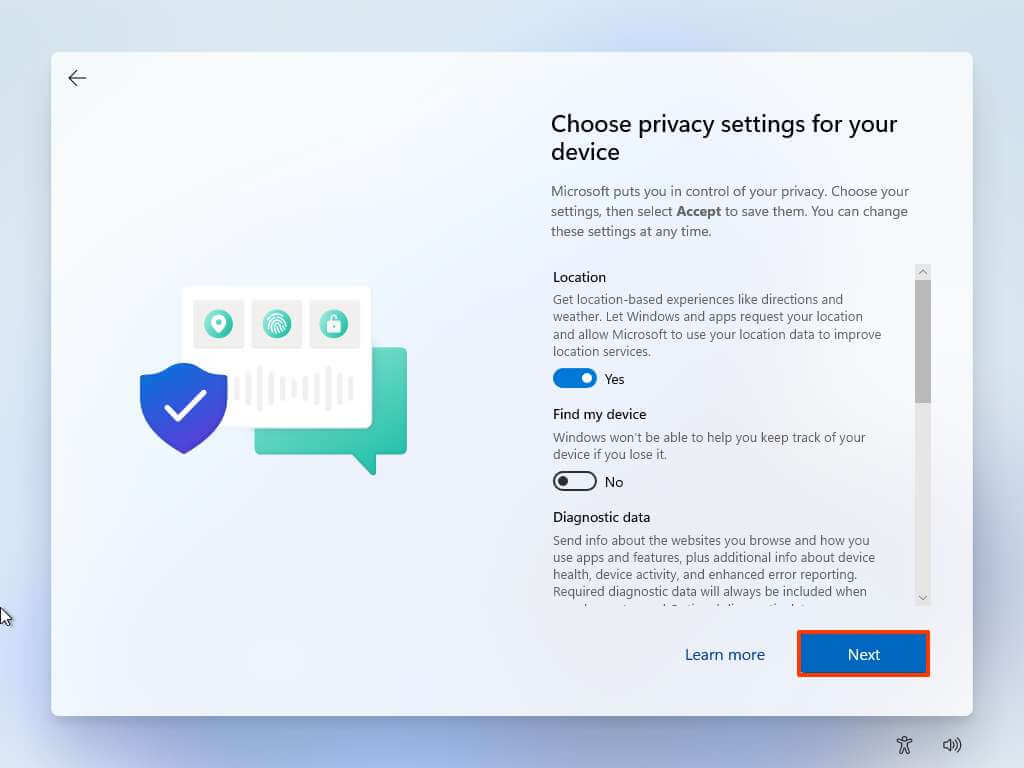
Click Next (several times), and then click Accept.
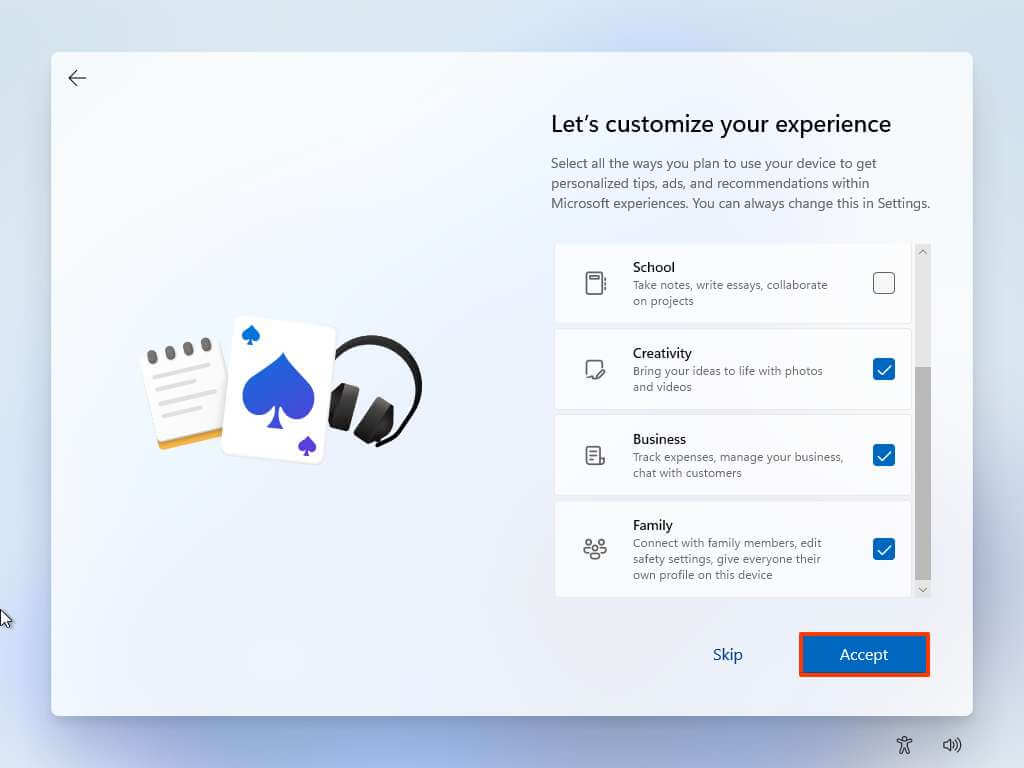
Step 20: (Optional) On the Experience Setup page, select one or more ways you plan to use the device so that Setup prompts you to configure tools and services during this process.

Click Accept to continue. Or click the Skip button to skip this part of the setup.
Step 21: Select “Back up my files with OneDrive” to automatically upload your Desktop, Pictures, and Documents folders to the cloud. Or select “Don’t back up my files.”

Click Next.
That’s it! After you complete these steps, Windows 11 will install on your PC, and you will be able to log into the operating system. You can take the help of this guide and Activate Windows 11 for free.
If you’re not satisfied with Windows 11, it is always best to move to a more stable version of Windows. Here is How to roll back from Windows 11 to Windows 10: Complete Guide.
Conclusion: Clean Installation of Windows 11 with the media creation tool
I hope this article was easy enough for you to perform a Clean Installation of Windows 11 with the media creation tool. Suppose you are looking for other methods to install Windows 11. You can see the following methods.
- How to Perform a Clean Installation of Windows 11 Using a USB drive
- How to Perform a Clean Installation of Windows 11 with the media creation tool
- How to Clean install Windows 11 using Reset this PC local image
- How to Clean install Windows 11 using Reset this PC Cloud download
- How to Clean Install Windows 11 from Advanced startup options
- How to Clean install Windows 11 using File Explorer and an ISO file.